How to Master the iiip 3D Printer in Easy Steps
Originally posted on December 11, 2023 @ 1:55 am
This article will provide you with instructions on how to become proficient in operating the iiip 3D printer, a highly rated and adaptable 3D printing device. Whether you are new to 3D printing or an avid user, this cutting-edge printing innovation will expand your horizons and allow for endless opportunities.
Before diving into the steps of mastering this professional-grade 3D printer, it’s important to first understand what sets the iiip apart. With advanced 3D printing technology and a reputation for reliability, the iiip is widely regarded as one of the best affordable printers in the market today.
To start your journey towards becoming a 3D printing expert, you’ll first need to choose a resin 3D printer that is both affordable and suitable for beginners. The iiip 3D printer fits the bill perfectly, offering a professional-grade printing experience at a fraction of the cost of other high-end models.
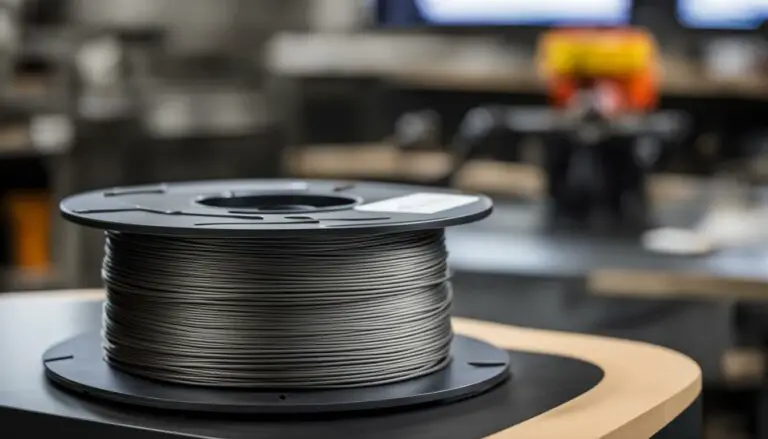
Once you have your iiip 3D printer, there are a few essential accessories you’ll need to ensure successful prints. Good quality resin, isopropyl alcohol for cleaning, set up tools, filters, and safety precautions, such as nitrile gloves, safety goggles, and a face mask, are all vital components of your 3D printing toolkit.
To maximize the performance of your iiip 3D printer, proper printer settings are crucial. Calibration of the UV power and LCD screen is necessary to achieve optimal results. Additionally, learning to use a slicer software and testing prints with a RERF file will help you fine-tune your printing process.
Once you’ve mastered the setup and settings, you’ll be ready to start printing your desired models. From resin pouring to support structures and model orientation, we’ll guide you step-by-step through the entire printing process with the iiip 3D printer.
After the printing is complete, we’ll also walk you through post-processing and finishing techniques, such as scraping the print, rinsing with alcohol, removing supports, and other methods to fine-tune your prints to perfection.
By following our easy-to-understand instructions and practicing with the iiip 3D printer, you’ll soon discover the endless possibilities and creative freedom that 3D printing offers.
Key Takeaways:
- The iiip 3D printer is a top-rated, versatile, and affordable option for beginners and enthusiasts.
- Research and choose a resin 3D printer that suits your needs and budget.
- Invest in essential accessories like good quality resin, isopropyl alcohol, and safety precautions.
- Calibrate printer settings, such as UV power and LCD screen, for optimal performance.
- Follow a step-by-step guide for printing and post-processing techniques to achieve high-quality results.
Quick Tips for Your First Purchase
Are you ready to embark on your 3D printing journey? Before you make your first purchase, it’s important to consider a few key factors. Here are some quick tips to help you choose the right resin 3D printer:
- Look for an affordable machine: As a beginner, you want to invest in a resin 3D printer that is budget-friendly. There are plenty of options available in the market that offer great value for your money.
- Opt for a 4k LCD screen: To achieve detailed prints with high resolution, consider a printer that comes with a 4k LCD screen. This will enhance the level of detail and intricacy in your 3D prints.
- Do your research: Before finalizing your purchase, take the time to research different brands and models. Read reviews, compare specifications, and consider the overall reputation of the manufacturer.
By following these tips, you can ensure that your first 3D printer is affordable, capable of producing detailed prints, and meets your specific needs. Taking the time to research and make an informed decision will set you up for a successful and enjoyable 3D printing experience.
Table: Comparison of Affordable Resin 3D Printers
| Brand | Model | Price | Resolution |
|---|---|---|---|
| Brand A | Model X | $499 | 50 microns |
| Brand B | Model Y | $599 | 30 microns |
| Brand C | Model Z | $449 | 75 microns |
Table: Comparison of affordable resin 3D printers. Prices are approximate and may vary. Resolution refers to the layer thickness in microns, indicating higher detail for smaller values.
Shopping List for Your First 3D Print
To get started with your first 3D print, you’ll need more than just the printer itself. It’s important to gather all the necessary accessories and supplies to ensure a smooth and successful printing experience. Here’s a shopping list of essential items:
Good Quality Resin
Choosing the right resin is crucial for achieving high-quality prints. Look for a resin that is compatible with your printer and offers excellent print resolution and durability. FormFutura resin, for example, is known for its reliability and superior results.
Isopropyl Alcohol (IPA)
IPA is used for cleaning and post-processing your prints. It helps remove excess resin and leaves a smooth finish on the surface. Make sure to have enough IPA on hand for rinsing and cleaning your prints.
Set Up Tools
Most 3D printers come with the necessary tools for setup and maintenance. These may include hex keys, screwdrivers, spatulas, and tweezers. Check the printer’s manual to see which tools are provided and ensure you have them readily available.
Filters
Using filters is important for transferring resin and preventing debris from contaminating your prints. Consider getting a variety of filters, such as mesh filters and funnel filters, to cater to different printing needs.
Safety Precautions
Working with resin requires taking proper safety precautions. Equip yourself with nitrile gloves, safety goggles, and a face mask to protect your skin, eyes, and respiratory system from potential hazards. Safety should always be a top priority when 3D printing.

| Item | Description |
|---|---|
| Good Quality Resin | Choose a resin that is compatible with your printer and offers high print resolution and durability. |
| Isopropyl Alcohol (IPA) | Used for cleaning and post-processing prints, IPA helps remove excess resin and leaves a smooth finish. |
| Set Up Tools | Ensure you have the necessary tools, such as hex keys, screwdrivers, spatulas, and tweezers, for printer setup and maintenance. |
| Filters | Filters are essential for transferring resin and preventing debris from contaminating prints. Use different types of filters to meet various printing needs. |
| Safety Precautions | Protect yourself with nitrile gloves, safety goggles, and a face mask to ensure a safe printing environment. |
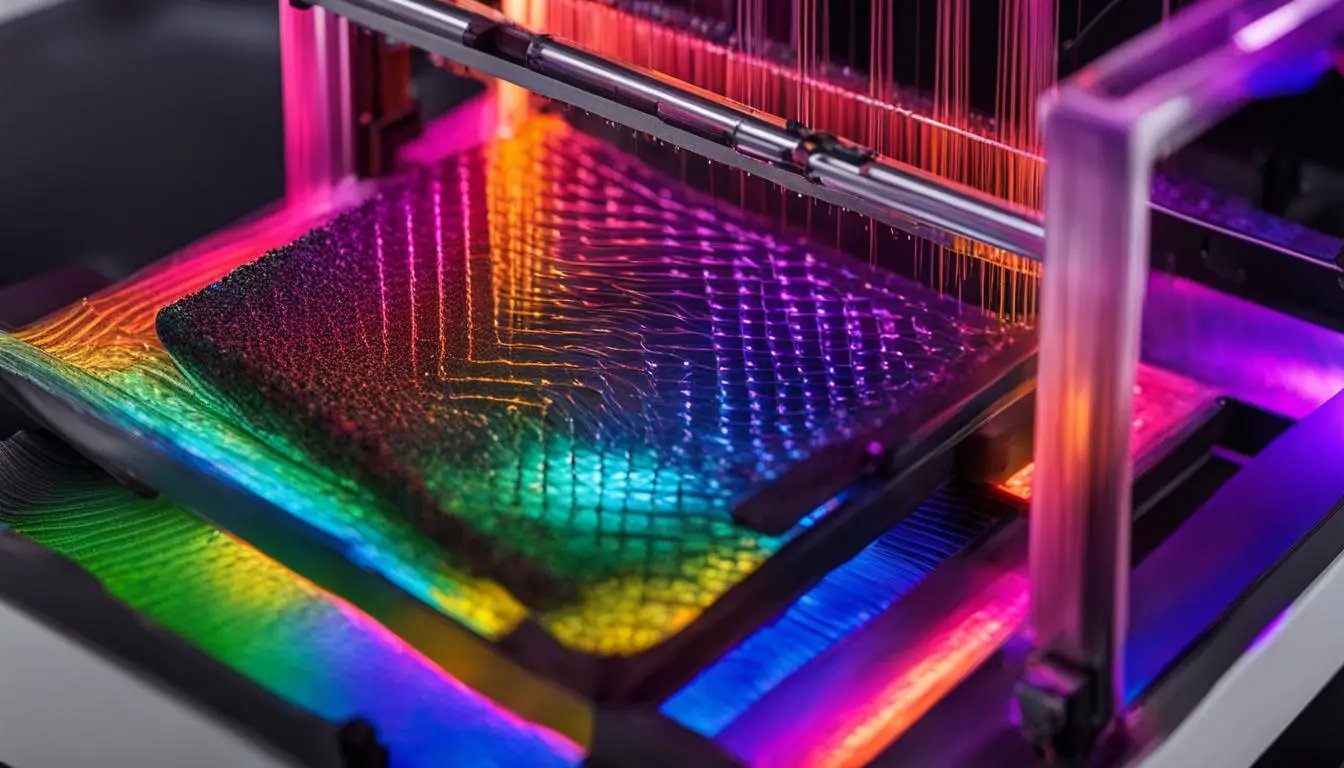
Step-by-Step Guide to Printing with the iiip 3D Printer
Printing with the iiip 3D printer involves several important steps. To ensure successful prints, it’s essential to properly configure the printer settings, calibrate the LCD screen, and follow the recommended resin pouring techniques. Here’s a step-by-step guide to help you navigate the printing process:
1. Printer Settings
Start by checking and adjusting the printer settings. This includes the UV power, which determines the curing process, and the LCD screen calibration, which ensures accurate layer exposure. Refer to the printer’s user manual for specific instructions on accessing and modifying these settings. It’s crucial to find the optimal balance to achieve high-quality prints.
2. LCD Screen Calibration
Calibrating the LCD screen is an important step to ensure precise exposure and accurate print details. Follow the instructions provided by the manufacturer to access the calibration settings. Typically, this involves displaying a test pattern on the screen and adjusting the settings until the pattern appears clear and well-defined. Proper calibration will improve the overall print quality and minimize the chances of failed prints.
3. Resin Temperature and Pouring
Before pouring resin into the printer’s basin, ensure it is at room temperature. This helps maintain consistent print quality and improves resin flow. Follow the resin manufacturer’s guidelines for the recommended temperature range. When pouring the resin, be mindful not to overfill the basin. Pay attention to the maximum mark to prevent any overflow or excessive resin usage, as this can lead to printing issues.
4. Support Structures and Model Orientation
When preparing your model for printing, consider the need for support structures. These structures are essential for complex designs that require stability during the printing process. Most slicer software programs have built-in support generation features that can automatically add the necessary support structures. Additionally, make sure to choose the correct model orientation to achieve the desired outcome. Experimenting with different orientations can optimize print quality and minimize the need for excessive supports.
By following these steps and paying attention to the printer settings, LCD screen calibration, resin pouring techniques, and model orientation, you can achieve successful prints with the iiip 3D printer. Remember to refer to the printer’s user manual and the resin manufacturer’s guidelines for specific instructions and recommendations.

| Step | Description |
|---|---|
| 1 | Printer Settings |
| 2 | LCD Screen Calibration |
| 3 | Resin Temperature and Pouring |
| 4 | Support Structures and Model Orientation |
Post-Processing and Finishing Techniques
After the print is completed, there are several post-processing and finishing techniques you can employ to enhance the quality and appearance of your 3D prints.
Removing Supports
Once the print is finished, it’s important to carefully remove any support structures that were used during the printing process. Depending on the complexity of your model, supports can be easily clipped off with a pair of pliers or cutters. To make the removal process easier, you can preheat the supports using a heat gun or a hairdryer to soften them. Take caution when removing supports to avoid damaging the print or injuring yourself.
Scraping the Print
To separate the print from the print bed, gently scrape it off using a steel scraper. It’s crucial to hold the scraper at the correct angle to avoid scratching the bed or damaging the print. Slow and steady pressure is key to prevent any mishaps. If you’re having difficulty removing the print, you can try using a spatula or a putty knife as an alternative.
Rinsing with Alcohol
After removing the print from the print bed, it’s important to clean off any residue. Rinse the print with isopropyl alcohol (IPA) or a washing solution recommended by the resin manufacturer. This step helps to remove excess resin and ensures a smooth and clean surface for further post-processing.
Post-Processing Methods
Once the print is cleaned, there are various post-processing methods you can choose from to achieve your desired finish. Sanding is a common technique to smooth out rough surfaces or imperfections on the print. You can use sandpaper or sanding machines with different grits to achieve the desired level of smoothness. Tumbling is another method where you place the print in a tumbler with abrasive materials to achieve a polished finish. Hot sculpting is primarily used for wax resin prints, allowing you to modify or reshape the print using heat. You can also fill small damaged areas on the print with uncured resin before sanding to restore its integrity.
Curing
To ensure the final strength and stability of your print, curing is a crucial step. Curing can be done using a cure chamber or exposing the print to UV light. Follow the guidelines provided by the resin supplier to determine the appropriate curing time and conditions. Properly cured prints exhibit enhanced mechanical properties and improved durability.
| Post-Processing Techniques | Description |
|---|---|
| Removing Supports | Carefully removing support structures used during the printing process. |
| Scraping the Print | Gently scraping the print off the print bed using a steel scraper or alternative tools. |
| Rinsing with Alcohol | Cleaning the print and removing excess resin by rinsing it with isopropyl alcohol or a recommended washing solution. |
| Post-Processing Methods | Techniques such as sanding, tumbling, and hot sculpting to achieve desired surface finish and aesthetics. |
| Curing | Ensuring the final strength and stability of the print through proper curing using a cure chamber or UV exposure. |
By employing these post-processing and finishing techniques, you can elevate the quality and appearance of your 3D prints. Experiment with different methods and find what works best for your specific prints and desired outcomes. Each step contributes to achieving a professional-looking and refined final product.
Conclusion
3D printing is an exciting technology that offers endless possibilities and applications across various industries. Whether you’re a beginner or an enthusiast, mastering the iiip 3D printer is an attainable skill that can unleash your creativity and bring your ideas to life.
Starting with an affordable printer like the iiip 3D printer, you can dive into the world of 3D printing with confidence. The user-friendly nature of this printer makes it perfect for beginners who are just starting their journey in the world of 3D printing.
By following the recommended steps, choosing the right materials, and using proper printing techniques, you can achieve high-quality prints and explore the full potential of this innovative technology. With practice and dedication, you’ll be amazed at what you can create with your iiip 3D printer.
So, whether you’re looking to create functional prototypes, artistic designs, or personalized gifts, 3D printing is a skill that anyone can learn. Embrace the possibilities, take the necessary safety precautions, and enjoy the process of bringing your ideas to life through 3D printing.
FAQ
What factors should I consider when purchasing my first 3D printer?
When purchasing your first 3D printer, it’s important to consider factors such as affordability, suitability for beginners, and the presence of a 4k LCD screen for detailed prints. Thorough research is also recommended to find the right brand and model.
What accessories do I need for my first 3D print?
Some essential accessories for your first 3D print include good quality resin, isopropyl alcohol for cleaning the prints, set up tools, filters for transferring resin, and safety precautions like nitrile gloves, safety goggles, and a face mask.
What are the crucial steps for printing with the iiip 3D printer?
The crucial steps for printing with the iiip 3D printer include checking and adjusting UV power settings, calibrating the LCD screen, heating the resin to room temperature, pouring the resin into the printer’s basin, using a slicer software to prepare the model, choosing the correct model orientation, and waiting for the printing process to complete.
What post-processing and finishing techniques can I use?
Some post-processing and finishing techniques include using a steel scraper to remove the print from the print bed, rinsing the print with isopropyl alcohol, carefully clipping off support structures, and employing methods like sanding, tumbling, hot sculpting, and curing to achieve the desired outcome.
Is mastering the iiip 3D printer attainable for beginners?
Yes, with the right guidance and practice, mastering the iiip 3D printer is an attainable skill for beginners. 3D printing offers endless possibilities and applications, and starting with an affordable and beginner-friendly printer like the iiip can help unleash your creativity.