Complete Bambu 3D Printer Tutorial For Beginners
Originally posted on November 27, 2023 @ 4:37 am
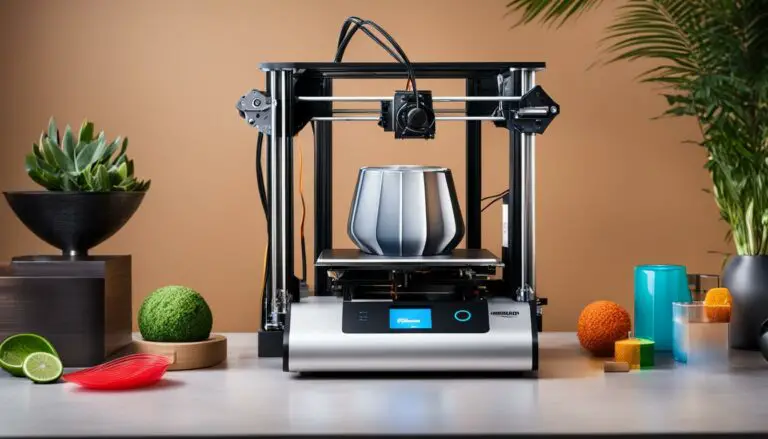
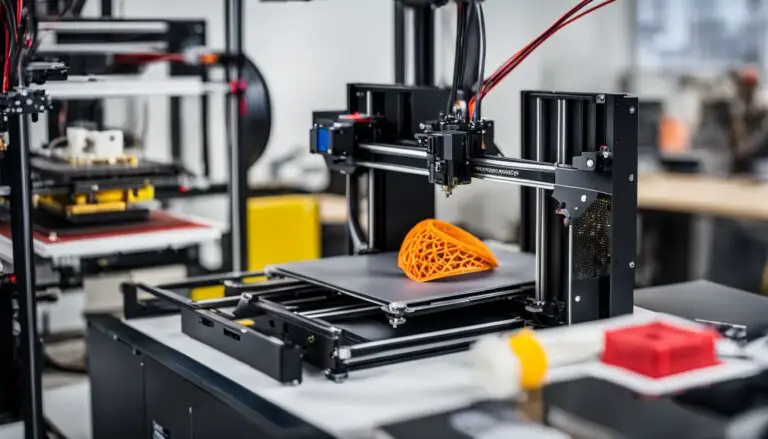
This tutorial will offer a detailed, step-by-step explanation on the utilization of the Bambu 3D printer, a cutting-edge tool that elevates the process of bamboo printing. Whether you are new to this technology or an avid user, this guide will furnish you with all the essential knowledge to initiate 3D printing bamboo with the Bambu Lab X1 and X1 Carbon printers.
Bamboo printing technology offers a sustainable and eco-friendly approach to additive manufacturing. By harnessing the natural properties of bamboo, the Bambu 3D printer provides a unique printing experience with outstanding results. Follow along as we guide you through the complete setup process, slicing and printing using Bambu Studio, and optimizing filament settings for the best print quality.
Key Takeaways:
- The Bambu 3D printer is a state-of-the-art technology that allows you to print using bamboo, an eco-friendly material.
- Bambu Studio is a feature-rich slicing software specifically designed for the Bambu Lab X1 and X1 Carbon printers, offering project-based workflows and optimized slicing algorithms.
- To start using Bambu Studio, download the latest version, follow the setup steps, and connect your printer to the network using the Bambu Handy App.
- Bambu Studio allows you to slice and print your 3D models with ease, offering a user-friendly interface and real-time monitoring of your print job.
- Optimize filament settings in Bambu Studio to achieve the best print quality, fine-tuning the flow rate and layer time for different filaments.
Setting Up Bambu Studio and Bambu Handy App
When it comes to 3D printing, having the right software and tools is essential for a smooth printing experience. Bambu Studio is a powerful slicing software designed specifically for the Bambu Lab X1 and X1 Carbon 3D printers. But before you can start using Bambu Studio, you need to set it up and connect it to your printer.
To get started, you’ll need to download and install Bambu Studio on your computer. Once installed, you can easily log in using your Bambu Lab Account. This will give you access to all the features and functionalities of Bambu Studio.
In addition to Bambu Studio, you can also connect your printer to your Bambu Lab Account using the Bambu Handy App. This handy app allows you to remotely control your printer and access its network functionality. Simply log in to the app, select your printer from the list or scan the QR code, and you’re all set. Your printer will now be connected to both Bambu Handy and Bambu Studio, making it easier than ever to manage and control your printing projects.
| Bambu Studio | Bambu Handy App |
|---|---|
| Powerful slicing software | Remote control and network access |
| User-friendly interface | Convenient printer management |
| Seamless printing experience | Easier project management |
With Bambu Studio and Bambu Handy, you have everything you need to set up and manage your 3D printing projects. Whether you’re a beginner or an experienced user, these tools will help you streamline your workflow and achieve high-quality prints every time.
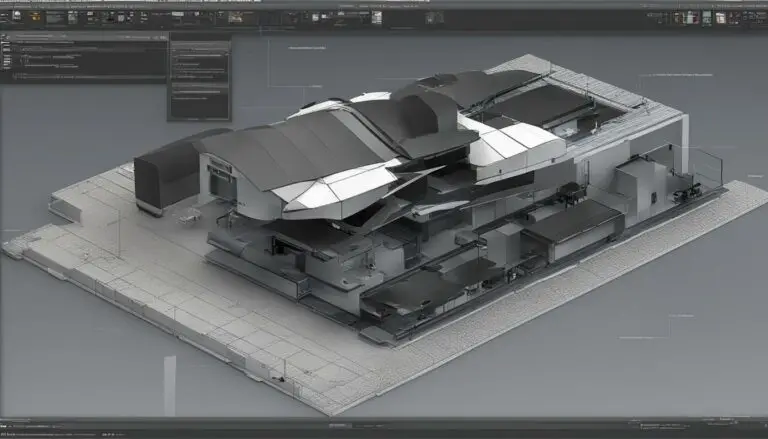
Slicing and Printing with Bambu Studio

When it comes to 3D printing, having the right software is crucial. Bambu Studio is a powerful and user-friendly slicing software that allows you to easily prepare your 3D models for printing with the Bambu 3D Printer. With Bambu Studio, you can optimize the slicing settings and generate printing files with just a few clicks.
Slicing Your Models
With Bambu Studio, you can import your 3D models into the software and select the desired printer, bed type, and filament type. Bambu Studio offers a range of slicing settings that you can customize to meet your specific printing needs. Adjust parameters such as layer height, infill density, and print speed to achieve the desired level of detail and strength for your prints. Once you have selected the slicing settings, simply click “Slice” to generate the printing file in the .3mf format.
Printing Options
Bambu Studio gives you the flexibility to choose how you want to print your models. You can either send the printing file directly to the Bambu 3D Printer or export it to an SD card for printing. Sending the file directly to the printer allows for a seamless workflow, while exporting to an SD card gives you the freedom to print without having your computer connected to the printer. Whichever method you choose, Bambu Studio ensures that your models are prepared and ready for printing.
Real-Time Monitoring
Once you start the print job, Bambu Studio provides real-time monitoring of the printing process. You can easily track the progress of your print, monitor temperatures, and view other important information through the intuitive interface. This allows you to ensure that everything is running smoothly and make any necessary adjustments if needed.
| Slicing Benefits | Printing Options | Real-Time Monitoring |
|---|---|---|
|
|
|
Optimizing Filament Settings in Bambu Studio
When using the Bambu Studio slicing software with your Bambu 3D Printer, it’s important to optimize the filament settings to achieve the best print quality. Bambu Studio comes with pre-tuned filament profiles for Bambu filaments, but if you’re using filaments from other manufacturers, you may need to fine-tune the settings to ensure optimal results.
Maximum Volumetric Speed: One of the key settings you can adjust is the Maximum Volumetric Speed. This setting controls the flow rate of the filament during printing. If you notice inconsistent flow or under-extrusion issues, you can increase the Maximum Volumetric Speed to ensure a more consistent flow. On the other hand, if you’re experiencing over-extrusion or stringing, you can decrease the Maximum Volumetric Speed.
Layer Time: Another important setting is the Layer Time. This setting determines the cooling time for each layer, which can affect the overall print quality. By increasing the Layer Time, you can improve cooling and achieve a more uniform wall finish. However, be mindful that increasing the Layer Time too much may result in longer print times.
Remember to find the right balance between the Maximum Volumetric Speed and Layer Time. Experiment with different settings and perform test prints to fine-tune the filament profiles. This will help you optimize the printing process and overcome any issues related to flow rate and print quality.
Summary
Optimizing filament settings in Bambu Studio is crucial for achieving high-quality prints with your Bambu 3D Printer. By adjusting the Maximum Volumetric Speed, you can ensure a consistent flow rate, while tweaking the Layer Time allows for better cooling and wall finish. Take the time to test different settings and fine-tune the filament profiles to achieve the best results for your specific filament brand and type.
| Setting | Description |
|---|---|
| Maximum Volumetric Speed | Controls the flow rate of the filament during printing. Adjust to address issues of under-extrusion or over-extrusion. |
| Layer Time | Determines the cooling time for each layer. Increasing it can improve cooling and achieve a more uniform wall finish. |
Conclusion
The Bambu 3D Printer, along with the Bambu Studio slicing software, offers an innovative and eco-friendly solution for 3D printing. With its advanced features and user-friendly interface, beginners can easily get started and achieve high-quality prints.
What sets the Bambu 3D Printer apart is its commitment to green printing technology. By utilizing bamboo as the primary material, it contributes to eco-friendly additive manufacturing. Bamboo is a sustainable resource that grows quickly and requires minimal water and pesticides.
With its cutting-edge technology, the Bambu 3D Printer showcases the potential of advanced 3D printing technology. It opens up new possibilities for design and manufacturing, enabling users to bring their ideas to life with precision and efficiency.
By choosing the Bambu 3D Printer, you are not only investing in a reliable and powerful device but also supporting sustainable practices in the additive manufacturing industry. Embrace the future of green printing technology with the Bambu 3D Printer and join the movement towards a more eco-friendly and responsible approach to manufacturing.
FAQ
How do I set up Bambu Studio?
To set up Bambu Studio, download and install the software on your computer. During the setup process, you’ll be guided to select your region, choose your printer and nozzle type, and select the filaments you plan to use. Once installed, you can log in to Bambu Studio using your Bambu Lab Account. Additionally, you can link your printer to your account using the Bambu Handy App.
How do I slice and print my 3D models with Bambu Studio?
Start by importing your model into Bambu Studio and selecting the printer, bed type, and filament type. Choose the desired slicing settings and click “Slice” to generate the printing file in the .3mf format. From there, you have the option to directly send the file to the printer or export it to an SD card for printing.
Can I adjust the filament settings in Bambu Studio?
Yes, Bambu Studio comes with pre-tuned filament profiles for Bambu filament, but you may need to fine-tune the settings when using filaments from other manufacturers. The Maximum Volumetric Speed setting can be adjusted to ensure consistent flow rate during printing. You can also adjust the Layer Time setting to optimize cooling and achieve a uniform wall finish.
How does the Bambu 3D Printer contribute to sustainable manufacturing practices?
The Bambu 3D Printer showcases the potential of bamboo-based 3D printing technology and its contribution to sustainable and green manufacturing practices. With its cutting-edge technology, the Bambu 3D Printer is a promising addition to the world of additive manufacturing.