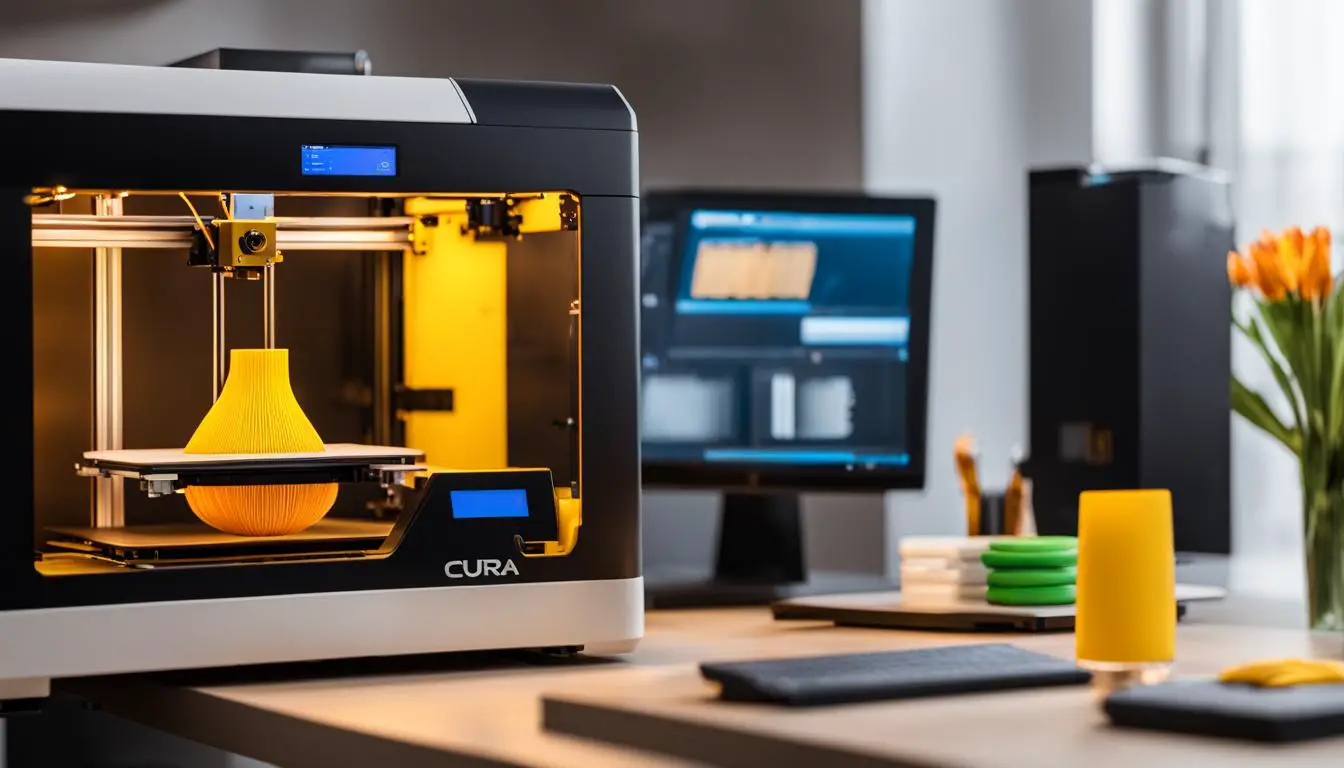
How To Master Cura 3D Printing In Easy Steps
Originally posted on December 2, 2023 @ 2:52 pm
We will discuss the techniques for becoming proficient in using Cura 3D printing software, a valuable resource for enhancing your 3D printing ventures. Whether you are new to 3D printing or have prior knowledge, these simple procedures will enable you to unleash your creative abilities and produce top-notch prints with the help of your Cura slicer and 3D printer.
Key Takeaways:
- Properly preparing print files is essential for successful 3D printing.
- Ultimaker Cura provides a preview mode to check for design issues.
- Features like support structures and infill settings ensure print quality and strength.
- Adaptive layers optimize printing for complex geometries and multi-color designs.
- Cura allows customization of print settings for optimal results.
How to Use Adaptive Layers in Cura for Optimal Printing
When it comes to achieving the best possible print quality and speed in your 3D printing projects, adaptive layers in Ultimaker Cura are a game-changer. This feature, available in Cura 3.2 and above, allows the layer height of your prints to adapt to the shape of the object, resulting in improved print resolution and reduced print duration.
By analyzing the slope and angle of the outer wall of your model, Cura automatically adjusts the layer height for each section. This means that for curves and intricate details, the layer resolution is finer, while for flat and vertical areas, thicker layers are used. The result is a print that showcases smooth curves and sharp details, while also ensuring faster print times for large, flat surfaces.
Companies like Poly-Tainer Inc., a plastic bottle manufacturer, have successfully used adaptive layers in Cura to create concept models with enhanced look and quality in less time. This feature is particularly beneficial for complex geometries, color coding, combinations of hard and soft materials, and even text integration.
With Ultimaker Cura’s support for dual extrusion and dissolvable PVA support material, you can also create intricate designs with accurate multi-color screen printing. Whether you’re a beginner or an experienced 3D printing enthusiast, leveraging adaptive layers in Cura will take your prints to the next level.

Benefits of Adaptive Layers in Cura:
- Improved print resolution for curves and intricate details
- Reduced print duration for large, flat surfaces
- Enhanced look and quality in concept models
- Suitable for complex geometries, color coding, and combinations of materials
- Supports dual extrusion and dissolvable PVA material for multi-color screen printing
How to Enable Adaptive Layers in Cura:
- Download and install the latest version of Ultimaker Cura
- Open Cura and select your 3D printer from the list of supported models
- Import your 3D model into Cura’s virtual workspace
- In the “Print Setup” tab, click on “Adaptive Layers” in the sidebar
- Adjust the minimum and maximum layer heights to suit your print
- Preview and slice your model to see the adaptive layers in action
- Save the sliced file and transfer it to your 3D printer for printing
By following these steps and taking advantage of adaptive layers in Cura, you can optimize your prints for both quality and speed, opening up a world of possibilities for your 3D printing projects.
Setting Up Cura for Optimal 3D Printing
To start using Cura, you need to download and install the software from the Ultimaker website. Once installed, you can configure Cura by selecting your 3D printer from a list of supported models. After setting up your printer, you can import an STL file into Cura’s virtual workspace, where you can arrange and scale the model as desired.
Cura offers various settings to customize your print, including nozzle and material presets, print profiles, and individual print settings. You can adjust parameters such as layer height, infill density, build plate adhesion, and printing temperature to optimize the print quality and speed. Cura provides both basic and advanced options, allowing you to customize your printing experience according to your needs and expertise.
Furthermore, Cura supports plugins that can enhance the functionality of the software. These plugins can add additional features and tools to Cura, giving you more control over your prints. Some popular plugins include the OctoPrint Connection plugin, which allows you to directly send print files to your printer, and the Firmware Updater plugin, which enables you to update your printer’s firmware from within Cura. You can browse and install plugins from the Cura Marketplace, expanding the capabilities of your 3D printing workflow.
Recommended Cura Slicer Settings
When setting up Cura for optimal 3D printing, there are a few key slicer settings to consider. First, the layer height plays a crucial role in the overall quality of your print. A lower layer height will result in finer details but will also increase the print time. On the other hand, a higher layer height will result in faster prints but with less detail. Find the balance that suits your needs.
Another important setting is the infill density, which determines the internal structure of your print. Higher infill densities will result in stronger prints, but they will also use more material and increase print time. Consider the function and structural requirements of your print when choosing the appropriate infill density.
Finally, the build plate adhesion setting is essential for preventing warping and ensuring that your print adheres properly to the build plate. Options like a skirt or brim can help create a solid foundation for your print, especially when working with larger or more complex models. Experiment with different build plate adhesion settings to find the one that works best for your specific print.

| Recommended Cura Slicer Settings | Description |
|---|---|
| Layer Height | Choose a layer height that balances print quality and speed for your specific requirements. |
| Infill Density | Determine the internal structure of your print by selecting an appropriate infill density. |
| Build Plate Adhesion | Use settings like a skirt or brim to ensure proper adhesion of your print to the build plate. |
Fine-Tuning Print Settings in Cura
In order to achieve the best possible output for your 3D printing projects, it is essential to fine-tune your print settings in Cura. By making adjustments to parameters such as layer height, line width, print speed, and infill density, you can optimize the quality and speed of your prints.
One important aspect to consider is the layer height, which determines the thickness of each printed layer. A smaller layer height, such as 0.1mm, will result in higher detail and smoother surfaces, but will also increase the print time. On the other hand, a larger layer height, like 0.3mm, will reduce the overall print time, but may sacrifice some detail.
Print Speed and Wall Thickness
Print speed is another parameter that can greatly affect the quality of your prints. Higher print speeds can reduce print time, but may result in decreased quality and accuracy. It is recommended to start with a moderate print speed and adjust it based on your desired balance between speed and quality.
When it comes to wall thickness, it is important to consider the capabilities of your printer and the desired strength of your prints. A thicker wall will result in a stronger print, but may also require more material and increase the print time. On the other hand, a thinner wall may reduce material usage and print time, but may result in a weaker print.
Infill Type and Density
The infill is the internal structure of your print that provides support and strength. Cura offers different infill patterns, such as grid, lines, and triangles, each with its own benefits and trade-offs. The infill density determines how much of the internal space is filled, with a higher density resulting in a stronger print but also increasing material usage and print time.
| Infill Type | Infill Density | Strength | Material Usage | Print Time |
|---|---|---|---|---|
| Grid | 20% | Medium | Medium | Medium |
| Lines | 40% | High | High | High |
| Triangles | 60% | Very High | Very High | Very High |
By customizing these print settings in Cura, you can optimize the performance of your 3D printer and achieve the desired results for your projects. It’s important to note that these are general guidelines, and the optimal settings may vary depending on your specific printer, filament, and desired outcome.
Slicing and Saving Your 3D Print in Cura
Once you have configured and fine-tuned your print settings in Cura, it’s time to slice and save your 3D print file. Slicing is the process of converting the digital model into a series of instructions that your 3D printer can understand. In Cura, you can preview the sliced model and check the estimated printing time and material usage. After slicing, you can save the print file to a removable disk or SD card, which can then be inserted into your 3D printer for printing.
Before slicing, make sure to review your model in Cura’s preview mode. This allows you to visualize how the layers will be printed and identify any potential design issues. The layer view provides valuable information about the speed, layer thickness, material color, and line type for each part of your model. By examining the preview, you can ensure that your print will turn out as intended.
Once you are satisfied with the preview, you can proceed to slice your model. Cura automatically generates the G-code instructions that your printer needs to create each layer of the print. This process takes into account your chosen print settings, such as layer height, infill density, and support structures. Once the slicing is complete, you can save the G-code file to your preferred storage device.
| Key Steps to Slicing and Saving Your 3D Print in Cura |
|---|
| 1. Configure and fine-tune your print settings in Cura. |
| 2. Preview your model in Cura’s layer view to check for design issues. |
| 3. Initiate the slicing process in Cura to generate the G-code instructions. |
| 4. Save the G-code file to a removable disk or SD card. |
| 5. Insert the storage device into your 3D printer and start printing. |
By following these steps, you can ensure that your 3D prints are accurately prepared and ready for production. Slicing and saving your print file in Cura is the final step before bringing your digital creation to life in the physical world.
Conclusion
Mastering Cura 3D printing software is crucial for achieving high-quality and efficient 3D prints. By properly preparing your print files, utilizing features like adaptive layers and dual extrusion, and fine-tuning your print settings, you can optimize the performance of your 3D printer and produce outstanding results.
Cura’s user-friendly interface and extensive customization options make it a popular choice among 3D printing enthusiasts. Whether you are a beginner or have some experience, following the steps and tips outlined in this guide will help you unlock your creative potential and take your 3D printing projects to the next level.
If you ever need assistance or have questions while using Cura, there is a supportive community and helpful resources available. Cura provides a comprehensive tutorial to guide you through the software’s features and functionalities. Additionally, there are various online forums, blogs, and social media groups where you can find valuable tips, troubleshooting solutions, and inspiration from other Cura users.
Furthermore, if you want to expand the capabilities of Cura, there are numerous plugins available that can enhance your printing experience. These plugins offer additional features, specialized functionalities, and compatibility with different 3D printers. From advanced model analysis to custom support structures, the available plugins can help you customize Cura to suit your specific needs and requirements.
FAQ
What is the purpose of Ultimaker Cura?
Ultimaker Cura is a slicing software that prepares your 3D print files for successful printing. It slices your models into layers that your printer can understand and provides a preview mode to check for any design issues.
What information does the layer view in Ultimaker Cura’s preview mode provide?
The layer view in preview mode provides information about the speed, layer thickness, material color, and line type of your model.
What features does Ultimaker Cura offer to ensure the quality and strength of printed models?
Ultimaker Cura offers features like support structures, build plate adhesion, prime towers, and shell and infill settings to ensure the quality and strength of your printed model.
What is adaptive layer height in Ultimaker Cura?
Adaptive layers in Ultimaker Cura 3.2 and above allow the layer height of your print to adapt to the shape of the object, optimizing both print quality and speed. It automatically adjusts the layer height based on the slope and angle of the outer wall of the model.
How can I start using Cura?
To start using Cura, you need to download and install the software from the Ultimaker website. After installation, you can configure Cura by selecting your 3D printer from a list of supported models.
What settings can I customize in Cura?
Cura offers various settings to customize your print, including nozzle and material presets, print profiles, and individual print settings. Parameters like layer height, infill density, build plate adhesion, and printing temperature can be adjusted to optimize print quality and speed.
How can I fine-tune my print settings in Cura?
In Cura, you can further adjust parameters such as layer height, line width, print speed, wall thickness, infill type and density, support structures, and cooling settings to achieve the desired quality and speed for your prints.
What is the process of slicing in Cura?
Slicing in Cura is the process of converting the digital model into a series of instructions that your 3D printer can understand. After slicing, you can save the print file to a removable disk or SD card for printing.
How can I optimize my 3D prints using Cura?
By properly preparing your print files, utilizing features like adaptive layers and dual extrusion, and fine-tuning your print settings in Cura, you can optimize the performance of your 3D printer and achieve high-quality and efficient prints.
Where can I find support for using Cura?
For tutorials, troubleshooting, and community support, you can visit the Ultimaker website and access their Cura resources and forums.