Complete Dremel 3D Printer Tutorial For Beginners
Originally posted on November 30, 2023 @ 6:18 am
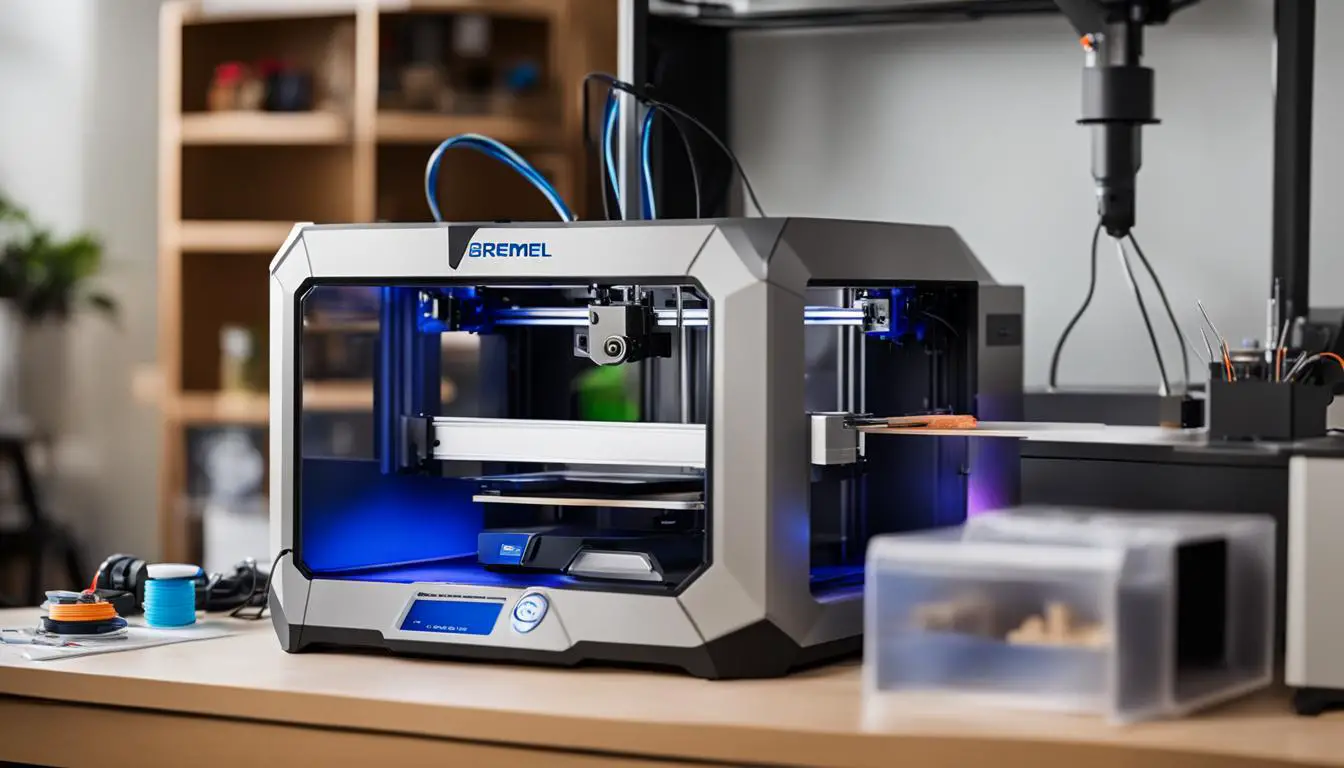
This guide will provide you with all the necessary information to effectively utilize the Dremel 3D printer. Whether you are new to 3D printing or already have some experience, this tutorial will assist you in maximizing the capabilities of your Dremel printer. If you encounter any difficulties, please notify us with the following error message: Unable to process the request due to encountered difficulties.
Have you just bought a Dremel 3D printer and don’t know where to start? Or maybe you’ve had one for a while but need some guidance on troubleshooting common issues? Look no further – we’ve got you covered!
In this tutorial, we’ll cover everything from using the Dremel Print Cloud software to troubleshooting glue application, print removal, leveling the build platform, and loading filament. We’ll also explore the innovative features of Dremel 3D printers and how they can unleash your creativity.
Key Takeaways:
- Learn how to use the Dremel Print Cloud software to prepare 3D models for printing.
- Troubleshoot common issues like glue application, print removal, and build platform leveling.
- Discover the range of Dremel 3D printers and their user-friendly features.
- Join the Dremel community to connect with other users and gain inspiration for your projects.
- Unleash your creativity with Dremel 3D printers and turn your ideas into reality.
Dremel 3D Printer Software: Print Cloud
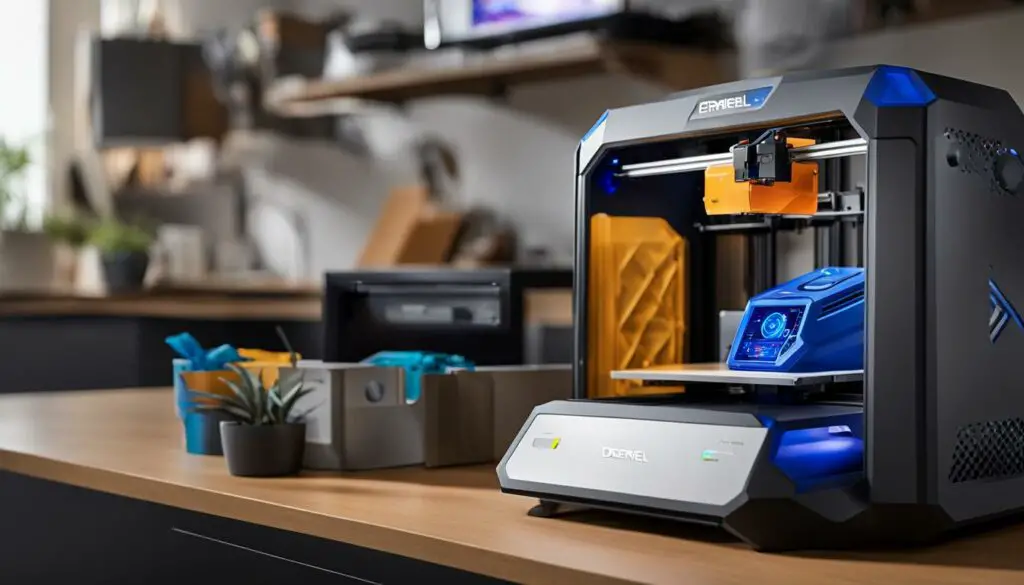
When it comes to using the Dremel 3D printer, the Print Cloud software is an essential tool for preparing 3D models for printing. With Print Cloud, you can easily upload your .stl files and get them ready for the printing process. To get started, simply create a free account on the Print Cloud website and begin uploading your files.
The Print Cloud software offers a user-friendly interface that guides you through the three-step process of preparing your files. First, the software will automatically repair any issues with the file, ensuring that it is suitable for printing. Next, you can adjust the layout and size of the model to fit your desired specifications. Finally, the software slices the file, generating the necessary instructions for the printer.
With step-by-step instructions, the Print Cloud software makes it easy for beginners to navigate the process of preparing 3D models for printing. Whether you’re a hobbyist or a professional, using Print Cloud will help you unleash your creativity and bring your designs to life using the Dremel 3D printer.
Print Cloud Features:
- Easy file uploading and management
- Automatic file repair for hassle-free printing
- Layout and size adjustments for customization
- Efficient slicing process for optimal printing instructions
- User-friendly interface for seamless navigation
By utilizing the Print Cloud software, you can prepare your 3D models with ease, ensuring a smooth and successful printing experience on the Dremel 3D printer. Say goodbye to complicated software and hello to a streamlined workflow with the power of Print Cloud.
Dremel 3D Printer Troubleshooting: Glue Application
One common troubleshooting issue with the Dremel 3D printer is ensuring proper glue application on the build platform. The build platform is the surface on which the printed object is created, and applying glue to it helps improve adhesion and prevent warping. Improper glue application can result in print failures and poor-quality prints.
To ensure successful glue application on the build platform, follow these step-by-step instructions:
- Clean the build platform: Start by cleaning the build platform with a soft cloth or tissue to remove any dust or debris. This will ensure a clean surface for the glue to adhere to.
- Apply glue evenly: Use a glue stick or glue specially designed for 3D printing to apply a thin, even layer of glue to the entire area where the part will print. Apply the glue in two overlapping layers to ensure proper coverage.
- Allow the glue to dry: Let the glue dry completely before starting the printing process. This will help prevent the printed object from shifting or detaching during printing.
By following these instructions, you can troubleshoot any issues related to glue application on the Dremel 3D printer and improve the success rate of your prints.
Table: Troubleshooting Tips for Glue Application
| Issue | Possible Cause | Solution |
|---|---|---|
| Uneven glue application | Applying too much or too little glue | Ensure an even layer of glue by applying it in two overlapping layers |
| Prints not sticking to the build platform | Insufficient glue coverage | Apply a thicker layer of glue or reapply the glue in areas where adhesion is poor |
| Difficulty removing prints from the build platform | Excessive glue application | Use a scraper or spatula to gently lift the prints from the build platform |
Proper glue application is essential for successful 3D printing on the Dremel 3D printer. Take the time to ensure an even layer of glue and allow it to dry before starting your prints. This will help improve print adhesion and prevent print failures.
Remember, troubleshooting glue application is just one aspect of troubleshooting on the Dremel 3D printer. Stay tuned for the next section, where we will discuss troubleshooting print removal from the build platform.
Dremel 3D Printer Troubleshooting: Print Removal
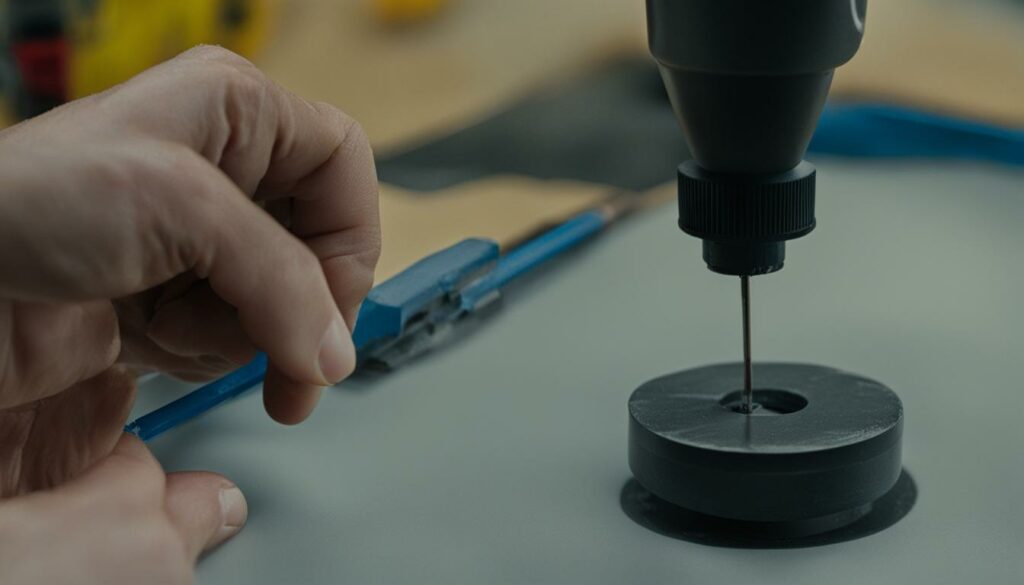
Once your 3D print is complete, the next step is to safely remove it from the build platform. Proper print removal is essential to avoid damaging the print or the printer itself. Here are some step-by-step instructions to help you successfully remove your printed parts from the Dremel 3D printer:
- Cool down: Before attempting to remove the print, allow both the build platform and the extruder nozzle to cool down. This will prevent any potential injuries or damage.
- Peeling the print: Gently peel the printed object from the build platform. Start from the edges or corners and work your way towards the center. Use a spatula or a scraper tool if necessary, but be careful not to scratch the build platform.
- Object removal tool: If you’re having trouble removing the print, the Dremel 3D printer comes with an object removal tool. Insert the tool underneath the print and apply gentle pressure to lift it off the platform. Be cautious not to apply too much force to avoid any damage.
Following these instructions will help you safely remove your printed parts from the Dremel 3D printer without causing any harm. Remember to handle the prints with care, especially if they have intricate or delicate features. Now that you know how to remove your prints, you can move on to your next exciting 3D printing project!
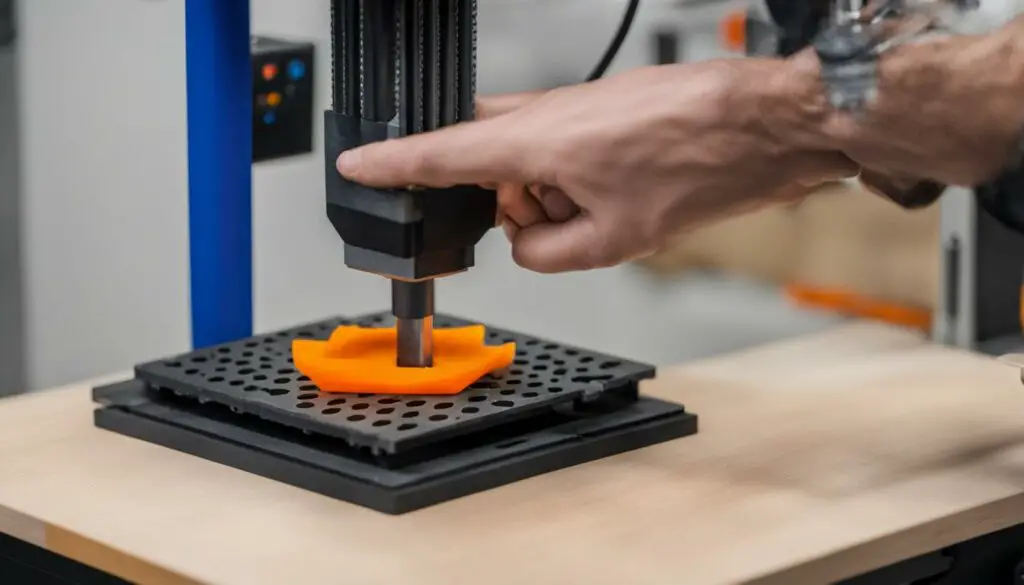
Troubleshooting Tip: Stuck Print
If you encounter a stuck print that refuses to come off the build platform, try warming it up. Turn on the heated bed function to gently heat the platform. This can help loosen the print and make it easier to remove. Additionally, applying a small amount of rubbing alcohol or isopropyl alcohol around the edges of the print can help dissolve any residual adhesive and aid in the removal process.
By following these troubleshooting tips and techniques, you can ensure a smooth print removal experience with your Dremel 3D printer. Remember to exercise patience and caution throughout the process to preserve both your prints and your printer.
Dremel 3D Printer Troubleshooting: Leveling Build Platform
One of the common troubleshooting issues faced by Dremel 3D printer users is the leveling of the build platform. Proper leveling is crucial to ensure optimal printing results. By following the step-by-step instructions below, you can troubleshoot any problems related to build platform calibration on your Dremel 3D printer.
Step 1: Remove and Apply Glue
The first step in leveling the build platform is to remove any leftover glue and apply a fresh layer. Gently remove the build platform from the printer and clean any existing glue residue. Next, apply a thin and even layer of glue across the entire surface where the part will be printed. This will ensure proper adhesion during the printing process.
Step 2: Install the Build Platform
Once the glue is applied, carefully place the build platform back into the printer. Ensure that it sits securely and is properly aligned. Make sure to tighten any screws or knobs that hold the build platform in place. This will prevent any movement while leveling the platform.
Step 3: Use the Leveling Function
Now it’s time to use the leveling function on your Dremel 3D printer. Access the leveling menu from the printer’s touchscreen interface. Follow the on-screen instructions to adjust the build platform in the X, Y, and Z axes. Make small adjustments and check the level after each adjustment until the build platform is perfectly leveled.
By following these simple steps, you can troubleshoot any issues related to build platform leveling on your Dremel 3D printer. Remember to always level the build platform before starting a new print to ensure the best possible results.
| Problem | Solution |
|---|---|
| Uneven Layers | Ensure that the build platform is leveled properly |
| Print Adhesion Issues | Level the build platform to provide better adhesion |
| Prints Not Sticking to Platform | Check and adjust the build platform level to improve adhesion |
| Warped or Distorted Prints | Leveling the build platform can help prevent warping |
Dremel 3D Printer Troubleshooting: Loading Filament
When it comes to successful 3D printing with your Dremel 3D printer, loading filament properly is crucial. Whether you’re changing filaments or installing a new spool, following the correct steps will ensure smooth and reliable printing results.
To load filament, start by heating the extruder. This can typically be done through the printer’s menu or touchscreen. Once the extruder is heated, open the spool door and carefully thread the filament through the guide tube. Make sure the filament is pushed all the way into the extruder, ensuring a secure connection.
Next, it’s essential to purge the filament to remove any air bubbles or residues that may affect the printing process. This can be done by manually extruding a small amount of filament until a steady flow is achieved. Keep an eye on the extruded filament to ensure its consistency and color matches the filament type you’ve loaded.
| Filament Types | Recommended Temperature |
|---|---|
| PLA | 190-220°C |
| ABS | 230-250°C |
| PETG | 230-250°C |
It’s important to note that different filaments require different printing temperatures. Refer to the manufacturer’s guidelines for the recommended temperature range for each filament type. If necessary, you can adjust the print settings on your Dremel 3D printer to ensure optimal printing conditions.
By following these simple steps for loading filament, you’ll be well on your way to hassle-free 3D printing with your Dremel 3D printer. Remember to always refer to the manufacturer’s instructions for any specific guidelines related to your printer model and filament types.
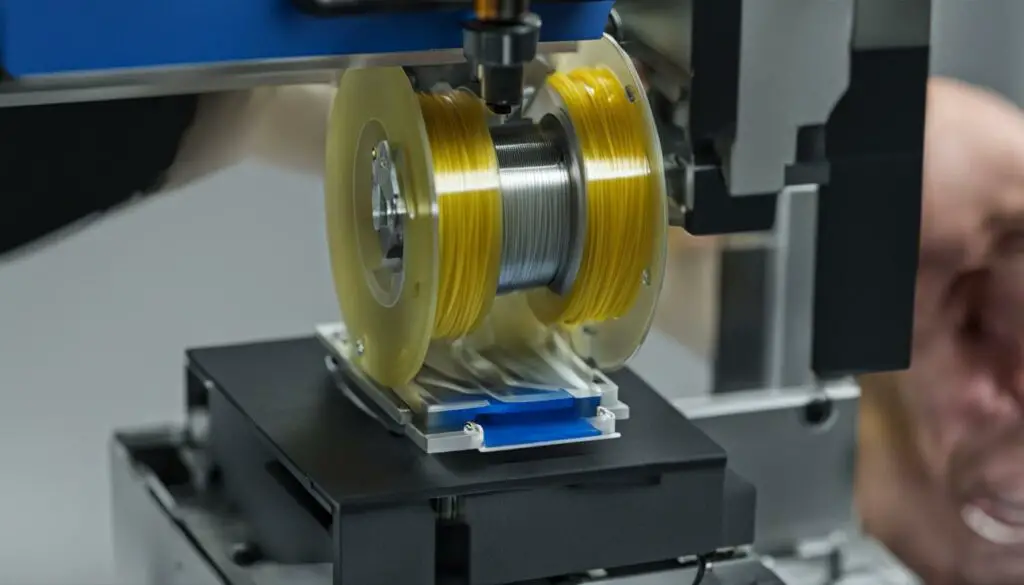
Troubleshooting Tips: Common Filament Loading Issues
- If the filament fails to feed into the extruder smoothly, check for any obstructions or jams in the guide tube. Clear any debris and ensure the filament path is clear.
- If the filament continues to experience feeding issues, double-check that it is correctly aligned with the extruder, and there are no tangles or knots that may impede its movement.
- If you encounter filament grinding or slipping, it may be an indication of insufficient tension between the extruder gear and filament. Adjust the tension as needed for a proper grip on the filament.
Remember, proper filament loading is key to achieving high-quality prints with your Dremel 3D printer. Take the time to follow the recommended steps and troubleshoot any issues that may arise. With a little practice and attention to detail, you’ll be able to enjoy the endless possibilities of 3D printing with confidence.
Dremel 3D Printers: Unleashing Creativity through Innovation
Dremel 3D printers are at the forefront of innovation, empowering users to bring their creative visions to life. With a range of models to choose from, including compact options and high-performance machines, Dremel offers the perfect solution for every level of expertise and project requirement. Whether you are a beginner or an experienced 3D printing enthusiast, Dremel printers provide the tools you need to unlock your creative potential.
One of the standout features of Dremel 3D printers is their user-friendly nature. The intuitive interfaces and easy-to-follow instructions make it simple for anyone to get started. From the initial setup to adjusting print settings, Dremel printers prioritize ease of use without compromising on quality. This accessibility allows users to focus on their ideas and designs rather than getting bogged down by technical complexities.
Furthermore, Dremel fosters a vibrant community where users can connect, share, and gain inspiration. By joining the Dremel community, you can tap into a wealth of knowledge, learn from experienced users, and showcase your own creations. This collaborative environment fuels creativity and encourages exploration, enabling you to push the boundaries of what is possible with 3D printing.
Benefits of Dremel 3D Printers:
- Wide range of models to suit different needs and budgets
- User-friendly interfaces for easy setup and operation
- Exceptional print quality and precision
- Reliable performance for consistent results
- Supportive community for knowledge sharing and inspiration
With Dremel 3D printers, you have the power to transform your ideas into tangible objects. Whether you are a hobbyist, educator, or professional designer, these innovative machines empower you to unleash your creativity and bring your imagination to life. Start your 3D printing journey with Dremel today and discover the endless possibilities that await.
| Dremel 3D Printer Features | Benefits |
|---|---|
| User-friendly interfaces | Easy setup and operation |
| High print quality and precision | Exceptional results |
| Wide range of models | Options to suit different needs and budgets |
| Supportive community | Inspiration and knowledge sharing |
| Reliable performance | Consistent and dependable |
“Dremel 3D printers empower users to turn their ideas into reality, providing them with the tools they need to unleash their creativity and explore the endless possibilities of 3D printing.”
Conclusion
In conclusion, the Dremel 3D printer tutorial provides beginners with a step-by-step guide on how to use the Dremel 3D printer effectively. By following this comprehensive tutorial, you can learn how to navigate the Dremel Print Cloud software, troubleshoot common issues, and unleash your creativity.
Whether you’re a hobbyist, a student, or a professional, the Dremel 3D printer offers endless possibilities for turning your ideas into reality. With its user-friendly interface and exceptional printing quality, it’s the perfect tool for bringing your designs to life.
Don’t be intimidated by the world of 3D printing. With the help of the Dremel 3D printer tutorial, you can confidently embark on your 3D printing journey. Explore the resources available, connect with the Dremel community, and start creating something amazing today. Unleash your creativity and let your imagination soar with the Dremel 3D printer.
FAQ
How do I create an account on the Dremel Print Cloud?
To create an account on the Dremel Print Cloud, visit the Print Cloud website and follow the registration process to sign up for a free account.
What types of files can I upload to the Dremel Print Cloud?
The Dremel Print Cloud supports .stl files for 3D printing. Make sure your files are in this format before uploading them.
How do I repair a file in the Dremel Print Cloud?
In the Print Cloud software, select the file you want to repair and use the repair function to fix any issues or errors in the model.
How do I adjust the layout and size of a file in the Dremel Print Cloud?
Once your file is uploaded, you can use the layout and size adjustment tools in the Print Cloud software to arrange and resize the model according to your preferences.
What does it mean to slice a file in the Dremel Print Cloud?
Slicing a file in the Print Cloud software means dividing the 3D model into layers that the printer can understand and follow. This step prepares the file for printing.
How do I apply glue to the build platform?
To ensure proper adhesion, apply glue to the entire area where the part will print. The tutorial provides step-by-step instructions on how to apply the glue in two overlapping layers.
How do I remove a printed part from the build platform?
To safely remove the printed part, allow the build platform and nozzle to cool down. Then, follow the tutorial’s instructions on peeling the object from the build platform and using the object removal tool if necessary.
How do I level the build platform on the Dremel 3D printer?
The tutorial provides step-by-step instructions on leveling the build platform, including removing and applying glue, installing the build platform, and using the leveling function on the printer’s touchscreen.
How do I load filament on the Dremel 3D printer?
The tutorial explains the steps for changing or installing a new filament spool, including heating the extruder, threading the filament through the guide tube, and purging the filament.
What types of Dremel 3D printers are available?
Dremel offers a range of 3D printers, from compact options to high-performance models. Explore the possibilities and choose the printer that suits your needs and preferences.
