Build Your Own 3D Printed TARDIS Arduino Model
Originally posted on January 8, 2024 @ 9:39 pm
In this guide, we will assist you in the creation of your own TARDIS model using Arduino and 3D printing technology. We will offer you detailed steps and useful suggestions to guarantee a successful construction.
Key Takeaways
- Create a unique TARDIS model with 3D printing and Arduino technology
- Research the dimensions and proportions of the TARDIS before starting your project
- Use CAD software to design and save your 3D model in the STL file format
- Add lights, sound effects, and other modifications to your finished TARDIS model
- Follow precise measurement, cutting, and assembly instructions for a successful build
Step 1: Researching the Challenge
Before embarking on your TARDIS Arduino project, it is essential to conduct thorough research. This will provide you with crucial insights into the dimensions and proportions of the TARDIS, enabling you to create an accurate 3D model. Gathering reference images and measurements is a crucial step in developing your own size chart, ensuring the utmost precision in your 3D printed model.
Researching the TARDIS Arduino project involves exploring various sources such as Doctor Who episodes, official merchandise, and fan creations. These resources will offer valuable visual references and measurements to guide you in creating an authentic replica. By delving into the TARDIS’s intricate design, you’ll gain a deeper appreciation for its iconic features.
It’s recommended to browse online forums and communities dedicated to TARDIS replicas and Arduino projects. Interacting with fellow enthusiasts can provide invaluable tips, advice, and even access to existing 3D models. Collaborating with others who share your passion will enhance your understanding of the project and foster a sense of camaraderie.
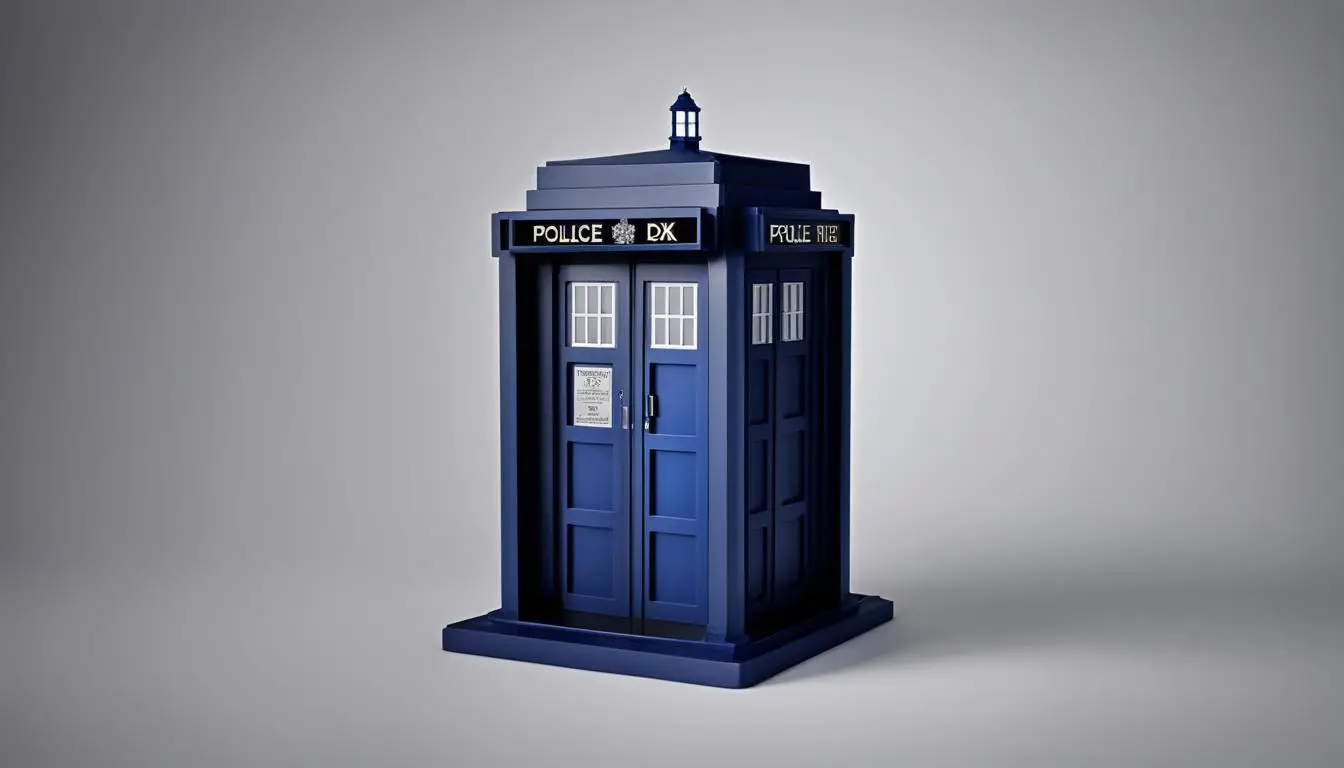
With accurate reference materials in hand, we can ensure that our 3D printed TARDIS with Arduino will be an impressive replica, capturing the essence of the legendary time-traveling police box.
To aid you in your research, here are some reputable sources:
- Official Doctor Who merchandise websites
- Doctor Who fan forums and communities
- 3D printing enthusiast communities
- Online repositories for 3D models
Remember, the key to a successful TARDIS Arduino project lies in meticulous research, attention to detail, and a genuine love for the Doctor Who universe.
Step 2: 3D Model
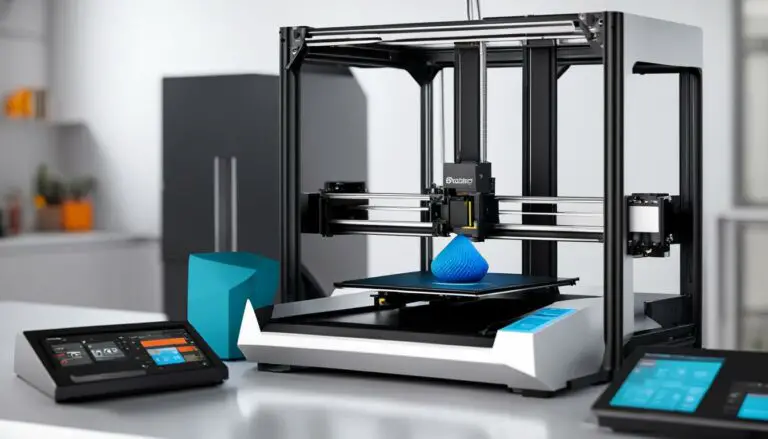
Once you have gathered your reference images and measurements, you can begin creating the 3D model of the TARDIS. This can be done using CAD software or any 3D modeling program of your choice.
Important:
In order to print the model, you will need to save it in the STL file format. This format is commonly used for 3D printing and ensures compatibility with most 3D printers.
When creating your 3D model, it’s crucial to consider the size of your TARDIS replica. Refer to your measurements and scale the model accordingly. Additionally, think about whether or not supports will be needed during printing to ensure the stability of intricate parts.
Calibration of your printer is another aspect to pay attention to. A properly calibrated printer will produce accurate prints, ensuring that your TARDIS replica pieces fit together perfectly. Make sure to follow the manufacturer’s instructions or consult online resources for calibration procedures specific to your printer model.
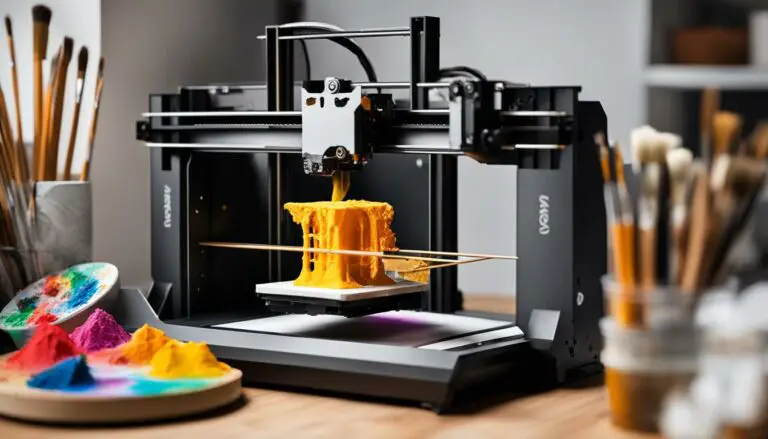
Choosing the right filament for your 3D printed TARDIS is essential. Consider the material properties, color, and finish to achieve the desired look and feel. For a more authentic appearance, look for filaments that resemble the texture and color of the TARDIS in the Doctor Who series.
Recommended CAD Software and Programs
There are several CAD software and 3D modeling programs available that can assist you in creating your TARDIS model. Here are some popular choices:
- Autodesk Fusion 360: A powerful and intuitive CAD software that offers both free and paid subscription plans.
- Blender: A versatile open-source 3D modeling program with a strong community and extensive features.
- SolidWorks: A professional CAD software widely used in engineering and industrial design.
Remember, your 3D model is the foundation of your 3D printed TARDIS Arduino replica. Take your time to ensure accuracy and precision, as it will greatly impact the final result of your project.

Continue reading to learn more about the final steps in creating your own TARDIS Arduino replica.
Step 3: Finished Product
Once you have completed the 3D printing process, you will have a finished TARDIS model. You can choose to keep it as it is or modify it further. Many enthusiasts have added lights and sound effects to their Arduino controlled TARDIS models, creating a unique and interactive experience. You can also explore different paint finishes or add additional details to make your TARDIS truly one-of-a-kind.
Adding lights and sound effects to your Arduino controlled TARDIS model can elevate your project to the next level. By incorporating LEDs and speakers, you can bring your TARDIS to life and create an immersive experience. Imagine the excitement of seeing the iconic light at the top of the TARDIS flashing along with the sound of its signature dematerialization.
“I decided to add lights and sound effects to my Arduino controlled TARDIS model, and it completely transformed the experience. The moment I turned it on and heard the familiar TARDIS sound, I felt like I was stepping into the world of Doctor Who. It’s truly a fantastic addition to my collection.” – Sarah, TARDIS enthusiast.
Exploring different paint finishes can also give your TARDIS model a personalized touch. You can opt for a classic blue paint job or get creative with custom designs. Consider using metallic or glossy finishes to add a touch of elegance. The choice is yours, and you have the freedom to make your TARDIS reflect your unique style and taste.
Additionally, you can add extra details to your TARDIS model to make it stand out. Enhancements such as interior decorations, functional doors, or even a miniature console can take your project to the next level. Let your imagination run wild and make your TARDIS truly one-of-a-kind.

Stay tuned for the next section where we dive into the precise measurements, cutting, and assembly required to bring your very own 3D printed TARDIS with Arduino to life!
Measurement, Cutting and Assembly
Building a 3D printed TARDIS with Arduino requires precise measurement, cutting, and assembly. To ensure an accurate build, it is essential to carefully measure and cut out the panels for the TARDIS walls. The panels need to be square at the corners to maintain the correct proportions of the iconic time-traveling police box.
Before assembly, we recommend painting the panels to achieve the desired color scheme. This step adds a personal touch and enhances the overall appearance of your TARDIS model. Choose colors that closely resemble the original TARDIS or get creative and add your own unique twist.
To guide you through the assembly process, here are detailed instructions for building your 3D printed TARDIS:
1. Assembling the Panels
- Carefully align and join the panels to create the TARDIS structure. Refer to your reference images or 3D model for guidance on the correct placement of each panel.
- Secure the panels together using adhesive suitable for the material you are working with. Ensure the panels are firmly attached to create a sturdy TARDIS model.
2. Adding Window Slats
Next, you’ll want to add window slats to give your TARDIS more authenticity. Use thin strips of plastic or another suitable material to create the slats. Align and attach them to the TARDIS walls, following the design of the windows on the original TARDIS.
3. Installing the “FREE PUBLIC” Sign
The “FREE PUBLIC” sign is a distinctive feature of the TARDIS. Print or create a small sign that mirrors the original design, and attach it to the respective panel of your model. This sign adds another layer of detail to your 3D printed TARDIS replica.
4. Attaching Magnetic Strips for the Door Closure Mechanism
For an authentic touch, you can incorporate a door closure mechanism using magnetic strips. Attach one strip to the TARDIS door and the corresponding strip to the TARDIS structure. The magnets will hold the door securely closed while remaining easy to open when desired.
By following these step-by-step instructions, you’ll be able to assemble your 3D printed TARDIS with precision and accuracy. Remember to pay attention to details and enjoy the process of bringing this iconic time machine to life!
| Materials | Tools |
|---|---|
|
|
Conclusion
Building your own 3D printed TARDIS Arduino model is a rewarding and creative project for Doctor Who fans and DIY enthusiasts alike. By harnessing the power of 3D printing and Arduino technology, you can bring the iconic TARDIS to life in your own home.
Throughout this tutorial, we have guided you through the process of researching, designing, and assembling your TARDIS model. With meticulous measurement and careful assembly, you can create a true replica of the TARDIS, complete with customized features like lights and sounds.
The combination of 3D printing and Arduino technology opens up endless possibilities for adding interactive elements to your TARDIS model. Not only can you replicate the iconic exterior, but you also have the opportunity to create a truly immersive experience by incorporating elements like sound effects and lighting.
So, gather your materials, follow the step-by-step instructions provided, and embark on this exciting adventure to create your own 3D printed TARDIS Arduino model. Let your creativity flow and enjoy the satisfaction of bringing the TARDIS to life in your own home.
FAQ
What is the TARDIS Arduino project?
The TARDIS Arduino project is a DIY project that involves creating a 3D printed replica of the TARDIS, the iconic time machine from the Doctor Who television series. The project incorporates Arduino technology to add customizable features such as lights and sound effects.
How do I create a 3D model of the TARDIS?
To create a 3D model of the TARDIS, you will need to gather reference images and measurements of the original prop. Using CAD software or a 3D modeling program, you can design the TARDIS model and save it in the STL file format for 3D printing.
Can I add lights and sound effects to my 3D printed TARDIS?
Yes, many DIY enthusiasts have added lights and sound effects to their Arduino controlled TARDIS models. You can incorporate LEDs for interior lighting and use the TMRpcm library to play sound files, including the Doctor Who TARDIS sound and music theme.
Where can I find the Arduino program and STL files for the TARDIS project?
Some DIY enthusiasts have shared their Arduino programs and STL files for the TARDIS project online. These resources can often be found on websites, forums, or online repositories dedicated to sharing DIY projects and 3D printing files.
How do I assemble the 3D printed TARDIS model?
The assembly process for the 3D printed TARDIS model involves cutting out the panels for the walls, ensuring they are square at the corners, and painting them before assembly. Detailed instructions are available to guide you through attaching window slats, installing the “FREE PUBLIC” sign, and attaching magnetic strips for the door closure mechanism.
Is building a 3D printed TARDIS Arduino model difficult?
Building a 3D printed TARDIS Arduino model requires precise measurement, cutting, and assembly. However, with the right research, measurements, and following step-by-step instructions, it is a rewarding and achievable project for Doctor Who fans and DIY enthusiasts.