Essential Painting 3D Prints Checklist For Enthusiasts
Originally posted on December 15, 2023 @ 10:40 pm
In this piece, we will discuss the necessary checklist for applying paint to 3D prints, providing detailed instructions, methods for painting, and suggestions for top-quality paints and finishes. Whether you are new to the process or a seasoned hobbyist, this guide will assist you in enhancing your 3D printed creations with vivid hues and a polished appearance.
Key Takeaways:
- Prepare your 3D printed model by sanding and priming it to create a smooth surface for paint adhesion.
- Choose the best paint for your project, such as acrylic paint or spray paint, and apply thin, even coats for a professional finish.
- Consider using techniques like airbrushing to achieve precise control and create gradients and smooth effects.
- Don’t forget the finishing touches, such as clear coats or sealants, to protect and polish your painted 3D prints.
- Experiment with different painting techniques and materials to unleash your creativity and personalize your creations.
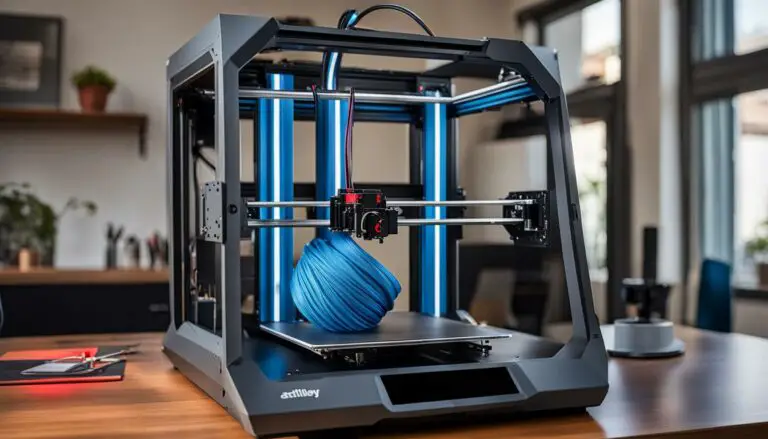
Materials Needed to Prepare 3D Prints for Painting
To prepare your 3D prints for painting, you’ll need a variety of materials. These include:
- Sandpaper for 3D prints: Different grades of sandpaper will be required to smooth the surface of the model. This will help in eliminating any visible layer lines and create a smoother finish.
- Rotary tools for sanding: Used to perform more precise sanding on specific areas that require extra attention.
- Primers for smoothing 3D prints: Brush-on and spray-on primers will help fill in imperfections and create a smooth base for the paint to adhere to.
- Spray booth for airbrushing: A well-ventilated area specifically designed for airbrushing, ensuring proper ventilation and minimizing the inhalation of fumes.
- Masking tape for protection: Used to cover areas that you don’t want to paint, ensuring clean and precise lines.
- Toothbrush for cleaning: An old toothbrush or scrub brush can be used to remove any dust or debris from the model before painting.
- Best paint for 3D prints: Choose high-quality paints specifically formulated for 3D prints, such as acrylics or spray paints.
- Water for cleaning: Used to clean brushes and other painting tools.
- Soft cloth for dust removal: A gentle cloth can be used to wipe away any dust particles that may have settled on the model.
- Dowels for rotating: Different sizes of dowels can be used to mount the model and rotate it while painting, allowing easier access to all sides.
- Drill for mounting: Used to create holes in the model for mounting it onto the dowels.
Table: Materials Required for Preparing 3D Prints for Painting
| Material | Description |
|---|---|
| Sandpaper for 3D prints | Different grades of sandpaper for smoothing the surface of the model |
| Rotary tools for sanding | Tools for precise sanding on specific areas |
| Primers for smoothing 3D prints | Brush-on and spray-on primers to fill in imperfections |
| Spray booth for airbrushing | A well-ventilated area for airbrushing |
| Masking tape for protection | Used to cover areas to be protected |
| Toothbrush for cleaning | Used to remove dust and debris |
| Best paint for 3D prints | High-quality paints specifically formulated for 3D prints |
| Water for cleaning | Used for cleaning brushes and tools |
| Soft cloth for dust removal | Used to wipe away dust particles |
| Dowels for rotating | Various sizes for mounting and rotating the model |
| Drill for mounting | Used to create holes for mounting the model |
By gathering these materials, you’ll be well-equipped to prepare your 3D prints for painting and achieve professional-looking results.
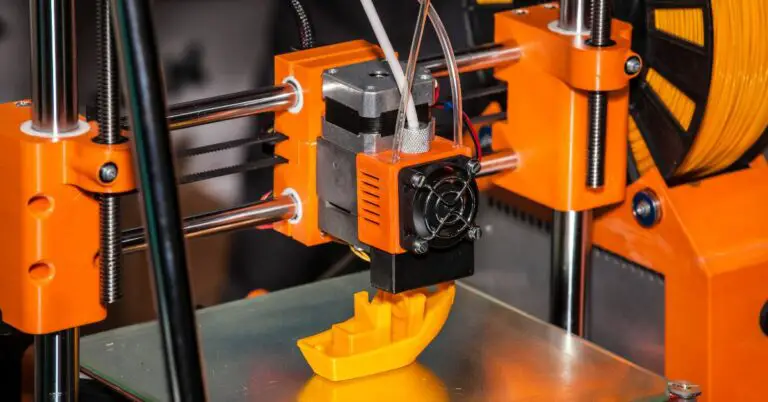
Steps to Smooth 3D Prints
Smoothing 3D prints is an essential step to achieve a polished surface. Follow these steps to effectively smooth your prints:
1. Remove support material
Begin by carefully removing any support material that was used during the printing process. Use a knife or pliers to gently detach the supports from the print. Take your time to ensure that all support material is removed without causing any damage to the model.
2. Sanding process
Next, start the sanding process to smooth out the surface of the 3D print. Begin with a coarse grit sandpaper and gradually work your way up to a finer grit. This will help eliminate any visible layer lines and create a smoother finish. Remember to sand in a consistent direction to achieve an even surface.
3. Use sandpaper grits
Choose the appropriate grits of sandpaper based on the condition of your print. Lower grits, such as 80 or 120, are ideal for removing larger imperfections and rough surfaces. Higher grits, such as 220 or 400, are better for refining the surface and achieving a smoother finish.
| Grit | Common Use |
|---|---|
| 80-120 | Removes larger imperfections |
| 220-400 | Refines the surface |
Remember to frequently clean the sandpaper or replace it when it becomes clogged with residue. This will ensure effective sanding and prevent any unwanted scratches on the print.
4. Apply primer for smoothing
After sanding, apply a suitable primer to fill in any remaining imperfections and create an even surface. A sandable spray primer is recommended as it allows for easier sanding and provides a smoother base for painting. Apply thin, even coats of primer and allow each coat to dry before applying the next.
5. Polish the 3D print
Once the primer is dry, give your 3D print a final polish to achieve a professional result. Use a soft cloth or a polishing compound to gently buff the surface and remove any remaining imperfections. This step will help bring out the smoothness and shine of your print.
By following these steps, you can effectively smooth your 3D prints and achieve a flawless finish. Taking the time to properly smooth your prints will result in higher quality results and make your painted 3D prints truly stand out.
Applying Paint to 3D Prints
When it comes to bringing your 3D prints to life with vibrant colors, there are various techniques you can use to apply paint. Two popular methods include using spray paint or airbrushing. Spray paint allows for quick and even coverage, while airbrushing gives you more control and the ability to create gradients and smooth effects.
To achieve a professional finish, it’s important to apply multiple thin coats of paint. This allows for better coverage and helps prevent drips or uneven texture. You can also experiment with blending colors to create unique and eye-catching designs. Whether you choose spray paint or airbrushing, the key is to work in thin layers and build up the color gradually.
If you prefer a more solid base color, you can use an undercoat to block the primer and create a richer color. This can be particularly helpful when using lighter or translucent paints. Additionally, you can choose to apply thin or thick coats depending on the effect you want to achieve. Thin coats will give a more transparent or translucent look, while thick coats will provide a more opaque finish.
After applying the paint, it’s important to consider adding a clear coat or sealant to protect the painted surface and give it a polished look. This will help prevent chipping and fading over time. Make sure to select a clear coat that is compatible with your chosen paint to ensure optimal results.
Table: Pros and Cons of Spray Paint and Airbrushing
| Technique | Pros | Cons |
|---|---|---|
| Spray Paint | – Quick and even coverage – Wide range of colors available – Suitable for large areas |
– Limited control over finer details – More prone to overspray – Can be difficult to achieve gradients |
| Airbrushing | – Precise control over paint application – Ability to create gradients and smooth effects – Ideal for intricate details |
– Requires more time and practice to master – Additional equipment needed for proper ventilation – Can be costly |
Conclusion
Painting 3D prints is a fun and creative process that allows you to add a personal touch to your models. By following the post-processing techniques and safety precautions outlined in this guide, you can achieve professional finishes on your 3D printed objects.
Preparation is key to successful painting. Start by thoroughly cleaning your prints and smoothing out any imperfections through sanding and smoothing. This will ensure that the paint adheres smoothly and evenly to the surface. Don’t forget to apply a primer to create a solid base for the paint.
When it comes to painting techniques, you can choose between spray painting and airbrushing. Both methods have their advantages and allow you to achieve different effects. Experiment with different techniques to find the one that suits your style and the desired outcome.
To achieve a professional finish, apply multiple thin coats of paint, allowing each layer to dry before applying the next one. This will help prevent drips and create a smooth and even color. Lastly, consider adding a clear coat or sealant to protect your painted 3D prints and give them a polished look.
FAQ
What are the essential steps for painting 3D prints?
The essential steps for painting 3D prints include sanding and priming the model, choosing the right paint, applying thin, even coats, and adding finishing touches like clear coats or sealants.
What materials do I need to prepare my 3D prints for painting?
You will need sandpaper of different grades, rotary tools or a hand file, brush-on and spray-on primers, a spray booth, gloves, a respirator, masking tape, an old toothbrush or scrub brush, the best paint for 3D prints, water, a soft cloth, dowels of different sizes, and a drill.
How can I smooth out my 3D prints?
To smooth out your 3D prints, start by removing support material carefully, then sand the model with different grits of sandpaper to eliminate visible layer lines. After sanding, apply a primer to fill in imperfections and create an even surface. Finally, polish the model for a professional result.
What are the techniques for applying paint to 3D prints?
The two main techniques for applying paint to 3D prints are spray painting and airbrushing. Spray paint allows for quick and even coverage, while airbrushing offers more control and the ability to create gradients and smooth effects. Apply multiple thin coats for better coverage, and consider using an undercoat and clear coat for a polished finish.
What is the overall process for painting 3D prints?
The overall process for painting 3D prints involves preparing the model by sanding and priming, choosing the right paint and applying it using spray painting or airbrushing techniques, and adding finishing touches like clear coats or sealants. Safety precautions should be taken, and proper preparation is essential for achieving professional finishes.