Complete Flashforge 3D Printer Tutorial For Beginners
Originally posted on November 28, 2023 @ 8:02 pm
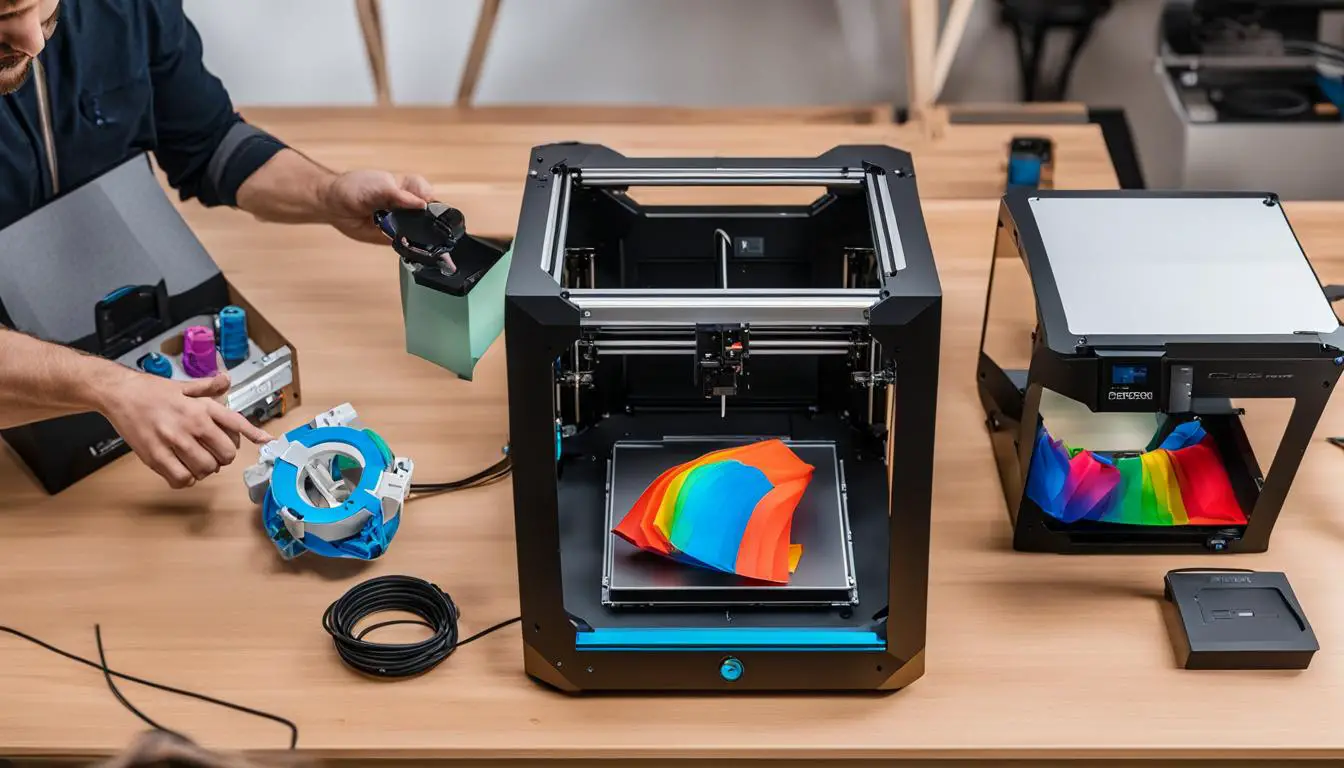
We are excited to introduce a user-friendly guide for using the Flashforge 3D printer, perfect for beginners or those seeking to improve their skills in 3D printing. This tutorial will equip you with the necessary knowledge and confidence to design, personalize, and print your own creations on the Flashforge 3D printer.
Key Takeaways
- The Flashforge 3D printer is an innovative and reliable choice for beginners and professionals alike in the field of 3D printing.
- Setting up your printer and gathering essential supplies such as resin, nitrile gloves, FEP film, isopropyl alcohol, and slicer software is crucial for a smooth printing experience.
- Understanding the process of finding or creating 3D models, and using slicing software to prepare them for printing is essential.
- Optimizing print settings, considering support structures, minimizing layer lines, and estimating print time and filament weight are key factors for successful prints.
- Post-processing steps like cleaning prints, curing them with UV rays, and applying finishing touches enhance the final result of your Flashforge 3D prints.
What is a Flashforge 3D Printer?
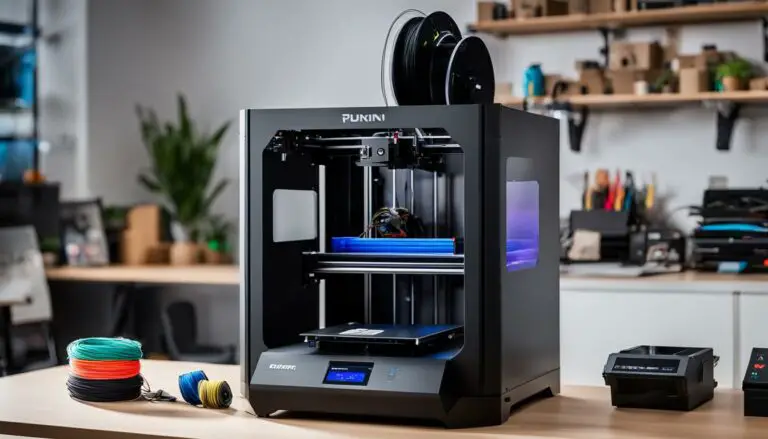
Flashforge 3D printers are renowned for their innovative design and the high-quality prints they produce. These printers utilize advanced 3D printing technology to create objects layer by layer, resulting in a smooth and detailed finish. Whether you are a beginner or a professional, Flashforge printers offer a reliable and user-friendly experience, making them a popular choice in the 3D printing community.
Flashforge 3D printers are equipped with cutting-edge features that enhance the overall printing process. They incorporate precise mechanisms and components to ensure precise filament deposition, resulting in accurate and intricately detailed prints. The printers also utilize optimized cooling systems to prevent overheating and maintain consistent print quality.
The innovative technology behind Flashforge 3D printers allows users to bring their ideas to life with ease. The printers come with intuitive interfaces and user-friendly software, making them accessible even to those who are new to 3D printing. This user-focused approach eliminates the steep learning curve often associated with other 3D printers, allowing beginners to dive into the world of 3D printing right away.
In addition to their innovative technology, Flashforge 3D printers are known for their durability and reliability. These printers are built to withstand long hours of printing without compromising on the quality of the final output. Flashforge is committed to providing high-quality printers that can consistently deliver outstanding results, ensuring that users can rely on their machines for both personal and professional projects.

Key Features of Flashforge 3D Printers:
- Advanced 3D printing technology for precise and detailed prints
- User-friendly interfaces and software for easy navigation and operation
- Optimized cooling systems for consistent print quality
- Durable and reliable construction for long-lasting performance
With their innovative technology, high-quality prints, and user-friendly experience, Flashforge 3D printers have established themselves as a leading choice in the world of 3D printing. Whether you are a hobbyist or a professional, these printers offer the tools you need to bring your ideas to life in a reliable and efficient manner.
Getting Started with a Flashforge 3D Printer
Setting up your Flashforge 3D printer is the first step towards unlocking the world of 3D printing. Before diving into the exciting process of creating and printing your own designs, there are a few essential supplies and preparations you need to make.
Gathering Supplies
- Resin: Resin is the material used for printing in a Flashforge 3D printer. Make sure you have enough resin for your desired prints. Different resins have different properties, so choose the one that best suits your needs.
- Nitrile Gloves: Nitrile gloves are important for your safety while handling resin. They provide protection against skin irritation and ensure a clean working environment.
- FEP Film: The FEP film is a crucial component that protects the print vat from resin leaks. It’s essential to check the condition of the FEP film regularly and replace it when needed.
- Isopropyl Alcohol: Isopropyl alcohol is used for cleaning the printer and removing excess resin. It’s important to have a sufficient supply of isopropyl alcohol to maintain the cleanliness of your printer.
- Slicer Software: Slicer software is used to prepare your 3D designs for printing. Flashforge printers are compatible with various slicing programs, such as Flashprint and Simplify3D. Choose the software that suits your preferences and learn how to use it effectively.
By gathering and preparing these supplies, you will be well-equipped to start your 3D printing journey with your Flashforge printer.

Setting Up Your Flashforge 3D Printer
Once you have gathered all the necessary supplies, it’s time to set up your Flashforge 3D printer. Follow these steps:
- Find a suitable location for your printer. Ensure it has enough space and ventilation to operate safely.
- Unpack your printer and remove any packaging materials.
- Connect the printer to a power source and turn it on.
- Install the build plate and leveling platform according to the manufacturer’s instructions.
- Load the resin into the printer’s resin vat.
- Connect the printer to your computer using a USB cable or set up a wireless connection if available.
- Install the necessary software and drivers for your Flashforge printer.
- Calibrate the print bed and ensure it is leveled properly.
- Perform a test print to check if everything is functioning correctly.
Once you have completed these steps, your Flashforge 3D printer will be ready for action. Now you can move on to the exciting process of creating and printing your own 3D designs.
| Supply | Importance |
|---|---|
| Resin | Essential for printing |
| Nitrile Gloves | Ensures safety while handling resin |
| FEP Film | Protects the print vat from resin leaks |
| Isopropyl Alcohol | Cleans printer and removes excess resin |
| Slicer Software | Prepares 3D designs for printing |
Creating 3D Models for Printing
Before you can start printing with your Flashforge 3D printer, you will need to have a 3D model ready for printing. There are two ways you can obtain a 3D model – you can either create one from scratch using 3D modeling software or find one online that suits your needs. Many websites offer free and paid 3D models in various formats, including the popular .stl format.
If you are new to 3D modeling, there are beginner-friendly software options available that allow you to create basic 3D models without a steep learning curve. Some popular options include Tinkercad, Fusion 360, and Blender. These software programs provide intuitive interfaces and step-by-step tutorials to help you get started.
Once you have your 3D model, you will need to use slicing software to prepare it for printing. Slicing software takes the 3D model and converts it into a set of instructions that your Flashforge 3D printer can understand. The software allows you to adjust settings such as layer height, infill density, and support structures.
Recommended Slicing Software for Flashforge 3D Printers
| Slicing Software | Compatibility | Features |
|---|---|---|
| FlashPrint | Compatible with Flashforge printers | Intuitive interface, automatic support generation, advanced settings |
| Cura | Compatible with Flashforge printers (requires plugin) | Extensive customization options, plugin support |
| Simplify3D | Compatible with Flashforge printers | Advanced customization, multi-material support |
Once you have selected your slicing software and adjusted the settings to your liking, you can export the sliced file and transfer it to your Flashforge 3D printer. Make sure to save the file in a format that your printer supports, such as .gx or .gcode. Now you are ready to start printing your 3D model!

Print Settings
Here are some key print settings to consider when using your Flashforge 3D printer:
- Layer Height: Adjust the layer height to control the level of detail and smoothness in your prints. A smaller layer height produces finer details but increases print time.
- Infill Density: Infill refers to the internal structure of your print. Adjusting the infill density affects the strength and weight of the print. Higher infill densities result in stronger prints but require more material and time.
- Print Speed: The speed at which your printer moves during the print job. Higher print speeds can reduce print time but may sacrifice print quality.
- Print Temperature: The temperature at which the printer’s nozzle and bed are set. The ideal temperature depends on the type of filament you are using. Refer to the filament manufacturer’s recommendations for the best results.
Remember, it’s always a good idea to experiment with different print settings and observe the results. This will help you fine-tune your settings based on your specific needs and preferences.
| Setting | Effect |
|---|---|
| Layer Height | Controls level of detail and smoothness |
| Infill Density | Affects strength and weight of print |
| Print Speed | Impact on print time and quality |
| Print Temperature | Determines nozzle and bed temperature |
By understanding and adjusting these print settings, you can optimize your prints and achieve the desired results on your Flashforge 3D printer. It may take some trial and error, but with patience and practice, you’ll be able to create impressive 3D prints.
Post-Processing and Finishing Touches
Now that your print is complete, it’s time to give it the finishing touches to ensure a polished result. Post-processing is an essential step in the 3D printing process that helps enhance the aesthetics and functionality of your prints. In this section, we will guide you through the post-processing steps for Flashforge 3D prints, including cleaning, curing, and additional finishing touches.
Cleaning
After removing your print from the build plate, it’s important to clean off any excess resin. Fill a container with isopropyl alcohol and place your print inside. Gently agitate the container to ensure the alcohol reaches all surfaces of the print. This will help remove any uncured resin and leave your print clean and ready for the next step.
Curing
Curing is an important process that helps strengthen and harden your resin prints. One effective method of curing is using UV rays. You can place your prints in a UV curing chamber or use a UV light source to expose them to the necessary wavelengths. This process helps improve the mechanical properties of the print and gives it a more durable finish.
Additional Finishing Touches
Once your print is clean and cured, you can add some additional finishing touches to enhance its appearance. You may choose to sand down any rough edges or imperfections using fine-grit sandpaper. Applying a coat of clear resin or epoxy can give your print a glossy finish. Furthermore, you can also paint your print using acrylic or enamel paints to add color and detail.
Remember, post-processing is a personal preference, and you can experiment with different techniques to achieve the desired result. Take your time, be patient, and enjoy the process of turning your 3D prints into stunning creations.
Conclusion
In conclusion, this tutorial provides a comprehensive guide on how to use a Flashforge 3D printer for beginners. Whether you’re new to 3D printing or looking to expand your skills, this tutorial will help you navigate the world of 3D printing with confidence.
We’ve covered everything from setting up your Flashforge printer to creating and printing your own designs. With the step-by-step instructions and tips provided, you’ll be able to create, customize, and print unique objects that reflect your creativity.
By following this tutorial, you’ll gain the knowledge and skills necessary to unleash your creativity and explore the endless possibilities of 3D printing. So, grab your Flashforge 3D printer and get ready to bring your ideas to life. Happy printing!
FAQ
What supplies do I need to use a Flashforge 3D printer?
You will need resin for printing, nitrile gloves for safety, FEP film to protect the print vat, isopropyl alcohol for cleaning, and slicer software for preparing your 3D designs.
Where can I find 3D models to print with my Flashforge 3D printer?
You can find a wide range of printable models online, and most of these models come in the .stl format.
How do I adjust the print settings on my Flashforge 3D printer?
We will guide you through the different print settings and explain how to adjust them for optimal results.
How do I clean my 3D prints after they are done?
We will guide you through the process of cleaning your print using isopropyl alcohol and removing any support structures.
Why is curing my print important?
Curing your print using UV rays helps to ensure a finished and polished result.
Are there any additional finishing touches I can apply to my resin prints?
Yes, we will suggest additional finishing touches you can apply to your resin prints to enhance their appearance.