Complete 3D Shapes Drawing Tutorial For Beginners
Originally posted on December 9, 2023 @ 1:03 pm
In this guide, we will guide you through the exciting realm of 3D shape illustration. Whether you’re a novice seeking to grasp the fundamentals or a budding artist eager to enhance your abilities, this tutorial is tailored for you.
3D shapes are all around us, and being able to draw them can bring your art to life. From cubes and cylinders to pyramids and spheres, you will learn step-by-step techniques to create these shapes with ease. We will guide you through the process, ensuring you understand each step and can apply the techniques to your own creations.
Geometric drawing and 3D shape art can be challenging, but with our beginner’s guide, you’ll gain the confidence to tackle any shape. With each section, we will break down the process, provide detailed instructions, and offer tips and tricks to enhance the realism of your drawings.
Are you ready to dive into the world of 3D shapes and take your drawing skills to the next level? Let’s get started!
Key Takeaways:
- Learn step-by-step techniques for drawing various 3D shapes.
- Master the art of creating depth and realism in your drawings.
- Explore different shading techniques to enhance the 3D effect.
- Practice drawing cubes, cylinders, pyramids, spheres, cones, and more.
- Expand your skills with advanced techniques for drawing complex 3D shapes.
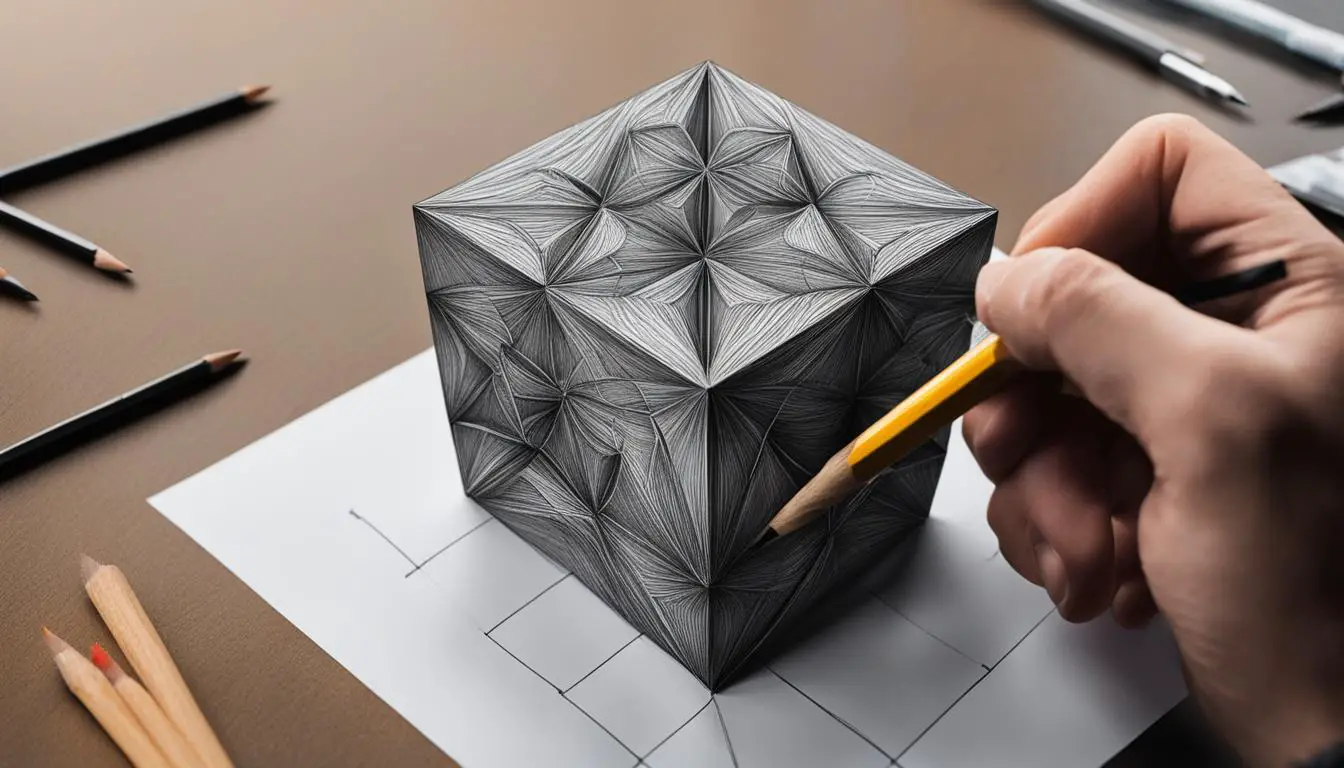
Drawing a Cube – Step by Step Guide
| Step | Description |
|---|---|
| 1 | Start by drawing a square as the base of your cube. Make sure all four sides are equal in length. |
| 2 | Next, draw two vertical lines extending from the top two corners of the square. These lines will represent the height of your cube. |
| 3 | Connect the top ends of the vertical lines with a straight line. This will form the top face of your cube. |
| 4 | To complete the cube, draw two diagonal lines connecting the bottom corners of the square to the corresponding corners of the top face. |
| 5 | You can now add shading to create a three-dimensional effect. Determine the light source and darken one side of the cube, leaving the opposite side lighter. |
Drawing a cube may seem simple, but paying attention to the angles and proportions is essential for creating a realistic three-dimensional shape. By following these step-by-step instructions, you will be able to draw a cube with confidence and accuracy.
Remember to practice and experiment with different shading techniques to enhance the depth and realism of your cube. You can also incorporate different colors or textures to further bring your cube to life.
“Drawing a cube is a great foundation for understanding more complex three-dimensional shapes. Once you master drawing a cube, you can apply the same principles to other geometric objects.”

Table: Materials for Drawing a Cylinder
| Material | Description |
|---|---|
| Drawing Pencil | A graphite pencil with a range of hardness for sketching and shading. |
| Eraser | A soft eraser for correcting mistakes and smudging graphite. |
| Blending Stump | A cylindrical tool used for blending graphite and creating smooth transitions. |
| Drawing Paper | A smooth, heavyweight paper that can handle various drawing techniques. |
| Light Source | A lamp or natural light source to observe the interplay of light and shadow. |
By having the right materials and practicing the techniques outlined above, you will be well on your way to creating realistic drawings of cylinders. Once you have mastered the cylinder, you can apply these techniques to other cylindrical objects and further enhance your 3D drawing skills.
Mastering the Art of Drawing a Pyramid
Pyramids are fascinating and timeless structures. In this section, we will show you how to draw pyramids in a step-by-step manner. You will learn how to create the triangular base, add the sides to form the pyramid, and then apply shading to make it look three-dimensional. With these techniques, you can draw pyramids of various sizes and orientations.
To begin drawing a pyramid, start by drawing a triangle as the base. Make sure the sides are straight and evenly spaced. Next, connect the top point of the triangle to each corner of the base, creating the sides of the pyramid. Pay attention to the angles and proportions to maintain a realistic look.
Once the basic shape is complete, you can add shading to give the pyramid depth. Use lines or hatching techniques to indicate the darker areas, usually on the sides facing away from the light source. Gradually build up the shading to create a three-dimensional effect.
Remember to practice and experiment with different sizes and orientations of pyramids. You can draw pyramids with square or rectangular bases, as well as asymmetrical shapes for more creative designs. Keep refining your technique and soon you’ll be able to draw pyramids with confidence and precision.

Table: Materials for Drawing a Pyramid
| Material | Description |
|---|---|
| Drawing Paper | High-quality paper suitable for drawing and sketching. |
| Pencils | Graphite pencils of varying hardness (HB, 2B, 4B) for sketching and shading. |
| Ruler | Transparent ruler for precise measurements and straight lines. |
| Eraser | A soft eraser for correcting mistakes and smudges. |
| Blending Stump | Used for blending and smudging shading to create smooth transitions. |
| Light Source | A desk lamp or natural light for understanding light and shadow on your pyramid drawing. |
Drawing a Sphere – The Challenge of Realistic 3D Shapes
Drawing a sphere is an exciting challenge that allows you to showcase your skills in creating realistic 3D shapes. To successfully draw a sphere, you need to understand the techniques for adding shading and highlights to give it depth and dimension. By following our step-by-step guide, you will master the art of drawing a sphere and be able to apply these techniques to other rounded shapes as well.
Start by drawing a simple circle as the base of your sphere. Use light, loose strokes to create the outline, keeping in mind that a circle represents the contour of the sphere. Next, identify the light source and determine where the shadows will fall on the sphere. Gradually add shading to the sphere, paying attention to the subtle shifts in value and tone. This will give your drawing a three-dimensional appearance.
Remember to blend and soften the edges of the shading to create a smooth transition from light to dark. This will enhance the realism of your sphere and make it visually appealing. Don’t be afraid to experiment with different shading techniques and vary the intensity of the shadows to add depth and dimension.
As you continue practicing drawing spheres, you can explore using different mediums such as graphite, charcoal, or even digital tools. Each medium offers its own unique challenges and opportunities for creating realistic 3D shapes. Remember to observe real-life objects to study how light interacts with curved surfaces, as this will provide valuable insights for your drawings.
With dedication and practice, you will gradually develop the skills to draw spheres that look incredibly realistic. So grab your pencil or stylus, follow our step-by-step guide, and let your creativity shine as you conquer the challenge of drawing realistic 3D shapes!

Exploring the World of 3D Shapes – Drawing a Cone
If you’re looking to expand your repertoire of 3D shape drawing, it’s time to explore the realm of cones. Cones are versatile and can be found in various objects around us, from ice cream cones to traffic cones. By mastering the art of drawing cones, you’ll be able to add depth and dimension to your artwork. So, let’s dive in and learn how to draw a cone step by step.
To begin, start by drawing a triangle. This will serve as the base of your cone. Next, add curved lines from each corner of the triangle to a single point at the top, creating the conical shape. Once the basic shape is complete, you can add detail to your cone by incorporating shading techniques. Use hatching or cross-hatching to create shadows and highlights, giving your cone a realistic three-dimensional appearance. Don’t be afraid to experiment with different shading styles to achieve the desired effect.
Now that you’ve learned the fundamentals, you can explore drawing cones of different sizes and angles. Try drawing a cone from various perspectives to challenge yourself and further hone your skills. Remember, practice makes perfect, so keep experimenting and refining your technique. Before you know it, you’ll be able to draw cones effortlessly and incorporate them into your artwork.
Table: Materials and Techniques for Drawing a Cone
| Materials | Techniques |
|---|---|
| Pencil | Creating the basic shape |
| Eraser | Correcting mistakes |
| Shading tools (pencil, charcoal, etc.) | Adding depth and dimension through shading |
| Drawing paper or sketchpad | Providing a surface for your artwork |
Now that you have the materials and techniques at your disposal, it’s time to grab your pencil and start drawing cones. Remember to take your time, practice regularly, and embrace the process of learning. With dedication and perseverance, you’ll become a master of drawing 3D shapes, including cones, in no time. So go ahead, unleash your creativity, and let the world of 3D shapes inspire your artwork.
Adding Complexity – Drawing Different 3D Shapes
Now that you have mastered the basics of drawing 3D shapes, it’s time to take your skills to the next level. In this section, we will explore advanced techniques for drawing different 3D shapes, pushing the boundaries of your artistic abilities. Get ready to tackle complex and challenging forms that will truly test your skills.
Advanced 3D Shape Drawing Techniques
When it comes to advanced 3D shape drawing, attention to detail is key. You will need to observe and understand the intricate relationships between multiple shapes and surfaces. One technique you can employ is to break down complex shapes into simpler forms and gradually build upon them. This will help you maintain proportion and perspective throughout your drawing.
Remember, drawing complex 3D shapes requires patience and practice. Don’t be discouraged if you don’t get it right the first time. Keep experimenting, refining your techniques, and observing real-life objects to improve your understanding of form and light.
Challenging 3D shape drawing exercises can be a great way to push your artistic boundaries. Try drawing objects with irregular shapes, unique angles, or intricate details. This will not only enhance your technical skills but also encourage your creativity and problem-solving abilities.
A Guide to Advanced Techniques for 3D Drawing
As you venture into more complex 3D shape drawing, here are some advanced techniques to keep in mind:
- Use multiple reference points to ensure accurate perspective.
- Experiment with different shading techniques to create depth and volume.
- Pay attention to the interplay of light and shadow on complex surfaces.
- Study the principles of foreshortening to accurately represent objects at different angles.
- Practice drawing from various perspectives to develop a well-rounded skillset.
By incorporating these techniques into your drawing practice, you will be able to tackle even the most intricate 3D shapes with confidence and precision.
Summary
Advanced 3D shape drawing goes beyond the fundamentals, challenging you to expand your skills and creativity. With patience, practice, and a willingness to explore complex forms, you can continue to improve your drawing abilities. Remember to break down complicated shapes, experiment with shading techniques, and never be afraid to take on a challenging subject. By mastering advanced techniques for 3D drawing, you will unlock a world of artistic possibilities.
| Advanced 3D Shape Drawing Tips | Challenging 3D Drawing Exercises |
|---|---|
| Break down complex shapes into simpler forms | Draw objects with irregular shapes and unique angles |
| Use multiple reference points for accurate perspective | Challenge your problem-solving abilities |
| Experiment with different shading techniques | Enhance your technical skills |
| Observe the interplay of light and shadow on complex surfaces | Encourage creativity |
| Study foreshortening to accurately represent objects at different angles | Push the boundaries of your artistic abilities |
Conclusion
Congratulations! You have completed the complete 3D shapes drawing tutorial for beginners. Throughout this tutorial, we have guided you step-by-step on how to draw different 3D shapes. From cubes and cylinders to pyramids and spheres, you have learned the fundamental techniques to create these shapes with depth and realism.
Whether you are a beginner or an aspiring artist, mastering the art of drawing 3D shapes will open up a world of possibilities for your artwork. The ability to bring your drawings to life with three-dimensional elements will add depth and visual interest to your compositions.
Remember, practice is key to improving your skills. Keep experimenting with different shapes and challenging yourself to draw more complex forms. As you continue to hone your techniques, you will gain confidence and become more comfortable with drawing 3D shapes.
Thank you for joining us on this journey to explore the world of 3D shapes. We hope you found this tutorial informative and inspiring. Keep creating and pushing the boundaries of your artistic abilities. Happy drawing!
FAQ
What are the 3D shapes I can learn to draw in this tutorial?
In this tutorial, you will learn how to draw cubes, cylinders, pyramids, spheres, cones, and various other complex 3D shapes.
Do I need any prior drawing experience to follow this tutorial?
No, this tutorial is suitable for beginners as well as those who want to refine their drawing skills.
Is it difficult to draw 3D shapes?
Drawing 3D shapes can be challenging, but our step-by-step instructions and techniques will make it easier for you to create realistic representations.
What materials do I need to draw 3D shapes?
All you need is paper, a pencil or pen, and optional coloring materials like markers or colored pencils.
Can I use these techniques to draw 3D shapes digitally?
Absolutely! The techniques taught in this tutorial can be applied to both traditional and digital drawing methods.
How long will it take for me to learn to draw 3D shapes?
The time it takes to learn will vary depending on your dedication and practice. However, with consistent practice, you can see improvement in your skills in a relatively short period of time.
Can I use these techniques to draw 3D shapes in different perspectives?
Yes, the techniques taught in this tutorial can be applied to drawing 3D shapes from different angles and perspectives.
Are there any additional resources to further enhance my skills?
Yes, there are many online resources, books, and tutorials available that can help you further develop your skills in drawing 3D shapes.
Can I experiment with different colors and textures when drawing 3D shapes?
Absolutely! Adding colors and textures to your drawings can enhance the realism and bring your 3D shapes to life.
What can I do with the skills I learn in this tutorial?
Mastering the art of drawing 3D shapes opens up a world of possibilities for your artwork. You can create realistic drawings, design 3D objects, or even explore more complex forms and compositions.