Complete How To Make 3D Model Tutorial For Beginners
Originally posted on December 8, 2023 @ 9:42 am
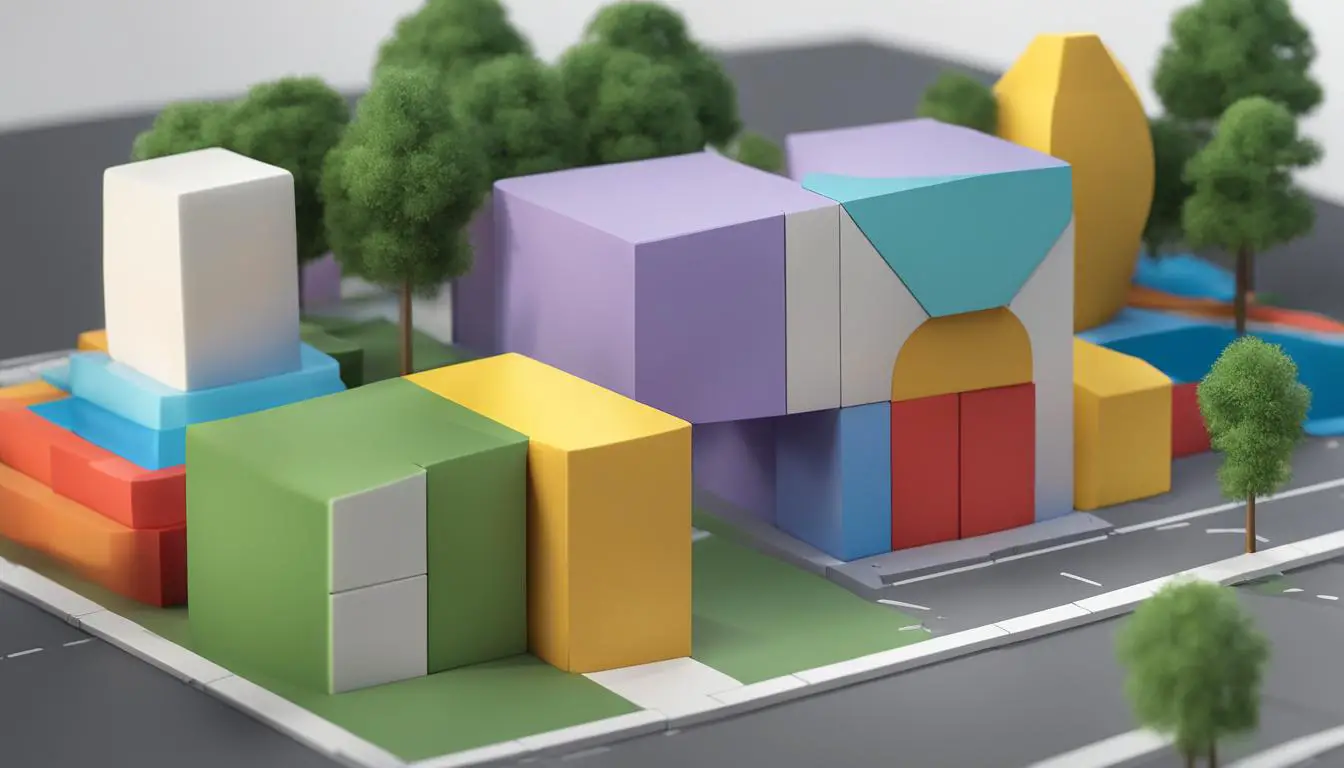
In this guide, we will walk you through the step-by-step process of creating a 3D model, ideal for those new to the concept. Whether your interests lie in engineering, architecture, or unleashing your imagination, 3D modeling offers endless opportunities. Let’s begin and discover how to transform your ideas into three-dimensional realities!
Key Takeaways:
- 3D modeling is a versatile skill used in various industries.
- Choose the right software that meets your needs and computer requirements.
- Familiarize yourself with the basics of the chosen 3D modeling software.
- Learn how to turn 2D shapes into 3D objects using extrusion and manipulation techniques.
- Practice and explore different tools and techniques to enhance your 3D modeling skills.
Now that you have an overview, let’s start our journey into the fascinating world of 3D modeling!
Choosing the Right 3D Modeling Software
When it comes to venturing into the world of 3D modeling, selecting the right software is essential. With numerous options available, both free and commercial, it can be overwhelming to make a choice. However, considering your specific goals and the type of modeling you want to pursue can help you narrow down your options and find the perfect fit.
One popular free software that is highly regarded in the industry is Blender. Despite being free, Blender offers a wide range of features and capabilities that can compete with many commercial software options. Its user-friendly interface and robust toolset make it an excellent choice for beginners.
If you’re willing to invest in commercial software, there are several well-established names in the industry, such as 3ds Max, Maya, and Cinema 4D. These programs are widely used and trusted by professionals in various fields. However, it’s important to keep in mind that commercial software usually comes with a price tag.
Before making a decision, it’s crucial to consider your computer’s hardware requirements. While some software may have more demanding specifications, popular 3D editors like Blender can run smoothly even on a modest computer with an integrated graphics card. So, assess your hardware capabilities and ensure they meet the recommended requirements for your preferred software.
| Software | Features | Cost |
|---|---|---|
| Blender | Powerful toolset, advanced rendering, animation capabilities | Free |
| 3ds Max | Extensive modeling, animation, and rendering tools | Commercial |
| Maya | Industry-standard software for animation, modeling, and visual effects | Commercial |
| Cinema 4D | Intuitive interface, powerful rendering, and motion graphics features | Commercial |
Remember, the choice of software ultimately depends on your specific needs and preferences. Whether you opt for a free or commercial option, the key is to select a software that aligns with your goals and offers the tools and features necessary to bring your 3D creations to life.
Getting Started with 3D Modeling Software
Now that you have chosen a 3D modeling software, it’s time to dive into the exciting world of 3D design. Familiarizing yourself with the basics is crucial for creating stunning 3D models that capture your imagination. Most software provides introductory tutorials to help you get started, so let’s explore some essential concepts and techniques.
Understanding the Design Environment
The design environment is where your creativity takes shape. It includes various tools and features that allow you to manipulate and edit your 3D models. Some key elements of the design environment include:
- Viewing Tools: These tools enable you to navigate and examine your models from different angles and perspectives.
- Design History: The design history keeps track of the actions you’ve taken in creating your model, allowing you to modify or revert to previous steps.
- Feature Tree: The feature tree displays the different components and operations that make up your model, making it easier to edit and refine.
- Toolbar: The toolbar houses various tools and commands that you can use to shape and manipulate your models.
The Basics of 3D Model Design
Starting with simple shapes and sketches is a great way to familiarize yourself with the software. You can gradually add complexity to your designs by utilizing different tools and techniques provided by the software. Here are some important steps to consider:
- Learn about reference geometries, such as planes, axes, and points, which help you locate and dimension your models accurately.
- Experiment with basic shapes and use the software’s tools to modify and combine them into more intricate designs.
- Take advantage of features like extrusion, beveling, and filleting to add depth and details to your models.
- Master the art of movement, rotation, and scaling of objects to bring life and realism to your creations.
Remember, practice makes perfect, so don’t hesitate to experiment and explore different possibilities. The more you familiarize yourself with the software, the more you’ll uncover its full potential.
Utilizing 3D Modeling Tutorials
Even with the basics explained, it’s excellent to utilize online tutorials and resources to enhance your skills. Many software developers and 3D enthusiasts provide step-by-step tutorials that guide you through specific projects or techniques. These tutorials can help you grasp advanced features, shortcuts, and industry best practices.
Learning how to create realistic textures and materials, utilize advanced lighting techniques, and apply complex animations are just a few examples of the topics you can explore through tutorials.
Be sure to take advantage of these resources to broaden your knowledge and stay up-to-date with the latest trends and techniques in the world of 3D modeling.
Summary Table: Key Concepts and Techniques
| Concept/Technique | Description |
|---|---|
| Viewing Tools | Tools that allow you to navigate and examine your 3D models from different angles and perspectives. |
| Design History | A record of the actions taken in creating a model, enabling modification or reversion to previous steps. |
| Feature Tree | A visual representation of the different components and operations that make up a model, simplifying editing and refinement. |
| Toolbar | A collection of tools and commands used to shape and manipulate 3D models. |
| Reference Geometries | Planes, axes, and points that aid in locating and dimensioning models accurately. |
| Extrusion, Beveling, and Filleting | Techniques for adding depth and details to models by modifying shapes. |
| Movement, Rotation, and Scaling | Methods of animating and adjusting objects to bring life and realism to models. |
Turning 2D Shapes into 3D Objects
Now that you have chosen the right 3D modeling software and familiarized yourself with the basics, it’s time to dive into the process of turning 2D shapes into 3D objects. This is an essential skill that will allow you to create intricate and realistic models. Fortunately, most software provides a “Push/Pull” tool that makes this process simple and intuitive.
The “Push/Pull” tool allows you to extrude the flat face of a 2D shape, giving it depth and transforming it into a 3D object. This technique forms the foundation of 3D modeling and opens up endless possibilities for creating unique designs. By selecting specific faces or lines of a 3D object, you can add details and complexity to your models, bringing them to life. Additionally, the ability to move, rotate, and scale objects is crucial for achieving accuracy and realism in your creations.
To give you a better understanding, let’s take a look at the step-by-step process of creating a simple 3D model using the “Push/Pull” tool:
Step 1: Start with a 2D Shape
Begin by creating a 2D shape, such as a rectangle or a circle, using the drawing tools provided by your software. This shape will serve as the base of your 3D object.
Step 2: Select the Face to Extrude
Next, select the face of the 2D shape that you want to extrude. This can be done by clicking on the face or by using a selection tool provided by your software.
Step 3: Use the Push/Pull Tool
With the face selected, activate the “Push/Pull” tool. Click and drag the face to extrude it in the desired direction, giving it thickness and transforming it into a 3D object.
Step 4: Add Detail and Refine
Once you have your basic 3D object, you can further manipulate it by selecting and adjusting individual faces or lines. This allows you to add details, refine the shape, and achieve the desired level of complexity for your model.
With these step-by-step instructions, you are now equipped to start creating your own 3D models. Remember to experiment, practice, and explore the different tools and techniques provided by your chosen software. The more you dive into the world of 3D modeling, the more you’ll uncover its endless possibilities and unlock your creativity. Happy modeling!
Conclusion
Congratulations on completing your journey into the world of 3D modeling! Throughout this tutorial, we have covered the essentials of 3D model design, explored various 3D modeling techniques, and discussed the 3D model creation process.
By understanding the importance of 3D modeling in different industries and choosing the right software for your needs, you have laid a solid foundation for your 3D modeling endeavors. Familiarizing yourself with the design environment and mastering the tools provided by the software are crucial steps towards creating stunning 3D models.
Now that you have the skills and knowledge, it’s time to let your creativity soar. Whether you are interested in engineering, architecture, or animation, 3D modeling offers endless possibilities for bringing your visions to life. Don’t be afraid to experiment and explore different techniques to enhance your 3D designs.
Remember, practice makes perfect. The more you immerse yourself in the world of 3D modeling, the more proficient you will become. So, start designing, unleash your imagination, and watch as your 3D creations come to life!
FAQ
What industries can 3D modeling be used in?
3D modeling is a versatile skill that can be used in various industries, such as engineering, architecture, and cinematography.
What software options are available for beginners?
Beginners can choose from a variety of free or commercial software options, such as Autodesk 123D, Tinkercad, or Blender.
How do I choose the right 3D modeling software?
Consider your specific goals and the type of modeling you want to do when selecting a software. It’s also important to make sure your computer meets the hardware requirements for the chosen software.
What are the basics of 3D modeling?
Understanding the design environment, including viewing tools, design history, feature tree, and the toolbar, is crucial. Learning about reference geometries, such as planes, axes, and points, is also important for locating and dimensioning your models.
How do I turn 2D shapes into 3D objects?
Most software provides a “Push/Pull” tool that allows you to extrude the flat face of a 2D shape and turn it into a 3D object. By selecting and manipulating individual faces or lines of a 3D object, you can add details and complexity to your models.
