3D Printed Arduino Kryptonite: Unlock Potential
Originally posted on January 7, 2024 @ 8:21 pm
If you’ve ever desired to make your very own 3D-printed Arduino Kryptonite, look no further. Join us on an exciting adventure that combines the capabilities of Arduino and 3D printing, enabling you to tap into your imagination and unleash your creative side like never before. With step-by-step guidance and a bit of coding, you can bring your own Kryptonite replicas to reality.
Key Takeaways:
- By combining Arduino and 3D printing, you can create interactive electronic projects with endless possibilities.
- Design and print your own Kryptonite replica using 3D modeling software and a compatible 3D printer.
- Incorporate an Arduino board and coding to make your Kryptonite interactive with RFID readers and LED lights.
- Meeting challenges? Research and experimentation can help you find the best solutions for your project.
- Find online resources, tutorials, and forums to support you in your 3D printed Arduino Kryptonite adventure.
The Power of Arduino and 3D Printing
At the intersection of technology and creativity lies the power of Arduino and 3D printing. Arduino, an open-source platform, empowers individuals to bring their electronic projects to life. With the integration of 3D printing, a whole new dimension of possibilities unfolds, allowing designers to customize and enhance their creations.

Whether you are a novice or a seasoned experimenter, Arduino and 3D printing offer boundless opportunities for turning your ideas into reality. By combining the precision of 3D design software with the flexibility of Arduino coding, makers can materialize their concepts with intricate detail and functionality.
The Marriage of Art and Technology
“Innovation distinguishes between a leader and a follower.” – Steve Jobs
With access to Arduino boards and the tools of 3D printing, individuals can explore the convergence of art and technology. Arduino projects come to life with the addition of 3D printed components, enabling creators to build unique and interactive pieces.
The ability to design and fabricate custom parts opens up a world of possibilities. Whether it’s adding ergonomic features to a robotic arm or creating a striking aesthetic for a wearable device, the combination of Arduino and 3D printing allows for unparalleled personalization and functionality.
Endless Inspiration and Learning
“The only way to do great work is to love what you do.” – Steve Jobs
Arduino and 3D printing enthusiasts have a wealth of resources at their fingertips. Online communities, forums, and tutorials abound, offering inspiration and guidance for projects of all sizes. From simple tutorials to complex builds, individuals can learn from one another and collaborate on innovative ideas.
Arduino projects provide a sense of accomplishment and foster a lifelong love for learning. Whether you’re interested in robotics, home automation, or wearable technology, Arduino and 3D printing offer an entry point into a world of limitless creativity, pushing the boundaries of what is possible.
Unleash Your Imagination
“Imagination is everything. It is the preview of life’s coming attractions.” – Albert Einstein
With Arduino and 3D printing, there are no limits to what can be imagined and created. Whether you’re designing a practical solution or a whimsical work of art, the power to transform ideas into reality is at your fingertips. Harness the power of Arduino and 3D printing, and let your imagination soar.
| Benefits of Arduino and 3D Printing | Examples |
|---|---|
| Customization | Personalized phone cases, keychains, and jewelry |
| Prototyping | Creating functional prototypes for testing and refinement |
| Educational Value | Experimenting with circuits and programming concepts |
| Flexibility | Making modifications and additions to existing designs |
| Integration | Combining Arduino with other technologies for enhanced functionality |
Creating the Kryptonite Replica
To create your own 3D printed Arduino Kryptonite, we will guide you through the process of designing and printing the Kryptonite replica using a 3D printer. Let’s bring this iconic superhero element to life!
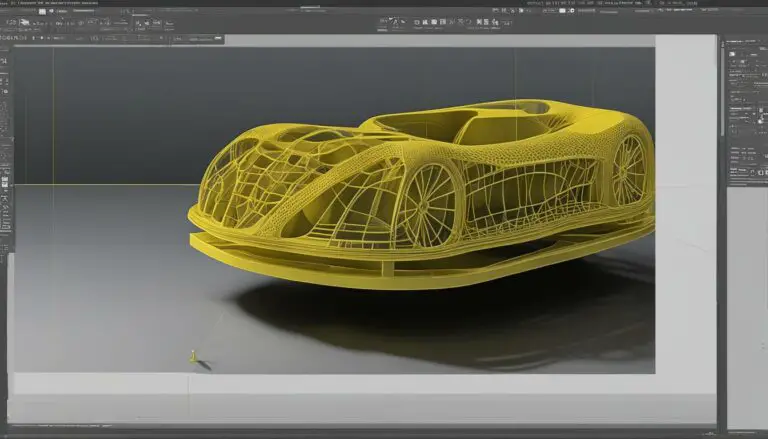
First, you’ll need to choose one of the various 3D modeling software options available to create the design according to your specifications. These software programs offer a wide range of tools and features that will allow you to bring your unique vision to reality. Take your time to experiment and iterate on the design until you are satisfied with the result.
Once the design is finalized, it’s time to bring it to life using a compatible 3D printer and suitable materials. Make sure you have access to a reliable 3D printer that can accurately replicate your design. Consider the size and resolution capabilities of the printer to ensure the final product meets your expectations.
When selecting the materials, choose ones that best match the desired appearance and functionality of your Kryptonite replica. Consider factors such as durability, color possibilities, and transparency. Experiment and test different materials to achieve the perfect combination that brings your Kryptonite replica to life in the most authentic way.
Remember, attention to detail is crucial for creating a convincing Kryptonite replica. Whether it’s capturing the texture and shine or adding intricate patterns, the more precise your design and print quality, the more realistic your Kryptonite replica will be.
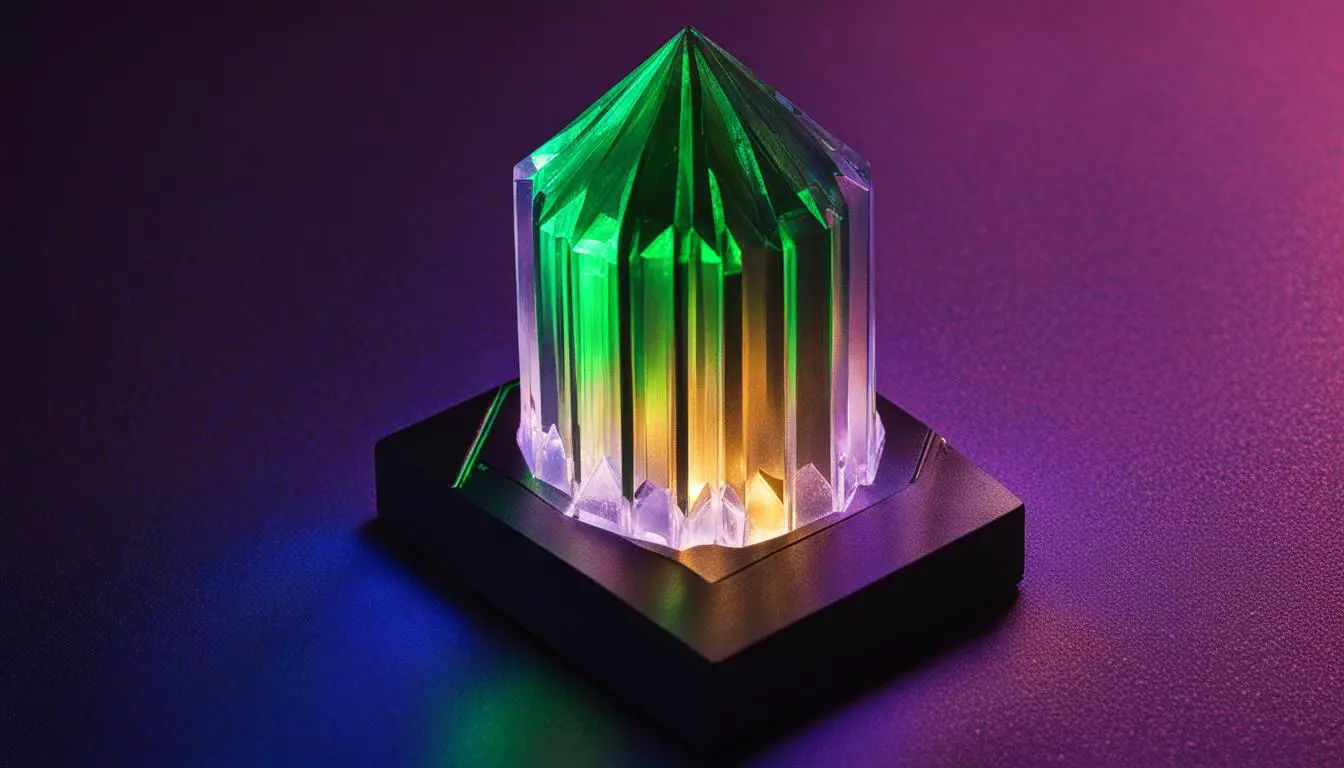
Here’s a sample of what your 3D printed Arduino Kryptonite replica could look like:

| Materials | Cost | Durability | Color Options |
|---|---|---|---|
| PLA | $15 | Medium | Limited |
| Resin | $30 | High | Wide range |
| ABS | $20 | High | Limited |
Table: Comparison of materials for 3D printing the Kryptonite replica.
Now that you have a better understanding of the process, it’s time to unleash your creativity and start designing your very own 3D printed Arduino Kryptonite replica. Stay tuned for the next section where we will explore how to incorporate Arduino and coding to make your Kryptonite replica truly interactive.
Incorporating Arduino and Coding
To make your 3D printed Arduino Kryptonite interactive, we need to incorporate an Arduino board and coding. By adding an RFID reader and LEDs to the base of each crystal cluster slot, we can create a captivating visual experience. The RFID chip in the Kyber Crystals will determine the LED color to shine, creating an enchanting effect.
With the Arduino board and coding, we can control the LED lights based on the RFID codes. Each crystal cluster will display a different color, adding depth and vibrancy to your Kryptonite replicas. This interactive feature brings your project to life and showcases the power of Arduino coding in creating dynamic and engaging experiences.
“Incorporating Arduino and coding allows us to unleash the full potential of 3D printed Arduino Kryptonite. The combination of technology and creativity opens up a world of possibilities for arduino projects and kryptonite replicas.” – [Author Name]
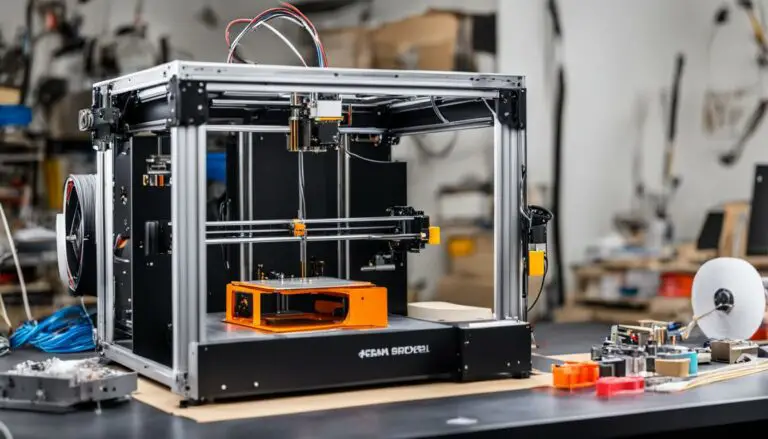
Now, let’s dive into the technical details of how to incorporate Arduino and coding into your 3D printed Arduino Kryptonite. First, let’s take a look at the components we’ll need:
| Components | Quantity |
|---|---|
| Arduino Uno | 1 |
| RFID Reader | 1 |
| LEDs | Multiple |
| Resistors | Depends on the LED setup |
| Jumper Wires | As required |
Once you have gathered the necessary components, you can proceed with the following steps:
- Connect the RFID reader to the Arduino board following the manufacturer’s instructions.
- Connect the LEDs to the Arduino board, making sure to include the necessary resistors to avoid overloading the board.
- Upload the Arduino code to read the RFID codes and control the LED lights accordingly. You can customize the code to assign specific colors to each crystal cluster based on its RFID code.
- Test the setup to ensure that the LEDs light up with the correct colors when the corresponding RFID chips are detected.
Remember to consult the Arduino documentation and community forums for additional guidance and troubleshooting tips. The possibilities are endless when it comes to arduino coding and projects, and incorporating the Arduino board into your 3D printed Arduino Kryptonite adds a whole new level of interactivity and creativity.

Stay tuned for the next section, where we’ll discuss overcoming challenges and finding resources to support your 3D printed Arduino Kryptonite journey.
Overcoming Challenges and Finding Resources
As with any DIY project, you may encounter challenges along the way. One challenge you might face is finding the right LED setup that can provide the whole color spectrum for each crystal cluster. You may need to do some research and experimentation to find the best solution for your project.
Additionally, you may need to learn more about RFID readers and how they work with Arduino. Understanding how RFID technology interacts with Arduino can help you incorporate it seamlessly into your 3D printed Arduino Kryptonite project.
Don’t worry if you’re not sure where to start or how to tackle these challenges. There are plenty of resources available that can assist you in your journey. Online tutorials, forums, and communities dedicated to arduino projects and 3D printing are great places to seek guidance and support.
| Resource | Description |
|---|---|
| Online Forums | Engage with fellow DIY enthusiasts, share your progress, and ask questions in online forums like Arduino Forum or 3D Printing Stack Exchange. |
| YouTube Tutorials | Access a vast array of video tutorials and step-by-step guides on platforms like YouTube, where experienced makers share their knowledge. |
| Online Documentation | Explore the official documentation and guides provided by Arduino and 3D printing communities. These resources often contain detailed instructions, troubleshooting tips, and coding examples. |
| Social Media Groups | Join dedicated Facebook groups or follow relevant hashtags on platforms like Instagram and Twitter to connect with like-minded individuals and receive real-time support. |
Remember, the journey of creating a 3D printed Arduino Kryptonite is meant for exploration and learning. Embrace the challenges, leverage the available resources, and let your creativity shine. With determination and the support of the maker community, you’ll overcome any obstacles standing in your way.
Conclusion
In conclusion, creating your own 3D printed Arduino Kryptonite is an exciting and engaging DIY project that enables you to unlock your creative potential. By combining the power of 3D printing and Arduino, you can design and print custom Kryptonite replicas that are both visually stunning and interactive.
Through the incorporation of an Arduino board and coding, you can bring your Kryptonite replicas to life. By adding an RFID reader and LEDs to each crystal cluster slot, you can control the LED color based on the RFID chip in the Kyber Crystals. This allows for a dynamic and personalized lighting effect.
While you may encounter challenges along the way, such as finding the right LED setup or understanding the intricacies of RFID readers, there are ample resources available to support you. Online tutorials, forums, and communities provide valuable guidance and assistance throughout your DIY journey.
So, why wait? Embark on your own unique Kryptonite adventure today! By delving into the world of 3D printed Arduino Kryptonite, you can unleash your imagination and create mesmerizing replicas that showcase your creativity and technical prowess. Get started on your DIY Arduino project and discover the endless possibilities that await!
FAQ
Can I create my own 3D printed Arduino Kryptonite?
Yes, you can create your own 3D printed Arduino Kryptonite by combining the power of Arduino and 3D printing.
What is Arduino?
Arduino is an open-source platform that allows you to create interactive electronic projects.
What are some ideas for Arduino projects?
Some ideas for Arduino projects include home automation systems, robot arms, weather stations, and much more.
How can 3D printing enhance my Arduino projects?
3D printing allows you to design and print custom parts to enhance your Arduino projects, giving you more flexibility and creativity in your designs.
How do I create the Kryptonite replica?
To create the Kryptonite replica, you will need to design and print the replica using a 3D printer and suitable materials.
What types of 3D modeling software can I use?
There are various 3D modeling software options available for designing your Kryptonite replica. Some popular choices include Tinkercad, Fusion 360, and SketchUp.
How can I make the Kryptonite replica interactive?
To make the Kryptonite replica interactive, you can incorporate an Arduino board and coding. By adding an RFID reader and LED lights, you can control the LED colors based on the RFID chip in the Kyber Crystals.
What challenges might I encounter during the project?
One challenge you might face is finding the right LED setup that can provide the whole color spectrum for each crystal cluster. Additionally, you may need to learn more about RFID readers and how they work with Arduino.
Where can I find resources and support for my project?
There are plenty of online resources, tutorials, and forums where you can find guidance and support for your 3D printed Arduino Kryptonite project.