Optimize STL CAD Files with Python for CNC/3D Print
Originally posted on February 7, 2024 @ 2:36 am
Do you need to adjust your STL CAD files for CNC milling or 3D printing? Search no more! In this guide, we’re going to demonstrate how to utilize Python programming within FreeCAD to enhance your CAD files, making sure they’re prepped for either CNC milling or 3D printing.
FreeCAD is a versatile software that allows you to create 3D models, check for dimensions and defects, and export models for 3D printing or generate G-code for CNC milling. With its Python scripting capabilities, you can automate tasks and manipulate objects, making the optimization process a breeze.
Key Takeaways:
- Python programming in FreeCAD can help you optimize your STL CAD files for CNC milling or 3D printing.
- FreeCAD is a powerful software that allows you to create 3D models, check for dimensions and defects, and export models for 3D printing or generate G-code for CNC milling.
- Using Python scripting in FreeCAD, you can automate tasks and manipulate objects, simplifying the optimization process.
- Prepare your models for 3D printing by converting them to meshes and exporting them as STL files.
- Use slicers like Slic3r or the Cura addon in FreeCAD to generate G-code for your 3D printer.
Getting Started with FreeCAD
To begin modifying STL CAD files in FreeCAD, you’ll need to install the software on your operating system. FreeCAD is compatible with Windows, Linux, and Mac OS. Once you have FreeCAD installed, you can customize your preferences and start exploring the interface and its various features.
FreeCAD offers a user-friendly interface that allows you to navigate through the software with ease. You can access different workbenches that cater to specific design needs and workflows. From traditional modeling and 2D drafting to product design and BIM modeling, FreeCAD covers a wide range of design possibilities.
Customizing Preferences and Navigating the Interface
FreeCAD provides options for customizing your preferences to suit your workflow. You can personalize toolbars, shortcut keys, and display settings according to your preferences. Exploring the software’s settings will help you tailor FreeCAD to your specific CAD requirements.
As you familiarize yourself with the interface, you’ll notice the different workbenches available in FreeCAD. Each workbench specializes in specific tasks and tools. For example, the Part Design workbench is ideal for creating complex 3D models, while the Draft workbench is suitable for 2D drafting and annotation.
Furthermore, FreeCAD supports importing and exporting files in various formats, allowing you to collaborate with different CAD software users. Whether you need to import an existing model or export your design for further analysis or manufacturing, FreeCAD offers compatibility with popular file formats.
Python Scripting and Automation
One of the notable features of FreeCAD is its Python scripting capabilities. With Python scripting, you can automate repetitive tasks, create custom tools, and manipulate objects using Python code. This allows for greater efficiency and flexibility in your design workflow.
Python scripting in FreeCAD enables you to extend the software’s functionality and customize it to your specific needs. Whether you’re creating parametric designs or developing complex algorithms, Python scripting empowers you to take full control of your design process.
Here is an example of Python code that creates a basic 3D shape in FreeCAD:
# Python code to create a simple cylinder in FreeCAD
import FreeCAD as App
import Part

# Create a new document
doc = App.newDocument()

# Create a cylinder
cylinder = Part.makeCylinder(10, 20)
doc.addObject("Part::Feature", "Cylinder").Shape = cylinder

# Save the document
doc.saveAs("cylinder.FCStd")

# Close the document
App.closeDocument(doc.Name)
Creating a basic cylinder using Python scripting in FreeCAD
The Python code above creates a cylinder with a radius of 10 units and a height of 20 units. The resulting shape is then added to the FreeCAD document and saved as a FreeCAD document file (FCStd).
Getting Started Resources
If you’re new to FreeCAD or looking to enhance your skills, there are various resources available to help you get started:
- FreeCAD official website: https://www.freecadweb.org/
- Official FreeCAD documentation: https://wiki.freecadweb.org/
- FreeCAD forums and community: https://forum.freecadweb.org/
- Video tutorials and online courses
Exploring these resources will help you familiarize yourself with FreeCAD’s interface, features, and capabilities, enabling you to get the most out of this powerful CAD software.
Now that we’ve covered the basics of getting started with FreeCAD, we can move on to preparing models for 3D printing in the next section.
| Features | Description |
|---|---|
| Customizable preferences | Personalize toolbars, shortcut keys, and display settings to suit your workflow. |
| Intuitive interface | Navigate through the software and access different workbenches for specific design needs. |
| Python scripting | Automate tasks and manipulate objects using Python code. |
| Import and export | Support for various file formats, allowing collaboration with different CAD software users. |
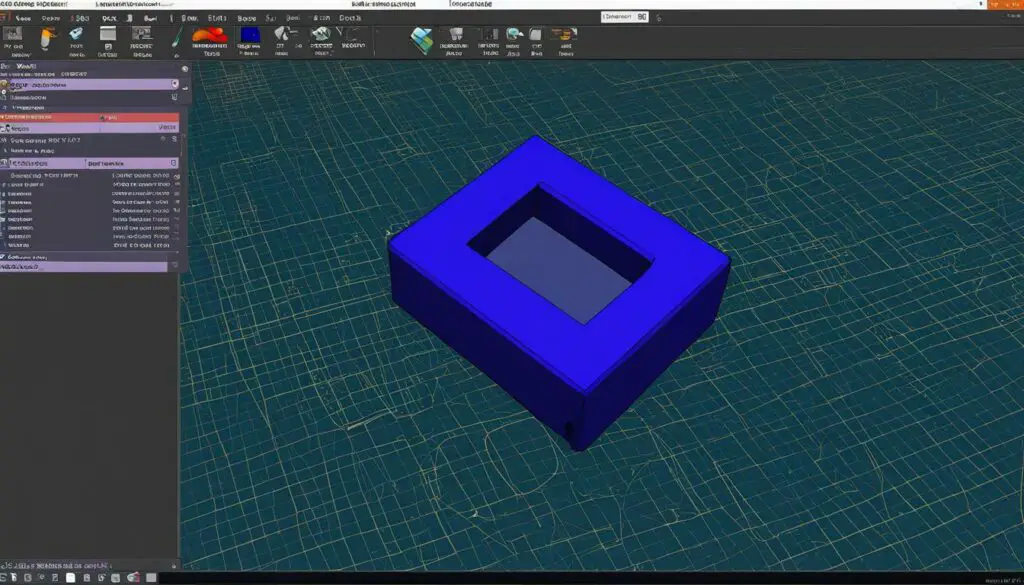
Preparing Models for 3D Printing
Before we can send our models to a 3D printer, it’s crucial to prepare them properly. To achieve this, FreeCAD offers a seamless integration with slicers – specialized programs that generate G-code by slicing the 3D object into thin layers. This ensures that the 3D printer can accurately reproduce the model. But before we can dive deeper into slicers, we need to convert our models into meshes, as slicers require this specific file format for processing.
In FreeCAD, we can easily convert our models to meshes using the Mesh Workbench. This workbench provides us with a range of helpful tools to convert between Part and Mesh objects, analyze meshes, and even repair any potential defects if needed. Moreover, we have the ability to adjust the mesh quality, ensuring optimal printing results. Once the conversion and adjustments are complete, we can export the mesh as an STL file, which is the most widely used format in the 3D printing industry.
Let’s take a closer look at the process of converting objects to meshes using the Mesh Workbench in FreeCAD:
Converting Objects to Meshes in FreeCAD
- Select the object or objects you wish to convert to meshes.
- Navigate to the Mesh Workbench in FreeCAD.
- Click on the “Create mesh from shape” button to initiate the conversion.
- Adjust the mesh parameters according to your requirements, such as mesh density and smoothness.
- Click on the “Create mesh” button to generate the mesh.
- Inspect the resulting mesh and perform any necessary repairs using the available tools in the Mesh Workbench.
- Once the mesh is finalized and defect-free, export it as an STL file.
By following these steps, we can ensure that our models are properly prepared for 3D printing, resulting in high-quality prints that accurately represent our original designs.
Now that we have our models in the appropriate format, let’s move on to the next step: utilizing slicers and generating G-code for the 3D printing process.
Using Slicers and Generating G-code
When it comes to 3D printing, slicers play a crucial role in the process. They convert STL objects into G-code, a language that 3D printers understand. In this section, we will explore two popular slicers – Slic3r and the Cura addon – and how they enable users to generate G-code directly from their 3D models.
Slic3r: Slic3r is a widely used slicer that provides a seamless workflow for 3D printing. It offers advanced features and a user-friendly interface, making it a favorite among enthusiasts and professionals. With Slic3r, users can easily configure and fine-tune print settings, such as layer height, infill density, and support structures, to achieve the desired print quality. FreeCAD allows users to export their models to Slic3r for further processing and configuration, ensuring seamless integration between the two software.
Cura addon: Developed by Ultimaker, the Cura addon is a free and open-source slicer that offers a comprehensive set of features for 3D printing. It provides users with complete control over print settings and supports a wide range of 3D printers. What makes the Cura addon unique is its seamless integration with FreeCAD. By using the Cura Workbench in FreeCAD, users can directly produce G-code from their Part objects without the need to convert them to meshes. This saves time and simplifies the workflow, allowing users to focus on their designs.
To illustrate the process, let’s take a look at an example of using Slic3r in FreeCAD:
| Step | Description |
|---|---|
| 1 | Export the 3D model from FreeCAD as an STL file. |
| 2 | Import the STL file into Slic3r and configure the print settings. |
| 3 | Generate the G-code by slicing the 3D model. |
| 4 | Transfer the G-code to the 3D printer and start the printing process. |
By following these steps, users can easily prepare their 3D models for printing, leveraging the power of slicers and the convenience of generating G-code directly from their CAD software.
Conclusion
As AI technology continues to advance, it presents exciting opportunities for the fields of 3D CAD design and 3D printing. The integration of AI language models like ChatGPT and Google Bard opens up new possibilities for AI-assisted design processes. Users can now express their design intentions in plain English, allowing AI algorithms to generate code snippets for CAD software such as Blender. This breakthrough in AI-based design has the potential to revolutionize the way complex 3D CAD designs are created and streamline the 3D printing process.
Although AI tools like ChatGPT are still in their early stages of development and have certain limitations, they provide a glimpse into the future of design automation. With further improvements and refinement, AI-based design can enhance the efficiency and productivity of designers and engineers, enabling them to focus on more creative aspects of their work.
By leveraging AI in 3D CAD design and 3D printing, professionals can benefit from enhanced design accuracy, faster prototyping cycles, and reduced production costs. The combination of human expertise and AI capabilities can lead to innovative solutions that were previously unimaginable. As AI technology continues to evolve, we can expect even greater advancements in the field of AI-based design that will shape the future of 3D CAD design and 3D printing.
FAQ
Can I modify STL CAD files using Python programming?
Yes, you can modify STL CAD files using Python programming. FreeCAD offers Python scripting capabilities, allowing you to automate tasks and manipulate objects in the software.
Is FreeCAD compatible with different operating systems?
Yes, FreeCAD is compatible with Windows, Linux, and Mac OS.
How do I prepare models for 3D printing in FreeCAD?
To prepare models for 3D printing in FreeCAD, you can convert them to meshes using the Mesh Workbench. This allows you to analyze and repair meshes if needed, adjust the mesh quality, and export the mesh as an STL file.
What are some popular slicers for 3D printing?
Slic3r and the Cura addon are popular slicers for 3D printing. Slic3r converts STL objects into G-code, while the Cura addon allows you to directly produce G-code from Part objects in FreeCAD.
Can AI-based design revolutionize 3D CAD design and streamline the 3D printing process?
While AI-based design tools like ChatGPT and Google Bard are still in the early stages of development, they provide a glimpse into the future of design automation. With further improvements and refinement, AI-based design has the potential to revolutionize complex 3D CAD design and streamline the 3D printing process.
