Upgrade Your Arduino with Better MP3 Capabilities
Originally posted on January 18, 2024 @ 6:26 am
This article discusses enhancing the MP3 playback quality of your Arduino projects. It covers various scenarios such as sound-based projects, musical instruments, and voice-controlled devices, and explains how better MP3 capabilities can enhance the audio experience. The article provides useful tips, modules, and coding guidance to achieve high-quality audio output with your Arduino.
From creating your own MP3 player to integrating it into existing devices, the possibilities are endless. By upgrading your Arduino, you can unlock a whole new level of audio versatility and creativity.
Key Takeaways:
- Enhancing your Arduino projects with better MP3 capabilities can offer a richer audio experience.
- A DFPlayer Mini module and Arduino Nano can be used to upgrade an old cassette player with MP3 capabilities.
- Setting up the necessary hardware components, including an Arduino pro mini, DFPlayer module, OLED display, and pushbuttons, is crucial for improved MP3 functionalities.
- The coding process involves installing libraries and programming the Arduino to control the MP3 module and display.
- Once upgraded, the MP3 player features will allow you to select songs, adjust volume, and customize playlists for your projects.
Upcycling an Old Cassette Player with MP3 Capabilities
In our quest to upgrade Arduino projects with better MP3 capabilities, we stumbled upon an inspiring upcycled project by one creator, mattb_138. He took an old cassette player and transformed it into a modern MP3 player with the help of an Arduino Nano and a DFPlayer Mini module. Not only did he add MP3 capabilities, but he also included an RFID interface for a unique user experience.
To enable MP3 playback, mattb_138 utilized the Arduino Nano to control the device. The DFPlayer Mini module was responsible for playing songs stored on a microSD card, delivering high-quality audio output. Moreover, to enhance user interaction and selection convenience, the project incorporated an RC522 reader for track selection based on RFID cards.
In addition to the core functionalities, mattb_138 extended the project’s features by including buttons for pause/play, skip, shuffle, and selection between the A/B “side” of each RFID card. These advancements were inspired by the Juuke RFID player, creating a unique and customized experience for the user.

This upcycled project holds tremendous potential for those looking to breathe new life into old cassette players while incorporating modern MP3 capabilities and intuitive user interfaces. If you’re interested in replicating mattb_138’s creation, you can find a detailed tutorial on Instructables, where he guides you step by step through the entire process.
Setting Up the Hardware
To upgrade your Arduino with better MP3 capabilities, we will need specific hardware components. These include:
- Arduino pro mini
- DFPlayer module
- OLED display
- Pushbuttons
The Arduino pro mini will be our control board, allowing us to program and interact with the MP3 player. The DFPlayer module is responsible for handling the MP3 playback, ensuring high-quality audio output. The OLED display provides visual feedback, allowing us to view song information, volume levels, and more. Lastly, the pushbuttons enable user interaction, letting us control playback, adjust volume, and navigate through the MP3 player features.
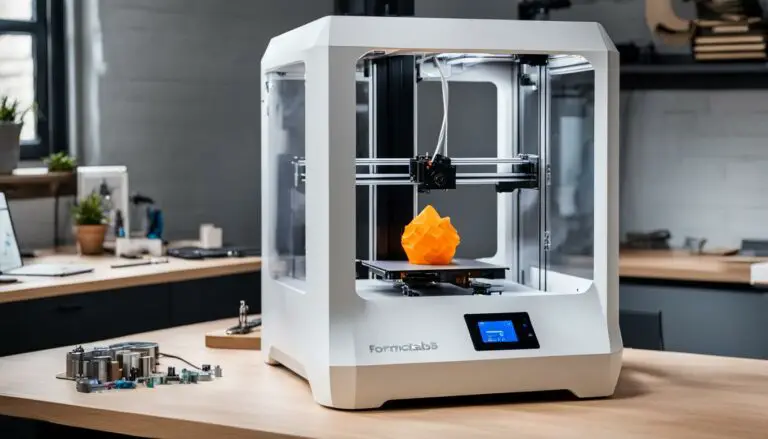
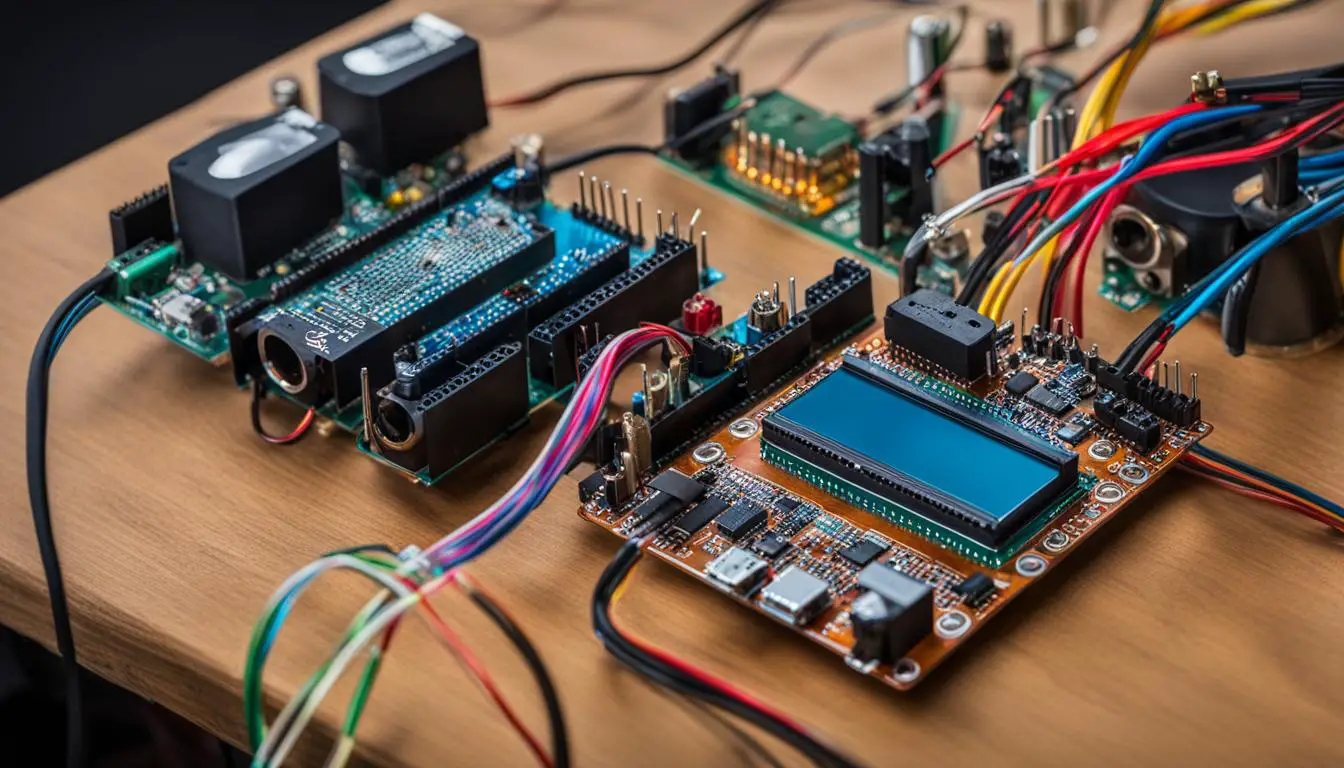
To give you a visual idea of the components, here’s an image of the hardware setup:

|
“I chose the Arduino pro mini for its compact size and compatibility with the DFPlayer module. The OLED display adds a sleek and informative touch, while the pushbuttons allow for easy navigation. Together, these components create a powerful audio upgrade for your Arduino projects.”
Building the Circuit and Components
Once you have gathered all the necessary components for your MP3 player project, it’s time to start building the circuit. This step involves soldering the PCB, connecting the TP4056 charging module, and integrating the lipo battery and slide switch. It’s important to pay close attention to the placement and orientation of each component to ensure proper functionality.
To begin, let’s take a look at the PCB soldering process. Soldering is the process of joining electronic components together using a soldering iron and solder wire. It creates a strong and reliable electrical connection that will enable the smooth operation of your MP3 player.

Next, you’ll need to connect the TP4056 charging module. The TP4056 is a lithium battery charger module that allows you to recharge the lipo battery used in your MP3 player. It provides a safe and efficient charging solution, ensuring the longevity of your battery.
Integrating the lipo battery and slide switch is another crucial step in building your MP3 player circuit. The lipo battery provides the necessary power for your device, while the slide switch allows you to turn your MP3 player on or off, conserving battery life when not in use.
By carefully following the instructions for soldering the PCB, connecting the TP4056 charging module, and integrating the lipo battery and slide switch, you will ensure the successful construction of your MP3 player circuit. This will lay the foundation for a fully functional and enjoyable audio experience.
Programming the Arduino
Now that we have built the circuit, it’s time to program the Arduino. This step is crucial for integrating the various components and ensuring smooth operation of our MP3 player project.
First and foremost, we need to install the necessary libraries in the Arduino IDE. Libraries are pre-written code that helps us interface with specific hardware components and simplify the programming process. In this project, we will need two essential libraries: the u8g2 library for the OLED display and the DFPlayer library for controlling the MP3 module.
To install a library in the Arduino IDE, follow these simple steps:
- Open the Arduino IDE on your computer.
- Go to Sketch > Include Library > Manage Libraries.
- In the Library Manager, search for the u8g2 library and click on the Install button.
- Repeat the same process for the DFPlayer library.
Once the libraries are installed, we can proceed with uploading the code to the Arduino. You can find the complete code for the MP3 player project in the provided Soundpod.rar file or on the creator’s Github repository. The code is well-commented and easy to understand, making it accessible even for beginners.
Here is a brief overview of the code structure:
// Include necessary libraries
#include <...>// Define pin numbers
#define OLED_SDA 2// Initialize variables
int volume = 50;// Setup function
void setup() {// Initialize OLED displayu8g2.begin();// Loop function
void loop() {// Check for button pressesif (digitalRead(buttonPin) == HIGH) {// Additional functions…
Please refer to the code documentation for a complete understanding of the functions and their implementation.
Uploading the Code
Now, let’s upload the code to the Arduino:
- Connect your Arduino board to your computer using a USB cable.
- Open the Arduino IDE and select the correct board and port under the Tools menu.
- Click on the Upload button to compile and upload the code to the Arduino.
Once the code is uploaded, you can configure specific settings according to your preferences. This might include adjusting the volume levels, setting the screen brightness, or customizing the button functions.
Remember to refer to the code documentation and the provided instructions for more details on configuring the settings.
Summary
In this section, we covered the crucial step of programming the Arduino for our MP3 player project. We installed the necessary libraries, uploaded the code, and discussed various aspects of the code structure. Now, our Arduino is ready to deliver high-quality MP3 capabilities!

Using the MP3 Player Features
Now that your Arduino and MP3 player are programmed, you can take advantage of their enhanced capabilities. The MP3 player features allow you to have full control over your music experience, offering a range of options to customize your listening preferences.
Song Selection
With the song selection feature, you can easily browse through your music library and choose your favorite tracks or albums to play. Whether you want to set the mood with a specific song or enjoy a complete album, the Arduino MP3 player gives you the freedom to curate your own playlist.
Media Player Interface
The media player interface provides a user-friendly experience, displaying essential information about the songs being played. You can view details such as song title, artist, album, and even album art, making it easy to identify and enjoy your favorite tunes.

Volume Control
Controlling the volume of your music is as simple as adjusting a dial. The Arduino MP3 player allows you to increase or decrease the volume, ensuring that you enjoy your music at the perfect level.
Repeat and Shuffle Modes
Do you have a song that you can’t get enough of? The repeat mode enables you to continuously play your favorite track on loop. On the other hand, if you’re in the mood for some variety, the shuffle mode randomly selects songs from your library, ensuring a pleasant surprise with each playback.
Playback Control
Take complete control over your music playback with the provided buttons. Pause and resume your music at any time, skip to the next or previous track, and even adjust the playback progress using the buttons on your Arduino MP3 player.
| Button | Function |
|---|---|
| Play/Pause | Start or pause the playback |
| Skip Next | Move to the next track |
| Skip Previous | Go back to the previous track |
Take full advantage of these convenient buttons to seamlessly navigate through your music library and enjoy your favorite songs.
Now that you are familiar with the MP3 player features, you can create your own personalized music experience. Select songs, adjust the volume, enable repeat or shuffle mode, and effortlessly control your music playback with the Arduino MP3 player.
Fine-Tuning the Project
Now that we have created an enhanced MP3 player with Arduino, it’s time to optimize its performance and customize its features. Fine-tuning the project allows us to adjust settings like screen brightness, contrast, and dimming time to suit our preferences and create the best user experience. Additionally, we can incorporate advanced functionalities such as displaying battery level, automatically pausing playback when headphones are disconnected, and automatically dimming the screen during periods of inactivity.
Adjusting Screen Brightness and Contrast
One way to improve the visual experience of our MP3 player is by adjusting the screen brightness and contrast. By optimizing these settings, we can ensure that the displayed information is clear and easy to read, regardless of the lighting conditions. This is particularly useful when using the MP3 player in different environments, such as outdoors or in low-light settings.
Customizing Dimming Time
To save battery and prevent screen burn-in, we can implement a dimming feature that reduces the screen brightness after a certain period of inactivity. By customizing the dimming time, we can strike a balance between conserving power and maintaining visibility. This ensures that the screen dims when not in use, prolonging the battery life while still allowing us to quickly access the controls and information when needed.
| Feature | Description |
|---|---|
| Battery Level Display | Show the current battery level on the screen, allowing us to monitor the power remaining and plan for recharging. This feature provides convenience and helps prevent unexpected power outages during usage. |
| Headphone Detection | Automatically pause playback when headphones are disconnected. This ensures that audio is not played aloud when the headphones are removed, allowing us to maintain privacy and prevent any disruptions. |
| Automatic Screen Dimming | Dim the screen after a specific period of inactivity. This not only saves battery power but also prevents screen burn-in, extending the lifespan of the display. The screen can be easily reactivated by pressing any button or interacting with the controls. |
By fine-tuning the project and incorporating these features, we can optimize our Arduino MP3 player for maximum convenience and usability. Whether it’s ensuring clear visibility, monitoring battery levels, or automatically pausing playback, these optimizations enhance the overall user experience and make our MP3 player a versatile, reliable companion for our music enjoyment.
Conclusion
In summary, this article has provided a comprehensive guide on upgrading your Arduino with better MP3 capabilities. By following the steps outlined, you can enhance your Arduino projects with high-fidelity audio and a range of features.
The journey starts with upcycling an old cassette player, utilizing an Arduino Nano, a DFPlayer Mini module, and an RFID interface. Then, by setting up the necessary hardware components like the Arduino pro mini, DFPlayer module, OLED display, and pushbuttons, you lay the foundation for an immersive audio experience.
Once the circuit is built and the Arduino is programmed using libraries like u8g2 and DFPlayer, you can explore the various MP3 player features. From song selection and volume control to creating playlists and enabling repeat or shuffle modes, the possibilities are endless for customization.
In conclusion, by incorporating these enhancements into your Arduino projects, you can elevate the audio quality and take your creations to the next level. Whether you are a hobbyist or a professional, the Arduino MP3 player opens up a world of possibilities for innovative and immersive audio experiences.
FAQ
What components are needed to upgrade an Arduino with better MP3 capabilities?
To upgrade an Arduino with better MP3 capabilities, you will need an Arduino pro mini, DFPlayer module, OLED display, and pushbuttons.
What is the process for upcycling an old cassette player with MP3 capabilities?
To upcycle an old cassette player with MP3 capabilities, you can follow the detailed instructions provided by mattb_138 in their Instructables tutorial. They used an Arduino Nano, DFPlayer Mini module, and RFID interface to add MP3 playback and an RFID card selection feature to the cassette player.
How do I set up the hardware for my Arduino MP3 player?
To set up the hardware for your Arduino MP3 player, you will need to connect the Arduino pro mini, DFPlayer module, OLED display, and pushbuttons following the provided instructions. Solder the PCB, integrate the TP4056 charging module, and connect the lipo battery and slide switch.
What are the steps for building the circuit and components for an Arduino MP3 player?
Building the circuit and components for an Arduino MP3 player involves soldering the PCB, connecting the TP4056 charging module, and integrating the lipo battery and slide switch. Make sure to pay attention to the proper placement and orientation of each component for proper functionality.
How do I program the Arduino for my MP3 player project?
Programming the Arduino for your MP3 player project involves installing the necessary libraries, such as the u8g2 library for the OLED display and the DFPlayer library for controlling the MP3 module. You can find the code for the MP3 player project in the provided Soundpod.rar file or on the creator’s Github repository.
What are the features of the Arduino MP3 player?
The Arduino MP3 player features include selecting songs or albums to play, creating and editing playlists, adjusting the volume, enabling repeat or shuffle modes, and controlling playback using the provided buttons. The media player interface displays song information, album art, and progress indicators.
How can I fine-tune my Arduino MP3 player project?
To optimize your Arduino MP3 player project, you can fine-tune various settings such as screen brightness, contrast, and dimming time. You can also add features like displaying battery level, automatically pausing playback when headphones are disconnected, and automatically dimming the screen during periods of inactivity.
What is the conclusion of upgrading an Arduino with better MP3 capabilities?
By following the steps outlined in this article, you can upgrade your Arduino with better MP3 capabilities. From upcycling an old cassette player to building the circuit, programming the Arduino, and using the MP3 player features, you can create a high-quality audio experience for your Arduino projects.