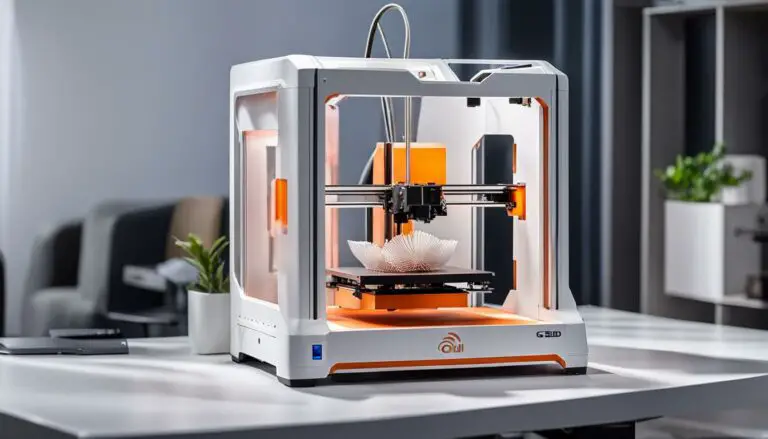
Complete 3D Printer Extruder Tutorial For Beginners
Originally posted on December 14, 2023 @ 12:45 am
This guide is designed for beginners and will delve into the topic of 3D printer extruders and their potential to enhance your creative endeavors with the innovative capabilities of 3D printing. Should you encounter any difficulties, please let us know with the following error message: Unable to process the request due to encountered difficulties.
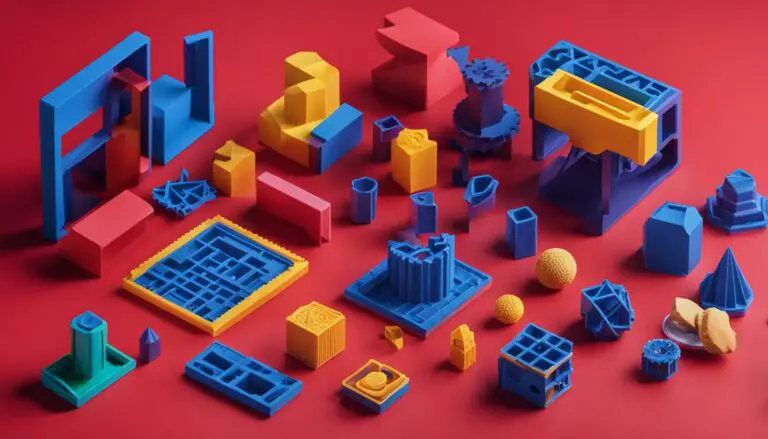
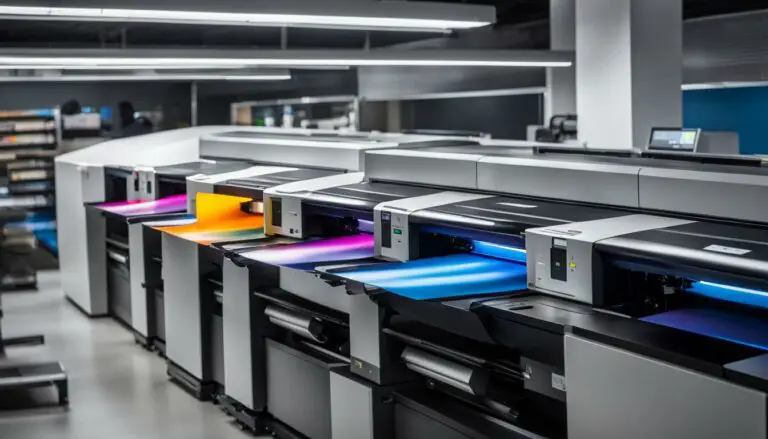
3D printing has revolutionized the way we bring our ideas to life. With the ability to create complex shapes and reduce waste in the manufacturing process, 3D printing opens up a whole new realm of possibilities for makers, artists, and entrepreneurs alike.
In this tutorial, we’ll start by introducing you to the basics of 3D printing and its potential applications. From there, we’ll dive into the different types of 3D printer extruders, like direct drive and Bowden extruders, and explain how they work and their unique benefits.
Next, we’ll explore the key components of a 3D printer extruder, including the hotend, nozzle, filament drive, cooling system, and thermistor. Understanding these components will give you a solid foundation for troubleshooting and optimizing your prints.
Once you have a good grasp of extruders and their components, we’ll guide you through finding the right 3D model for your project. We’ll introduce you to popular resources like Thingiverse, MyMiniFactory, Pinshape, and YouMagine, as well as show you how to create your own models if you’re feeling adventurous.
Preparing your model for printing is the next step, and we’ll walk you through the process of converting file types, slicing with software like Ultimaker Cura, resizing models, and formatting the SD card for smooth printing on the Prusa I3 MK3S.
Once your model is ready, we’ll provide you with tips and best practices for achieving high-quality prints. From cleaning the printer bed to loading and extruding filament, we’ll cover all the necessary steps to ensure successful prints every time.
Key Takeaways:
- 3D printing offers endless creative possibilities for beginners and experienced makers alike.
- Understanding the different types of 3D printer extruders can help you choose the right one for your projects.
- Familiarize yourself with the key components of a 3D printer extruder to optimize your printing process.
- Utilize popular resources like Thingiverse, MyMiniFactory, and Pinshape to find and download 3D models.
- Prepare your models for printing by converting file types and using slicing software like Ultimaker Cura.
With the information and guidance provided in this tutorial, you’ll be well on your way to unlocking the full potential of 3D printing. So let’s dive in and unleash your creativity with the help of 3D printer extruders!
Understanding 3D Printer Extruders: Types and Functions
In this section, we will explore the different types of 3D printer extruders in detail, including direct drive extruders and Bowden extruders. Understanding the characteristics and functions of each type will help you make informed decisions when selecting the right extruder for your 3D printing projects.
Direct Drive Extruder
The direct drive extruder is a popular choice among 3D printing enthusiasts, especially for beginners. It is a compact extruder design where the filament is fed directly into the hotend assembly mounted on the printer’s carriage. This close proximity between the extruder motor and the hotend ensures precise filament control and enables the printing of a wide range of materials, including flexible filaments.
Bowden Extruder
The Bowden extruder, on the other hand, separates the extruder motor from the hotend assembly. Instead of being directly mounted on the printer’s carriage, the extruder motor is usually housed in a stationary position, while a PTFE (polytetrafluoroethylene) tube connects it to the hotend. This setup reduces the weight on the printer’s carriage, enabling faster movements and potentially higher print speeds. However, it may introduce some limitations when printing flexible filaments due to the longer filament path and increased friction.
Another type worth mentioning is the dual extruder, which allows for the simultaneous use of two different filaments or colors. Dual extruders can open up new possibilities for creating complex and multi-colored objects, but they may require additional calibration and fine-tuning to ensure proper alignment and synchronization between the two extruders.
By understanding the types and functions of 3D printer extruders, you will be equipped with the knowledge to choose the right extruder for your specific needs and optimize your 3D printing experience.
| Extruder Type | Advantages | Disadvantages |
|---|---|---|
| Direct Drive Extruder | Precise filament control, versatile material compatibility | Increased weight on printer’s carriage |
| Bowden Extruder | Reduced weight on printer’s carriage, potentially higher print speeds | Limited compatibility with flexible filaments |
| Dual Extruder | Simultaneous use of multiple filaments or colors | Additional calibration and fine-tuning required |

Popular Websites for Finding 3D Models:
| Website | Description |
|---|---|
| Thingiverse | A community-driven platform with a vast collection of free 3D models. |
| MyMiniFactory | Home to a wide range of high-quality 3D models created by professional designers. |
| Pinshape | Discover unique and innovative 3D models for your projects. |
| YouMagine | Explore a diverse selection of 3D models suitable for various applications. |
As you browse for 3D models, it’s important to pay attention to user reviews and comments. These insights can provide valuable information about the quality, printability, and potential challenges of a particular model. Additionally, be sure to check the model’s licensing terms to ensure it aligns with your intended use.
Once you’ve found the perfect 3D model, you may need to resize or prepare it for printing. Most modeling software and slicers, such as Ultimaker Cura, offer tools for resizing models and optimizing them for your specific printer. Following the recommended settings and guidelines will help ensure successful prints.
Preparing Your Model: From File Type to G-Code
Once you have found the perfect 3D model for your print, the next step is to prepare it for printing. This involves converting the model into a format that your 3D printer can understand and translating it into instructions for the printer to follow. In this section, we will guide you through the process of preparing your model from file type to G-Code, ensuring a smooth and successful printing experience.
The first step in preparing your model is to ensure that it is in a compatible file format. The most common file types used for 3D models are .STL and .OBJ. These formats are widely supported by 3D printing software and can be easily imported into slicing software, such as Ultimaker Cura. If your model is in a different file format, you may need to convert it using a file converter tool before proceeding.
Once you have the model in the correct file format, the next step is to slice it. Slicing software, like Ultimaker Cura, takes your 3D model and divides it into layers, generating the G-Code instructions that tell the printer how to recreate each layer. This process involves adjusting settings such as layer height, print speed, and infill density to achieve the desired print quality and strength. Ultimaker Cura provides a user-friendly interface where you can preview the sliced model and make any necessary adjustments before exporting the G-Code file.
Before you can start printing, it is important to resize your model if necessary. Ultimaker Cura allows you to easily scale your model up or down to fit your desired dimensions. Take into account the capabilities of your 3D printer and the print bed size to ensure that your resized model will fit within the printer’s build volume. Additionally, make sure to check the orientation of your model to minimize support structures and optimize print quality.
Once your model is sliced and resized, the final step is to transfer the G-Code file to your 3D printer. Most printers allow you to print directly from an SD card, so make sure to format the SD card correctly before transferring the file. Follow your printer’s instructions for formatting the SD card and copying the G-Code file onto it. Insert the SD card into your printer and select the file for printing using the printer’s interface.
| File Types | Slicing Software | Resizing Models | SD Card Formatting |
|---|---|---|---|
| .STL, .OBJ | Ultimaker Cura | Resize within Ultimaker Cura | Format per printer’s instructions |
Printing Your Model: Tips and Best Practices
Now that you have prepared your 3D model for printing, it’s time to dive into the actual printing process. By following these tips and best practices, you can achieve high-quality prints that showcase the true potential of your 3D printer extruder.
Cleaning the printer bed: Before starting a new print, it’s important to ensure that the printer bed is clean and free from any dust or debris. Use a soft cloth or rubbing alcohol to wipe the bed surface, as even the smallest particles can interfere with the print quality.
Loading the filament: Properly loading the filament is crucial for a successful print. Follow the manufacturer’s instructions to insert the filament into the extruder, making sure it is securely in place and properly fed through the filament drive. This will help prevent any filament tangling or clogging during the printing process.
Extruding the filament: Before starting the print, it’s a good practice to extrude a small amount of filament to ensure a smooth flow. Use your printer’s control panel or software to extrude a few millimeters of filament, allowing any air bubbles or inconsistencies to be cleared out before the actual printing begins.
SD card printing: If your 3D printer supports printing from an SD card, it is generally recommended to print this way instead of directly connecting to your computer. This ensures a more stable printing process without the risk of interruptions due to computer shutdowns or connectivity issues.
By following these tips and best practices, you can enhance your 3D printing experience and achieve high-quality prints. Don’t be afraid to experiment and fine-tune your settings to optimize your results. Remember, practice makes perfect, and with each print, you’ll gain valuable insights and improve your skills.
Tips for Achieving High-Quality Prints
- Check and level the printer bed before each print to ensure proper adhesion.
- Monitor the print temperature and adjust as needed to prevent overheating or underextrusion.
- Consider using a raft or brim for prints with a small base to improve stability.
- Calibrate your printer’s extrusion multiplier to achieve accurate and consistent filament flow.
- Experiment with different infill patterns and densities to find the right balance between strength and material usage.
- Use supports for prints with overhangs or intricate designs, but be cautious of easy-to-remove supports that can cause damage to delicate parts.
Common Issues and Troubleshooting
- Warped or lifted prints: This can occur due to poor bed adhesion. Try using a heated bed, applying a glue stick, or using a brim or raft to improve adhesion.
- Stringing or oozing: Excessive filament strings between printed parts can be caused by incorrect retraction settings. Adjust the retraction distance and speed to minimize stringing.
- Layer shifting: If you notice that the layers in your print are misaligned, check your printer’s belts and make sure they are properly tensioned. Also, ensure that the print head is not obstructed and moves freely.
- Underextrusion or gaps: Inconsistent extrusion or gaps in the print can be caused by a clogged nozzle or incorrect filament diameter settings. Clean or replace the nozzle and check the filament diameter settings in your slicing software.
- Blobs or zits on the print: Excess filament accumulation during the print can result in blobs or zits. Adjust the print temperature, retraction settings, and cooling to minimize these imperfections.
Remember, troubleshooting is a normal part of the 3D printing process, and with time and practice, you’ll become more proficient in identifying and resolving any issues that may arise.
Conclusion
Congratulations on completing this beginner’s guide to 3D printer extruders! We hope you’ve gained valuable insights into the world of 3D printing and feel inspired to unleash your creativity. Remember, 3D printing offers endless possibilities for enhancing your creative projects and bringing your ideas to life.
Throughout this guide, we’ve covered the different types and functions of 3D printer extruders, discussed key components, provided tips for finding the right 3D models, and walked you through the process of preparing and printing your models.
As you continue your 3D printing journey, we encourage you to stay curious and keep exploring. There are numerous online resources, such as technology blogs like Print Chomp, where you can find practical tips, in-depth guides, and unbiased reviews to support your 3D printing endeavors. Additionally, don’t hesitate to reach out to professional 3D printing services for assistance and guidance.
Remember, the key to success in 3D printing lies in practice and experimentation. Don’t be afraid to try new techniques, materials, and designs. With each print, you’ll gain more experience and refine your skills. So, grab your 3D printer and start unleashing your creativity today!
FAQ
What are the different types of 3D printer extruders?
The different types of 3D printer extruders include direct drive and Bowden extruders. Direct drive extruders are attached directly to the hotend and offer better control over filament extrusion. Bowden extruders have a separate filament feeding mechanism and are known for their ability to print faster.
How does a direct drive extruder work?
A direct drive extruder is directly attached to the hotend, which means that the filament is pushed through a short distance from the extruder to the nozzle. This setup provides more control over filament extrusion and is suitable for printing flexible materials.
What are the advantages of a Bowden extruder?
Bowden extruders have a separate filament feeding mechanism, which allows for faster printing speeds and less weight on the print head. This setup is ideal for printing intricate and detailed objects.
What are the key components of a 3D printer extruder?
The key components of a 3D printer extruder include the hotend, nozzle, filament drive, cooling system, and the thermistor. The hotend heats and melts the filament, the nozzle extrudes the molten filament, the filament drive pushes the filament through the extruder, the cooling system regulates the temperature, and the thermistor measures and controls the extruder’s temperature.
Where can I find 3D models for printing?
There are several popular websites where you can find 3D models for printing, such as Thingiverse, MyMiniFactory, Pinshape, and YouMagine. These platforms offer a wide range of free and paid 3D models for various applications.
How can I create my own 3D models?
Tinkercad is a popular platform for creating 3D models. It is beginner-friendly and offers a range of tools to design your own models. You can start by experimenting with the pre-built shapes and gradually learn to create more complex designs.
What is slicing software and why is it needed?
Slicing software, such as Ultimaker Cura, is used to convert your 3D model into G-code, which is the file type that 3D printers understand. It slices the model into layers and generates the instructions for the printer to follow during the printing process.
How do I resize my 3D model for printing?
You can use slicing software like Ultimaker Cura to resize your 3D model. The software allows you to adjust the dimensions of the model to fit your desired size before generating the G-code for printing.
What are the best practices for achieving high-quality prints?
To achieve high-quality prints, it is important to properly clean the printer bed, ensure the filament is loaded correctly, and extrude the filament smoothly. Additionally, selecting the correct file for printing and following the recommended print settings in your slicing software will help optimize the printing process.
How do I remove the printed model and unload the filament?
To remove the printed model, gently lift it off the print bed using a spatula or similar tool. To unload the filament, go to your printer’s menu or control panel, select the filament unload option, and wait for the filament to be retracted from the nozzle.