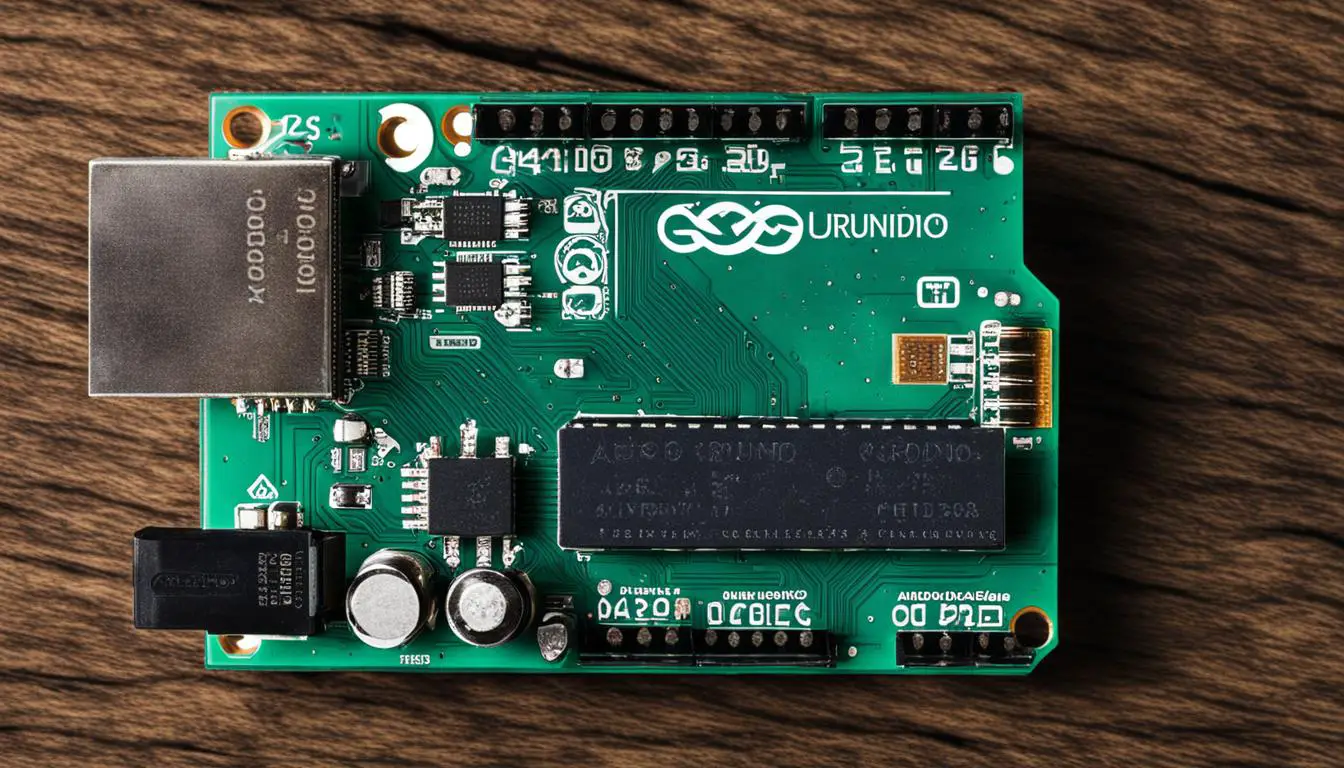
Unbrick Your Arduino: Easy Bootloader Fix Guide
Originally posted on January 15, 2024 @ 3:32 pm
If your Arduino’s bootloader is causing problems and needs to be unbricked, do not panic. We are here to help. Our guide will lead you through the process of repairing your Arduino’s bootloader and getting it functioning again. Whether you are having difficulties burning bootloaders or uploading sketches, we have the solutions for you.
Key Takeaways:
- Learn how to unbrick your Arduino’s bootloader and recover its functionality.
- Troubleshoot common issues with the Arduino bootloader, such as failed attempts and device signature problems.
- Use an Arduino as an ISP programmer to flash the bootloader and restore your Arduino board.
- Consider switching to a different bootloader for improved performance and stability.
- Ensure the correct setup when using an Arduino or another device as an ISP programmer.
Common Problems with Arduino Bootloader
Before we dive into the solutions, let’s first understand some common problems you may encounter with the Arduino bootloader. These issues can be frustrating, but fear not – we’re here to help. By identifying the specific problem you’re facing, you can effectively troubleshoot and fix your Arduino’s bootloader.
Devices with a Signature of 0x000000
One common problem that users encounter is Arduino boards with a signature of 0x000000. This issue typically occurs when the bootloader is missing or corrupted. Without a valid signature, your Arduino board won’t function properly. Don’t worry – we’ll show you how to tackle this problem head-on.
Failed Attempts with Optiboot and MiniCore
Are you experiencing failed attempts when trying to burn the Optiboot or MiniCore bootloader? You’re not alone. This problem can arise due to incorrect settings or compatibility issues. But don’t fret – we’ve got the troubleshooting tips you need to overcome this challenge and get your Arduino bootloader up and running.
Issues Reported by Other Users Without Resolution
If you’ve stumbled upon issues reported by other Arduino users without a resolution, rest assured that we’re here to assist you. We’ve collected various user-reported problems with the Arduino bootloader that still require a solution. We’ll provide you with the troubleshooting steps needed to tackle these issues and restore the functionality of your Arduino.
Now that we’ve identified some common problems with the Arduino bootloader, let’s move on to the solutions. Whether you’re facing a device with a signature of 0x000000, failed attempts with Optiboot and MiniCore, or an issue without a resolution, we’ll guide you through the troubleshooting process to fix your Arduino’s bootloader and get you back to your projects in no time.
Using Arduino as ISP Programmer
One of the solutions to fix the Arduino bootloader and unbrick your Arduino board is by using another Arduino as an ISP (In-System Programmer) programmer. By following the steps mentioned in our second source, you can download the necessary board definition, prepare the Arduino Uno as an ISP programmer, and connect it to your bricked Arduino. This method allows you to flash the bootloader and restore the functionality of your Arduino board.
| Steps to Use Arduino as ISP Programmer |
|---|
| Step 1: Download the necessary board definition for your target Arduino board. Check our second source for the correct link. |
| Step 2: Prepare an Arduino Uno to act as the ISP programmer. Connect it to your computer via USB. |
| Step 3: Upload the ArduinoISP sketch to the Arduino Uno. This sketch is available in the Arduino IDE examples under “File” > “Examples” > “11.ArduinoISP”. |
Step 4: Disconnect the Arduino Uno from the computer and make the following connections between the ISP programmer (Arduino Uno) and the target Arduino board:
|
| Step 5: Connect the Arduino Uno ISP programmer back to the computer via USB. |
| Step 6: Open the Arduino IDE, select the target Arduino board from the “Tools” menu, and choose the Arduino as ISP programmer from the “Programmer” menu. |
| Step 7: Go to the “Tools” menu, select “Burn Bootloader,” and wait for the process to complete. This will restore the bootloader on your bricked Arduino board. |
Once the bootloader has been successfully flashed using an Arduino as an ISP programmer, you can disconnect the programmer and test your Arduino board. It should now be unbricked and ready to be programmed and used for your projects.
Switching Bootloaders
While fixing your Arduino’s bootloader, you may also consider switching to a different bootloader for improved performance and reliability. Our third source discusses the benefits of switching from the default Caterina bootloader to DFU (Device Firmware Upgrade) bootloaders like atmel-dfu and qmk-dfu. These bootloaders offer enhanced features and a more stable firmware update process. If you’re already going through the process of unbricking your Arduino, it’s worth considering this upgrade.
By switching bootloaders, you can take advantage of the additional functionalities and improvements they provide. The atmel-dfu bootloader, for example, offers support for USB-based firmware updates, making it easier to flash new firmware onto your Arduino board. The qmk-dfu bootloader, on the other hand, is designed specifically for Arduino Pro Micro boards and offers seamless compatibility with popular keyboard firmware like QMK.
Benefits of Switching Bootloaders
- Improved performance and stability
- Enhanced firmware update process
- Additional feature support
- Greater compatibility with specific board types
By switching bootloaders, you can unlock new possibilities for your Arduino projects and ensure a smoother firmware update experience.
However, it’s important to note that switching bootloaders may require additional steps and precautions. Make sure to follow the instructions provided by the third source carefully to avoid any compatibility issues or potential risks.
With the option to switch bootloaders, you have the opportunity to optimize your Arduino’s performance and tailor it to your specific needs. Consider exploring alternative bootloaders to enhance the functionality and reliability of your Arduino board.
ISP Programmer Setup
To successfully troubleshoot and recover your Arduino’s bootloader, it’s crucial to ensure the correct setup for using an ISP (In-System Programmer) programmer. Incorrect wiring connections and port identification can hinder the recovery process. That’s why we’ve compiled detailed information from reliable sources to guide you through the setup.
In this section, we’ll cover two popular setup options: using an Arduino Mega 2560 and a Pro Micro as an ISP programmer. Each option comes with step-by-step instructions on how to wire the programmer to your target Arduino board.
Here’s what you need to do:
Arduino Mega 2560 Setup
- To set up an Arduino Mega 2560 as an ISP programmer:
- Once you have the correct wiring connections, connect the Arduino Mega 2560 to your target Arduino board using appropriate jumper wires.
- Make sure the target Arduino is powered up.
- Open the Arduino IDE, select the appropriate programmer option (Arduino as ISP), and select the board and port for the Arduino Mega 2560.
- Finally, you can proceed with the bootloader recovery process, using the Arduino Mega 2560 as your ISP programmer.
| Pin | Arduino Mega 2560 | Target Arduino |
|---|---|---|
| MISO | 50 | 50 |
| MOSI | 51 | 51 |
| SCK | 52 | 52 |
| RESET | 10 | Reset pin of the target Arduino |
Pro Micro Setup
- To set up a Pro Micro as an ISP programmer:
- Just like with the Arduino Mega 2560, make the appropriate wiring connections between the Pro Micro and your target Arduino.
- Ensure the target Arduino is powered up.
- Select the correct programmer option (Arduino as ISP) in the Arduino IDE and choose the Pro Micro as the board. Also, select the appropriate port.
- With everything in place, you can now proceed to recover the bootloader using the Pro Micro as your ISP programmer.
| Pin | Pro Micro | Target Arduino |
|---|---|---|
| MISO | 14 | 50 |
| MOSI | 16 | 51 |
| SCK | 15 | 52 |
| RESET | RST | Reset pin of the target Arduino |
Following these instructions will enable you to establish a successful connection between your ISP programmer and the bricked Arduino. With the correct setup, you can confidently proceed with recovering the Arduino’s bootloader and restoring it to full functionality.
Checking Fuse Bits
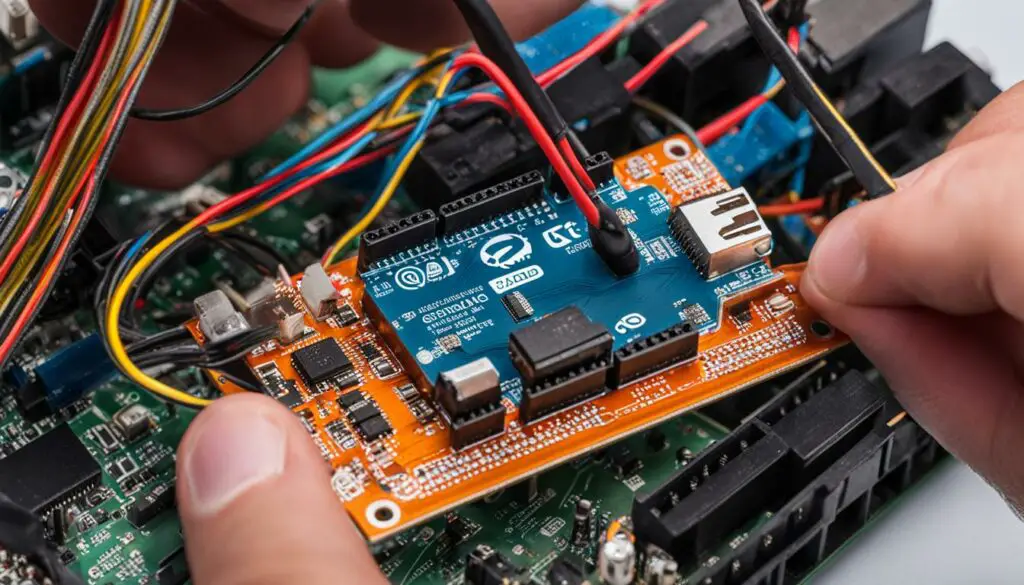
In some cases, when unbricking the Arduino bootloader, it may be necessary to check and update the fuse bits. These fuse bits store the configuration for AVR devices and can have an impact on the functioning of the bootloader.
Verifying the fuse bits is an essential step in ensuring that your Arduino board has the correct fuse settings for proper bootloader operation. The source advises on how to perform this verification process and provides tips on changing the fuse bits if necessary.
“Checking and updating the fuse bits is crucial to ensure the correct configuration for your Arduino board’s bootloader. By carefully reviewing and making any necessary changes, you can effectively repair and fix your Arduino bootloader, restoring its functionality.”
Here are the steps to check and update the fuse bits:
- Connect your Arduino board to your computer.
- Open the Arduino IDE.
- Select the appropriate board from the Tools menu.
- Choose the Burn Bootloader option from the Tools menu.
- Check the values of the fuse bits displayed in the output window.
- Compare these values with the expected values and verify if any changes are required.
- If changes are necessary, consult the datasheet or official documentation of your Arduino board to determine the correct fuse bit values.
- Using an ISP programmer, such as another Arduino, modify the fuse bits to the desired values.
- Recheck the fuse bits to confirm that the changes have been successfully applied.
By following these steps, you can ensure that your Arduino board has the correct fuse settings, allowing the bootloader to function properly and resolving any issues that may have caused the bootloader to become unresponsive.
Remember, though the process involves careful attention to detail, checking and updating the fuse bits is a vital step in the overall repair of your Arduino’s bootloader.
| Fuse Bits Configuration | Original Value | Updated Value |
|---|---|---|
| HIGH Fuse Bit | 0xD9 | 0xDF |
| LOW Fuse Bit | 0xFF | 0xE2 |
| EXTENDED Fuse Bit | 0xFF | 0xFF |
| LOCK Fuse Bit | 0xFF | 0x2F |
Conclusion
Unbricking an Arduino’s bootloader may initially seem intimidating, but rest assured, it can be a straightforward process with the right guidance and tools. By following the steps outlined in this guide and utilizing an Arduino as an ISP programmer, you can successfully recover your bricked Arduino board and restore its bootloader.
Don’t let a malfunctioning bootloader hinder your project progress. Take action and get your Arduino back on track. With patience and careful execution, you can overcome the challenges and enjoy the full functionality of your Arduino once again.
Remember, troubleshooting and fixing the Arduino bootloader is just one step in your maker journey. Stay curious, explore new projects, and never hesitate to seek support from the vast Arduino community. Happy unbricking!
FAQ
What are some common problems with the Arduino bootloader?
Some common problems with the Arduino bootloader include devices with a signature of 0x000000, failed attempts with Optiboot and MiniCore, and unresolved issues reported by other users.
How can I use an Arduino as an ISP programmer to unbrick my Arduino?
To unbrick your Arduino using another Arduino as an ISP programmer, you can download the necessary board definition, prepare the Arduino Uno as an ISP programmer, and connect it to your bricked Arduino. This method allows you to flash the bootloader and restore the functionality of your Arduino board.
Should I consider switching to a different bootloader for my Arduino?
Switching to a different bootloader, such as a DFU (Device Firmware Upgrade) bootloader like atmel-dfu or qmk-dfu, can offer improved performance and reliability. If you’re already unbricking your Arduino, it might be worth considering this upgrade.
How do I set up an Arduino as an ISP programmer?
Setting up an Arduino as an ISP programmer requires proper wiring connections and port identification. You can refer to a guide that provides detailed instructions on how to wire the programmer to your target Arduino board, with examples using an Arduino Mega 2560 and a Pro Micro.
Do I need to check and update the fuse bits when unbricking the Arduino bootloader?
Yes, it’s recommended to check and update the fuse bits when unbricking the Arduino bootloader. Fuse bits store the configuration for AVR devices and can impact the functioning of the bootloader. The guide advises on verifying the fuse bits and provides tips on changing them if necessary.
